DIY homecoming nails on a teen budget are absolutely doable — I have done my own hoco nails for years, and nobody ever guessed they were not salon work. The secret is choosing designs that look expensive but use cheap techniques: press-ons, sponging, dotting tools, and drugstore polish.
Below are my 16 favorite budget-friendly hoco nail ideas, each costing just a few dollars in supplies. Every pick includes exactly what to buy, how to do the technique step by step, and a wear tip so your DIY manicure survives the whole dance night looking flawless.
French Tip Press-Ons
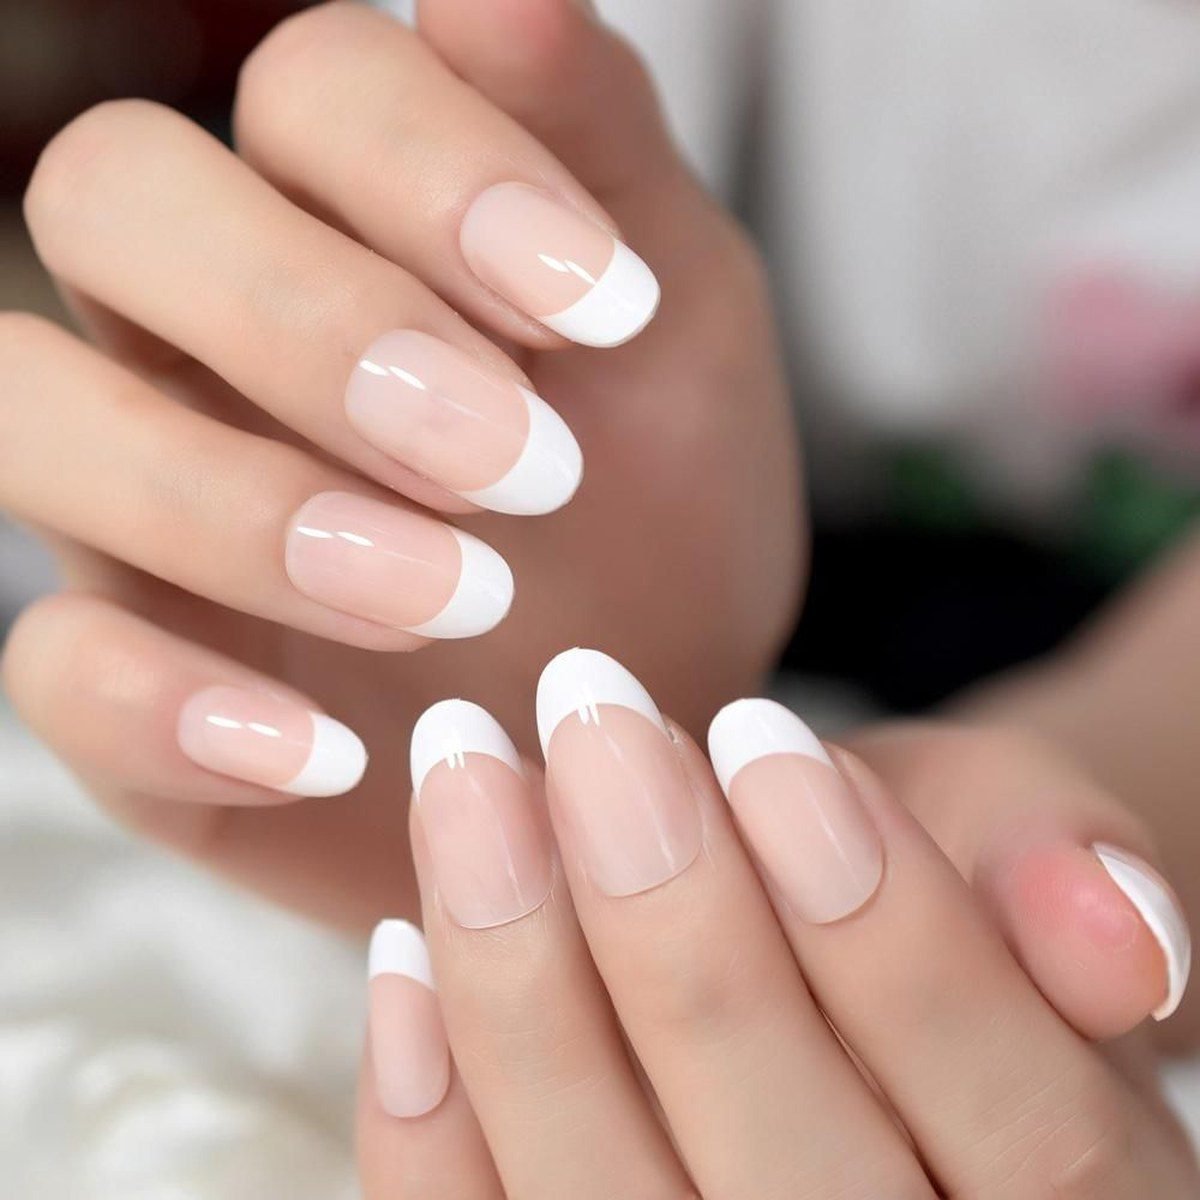
French tip press-ons are my number one budget hoco hack — a full set costs less than a coffee and looks like a salon french. Buy a set in your size (sizing each nail before gluing is the step everyone skips), then apply with real nail glue, not the sticky tabs, for all-night hold.
Press and hold each nail for thirty seconds, file the edges to blend, and add a top coat for extra shine and longevity. The trick to making press-ons look real is keeping them short to medium — extra-long press-ons are what give them away. My wear tip: bring the glue in your clutch for emergency fixes, avoid opening cans with your nails, and remove them properly with warm soapy water and oil afterward so you do not damage your natural nails..
Sponge Ombré Nails

Sponge ombré is my favorite budget gradient technique — it looks like airbrush art but costs almost nothing. You need two polishes, a makeup sponge, and top coat. Paint your base color, then paint stripes of both colors side by side on the damp sponge and dab it onto the nail, repeating two to three times until the gradient is smooth.
Clean up around the nail with a small brush dipped in acetone. Pink-to-white or nude-to-glitter ombrés are perfect for hoco. My wear tip: the sponge absorbs a lot of polish, so work quickly before it dries, and always seal with two top coats because sponged polish feels rough. Practice on one nail first — the technique clicks fast, and the result looks impressively professional for about five dollars in supplies..
Dotting Tool Polka Dots
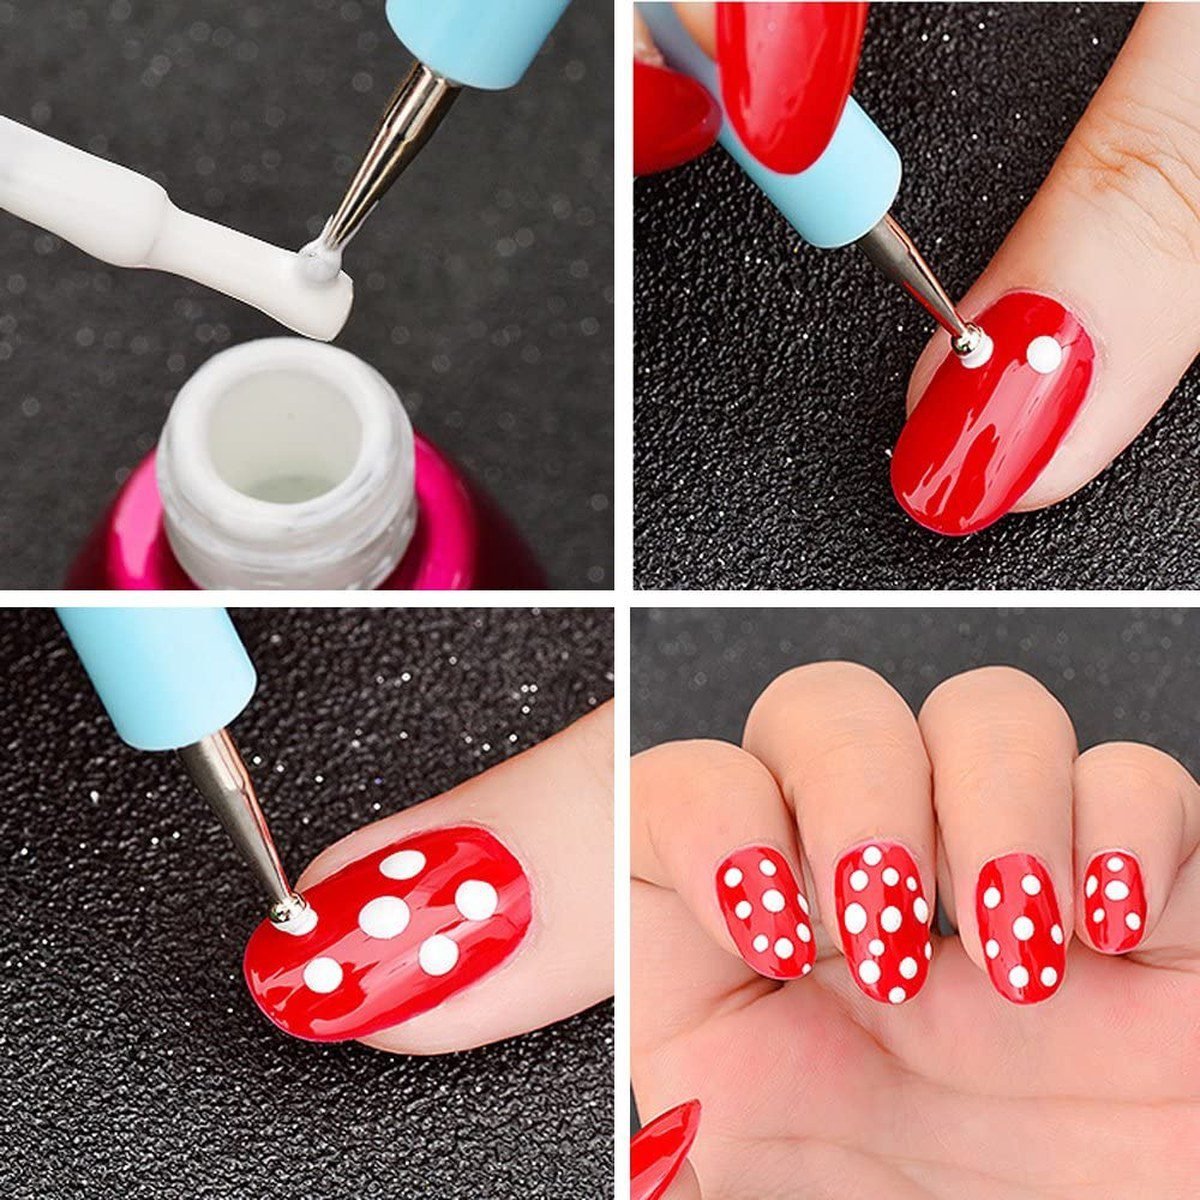
A dotting tool is the best five dollars you will spend on DIY nails — it turns polka dots, flowers, and hearts into beginner-friendly art. For hoco, I love white dots on a colored base or metallic dots on nude. Dip the tool in polish, dot it on the nail, and reload often for consistent dot sizes.
A bobby pin works in a pinch, but a real dotting tool set with multiple sizes is worth it. The technique is genuinely foolproof: dots do not need to be perfect to look cute. My wear tip: let each layer dry before adding dots on top, seal with a thick top coat so the dots do not dent, and this is the fastest nail art on this list — you can do a full set in under thirty minutes, which is perfect for a busy hoco week..
Tape Stripes

Striping tape or regular tape gives you crisp geometric lines that look salon-done for pennies. Paint your base color and let it dry completely — this is critical — then place thin strips of tape in your design, paint the second color over, and peel the tape off while the polish is still wet for the sharpest lines.
Gold stripes on burgundy, white stripes on navy, or black stripes on nude all look amazing for hoco. Striping tape (the thin metallic rolls) can also be left on the nail under top coat as the design itself. My wear tip: if the base is not fully dry, the tape will pull it up, so wait at least an hour or use quick-dry drops, and seal everything with two top coats to lock the tape edges down..
Glitter Top Coat Glam
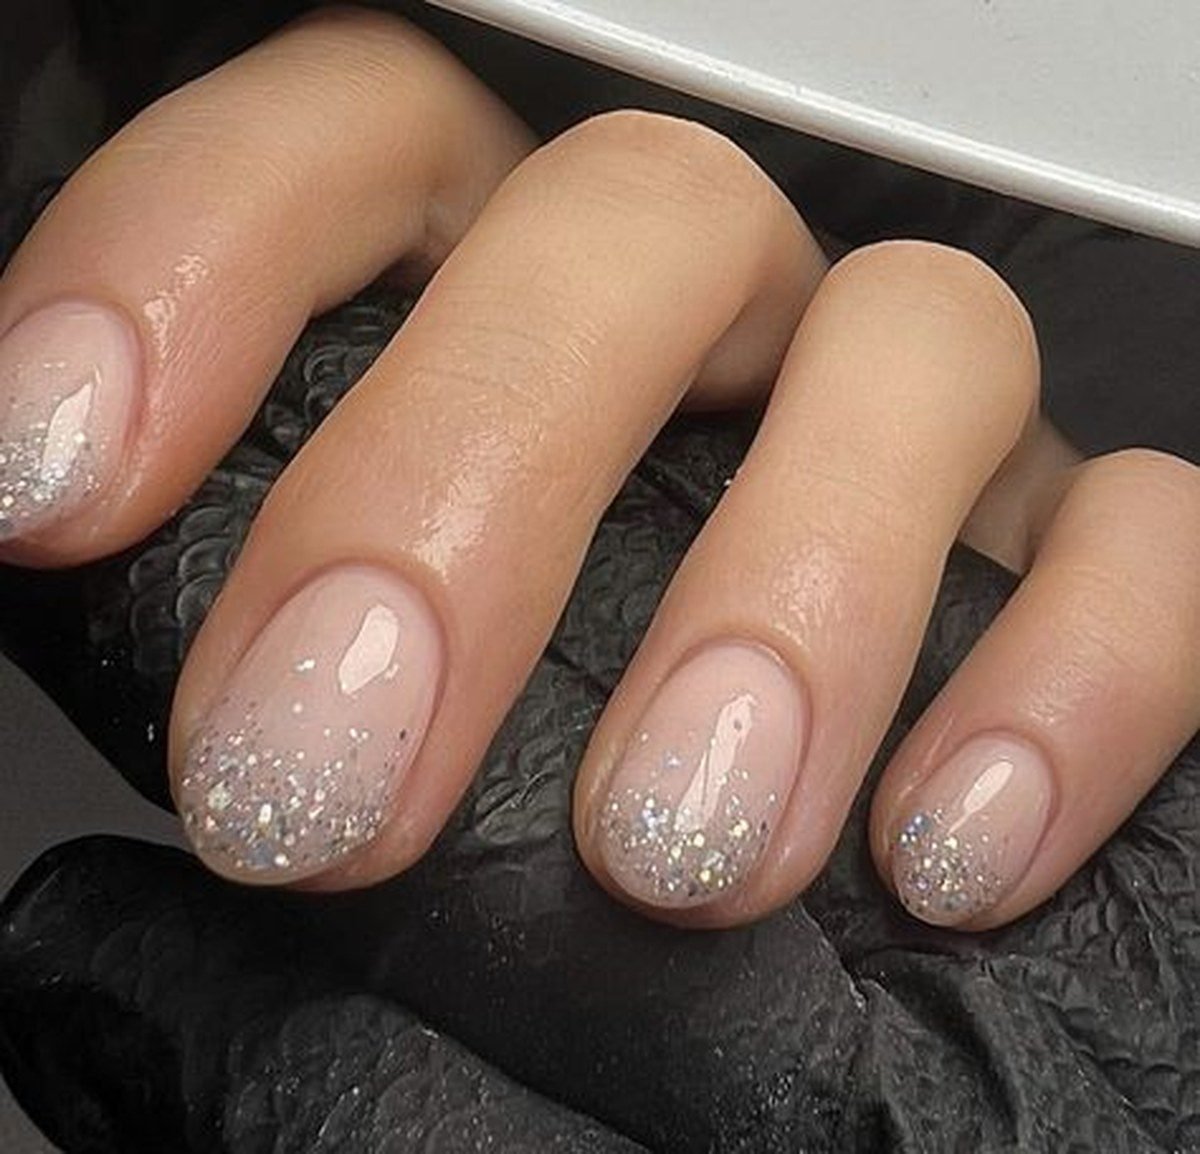
A glitter top coat over any polish is the easiest hoco upgrade that exists — one bottle transforms your entire manicure. Paint your base color (nude, black, burgundy, whatever matches your dress), then layer a holographic or metallic glitter topper: one coat for subtle sparkle, two to three for full glam.
The glitter catches dance-floor lights beautifully and hides every imperfection in your base application. Drugstore glitter toppers cost a few dollars and last for dozens of manicures. My wear tip: glitter is notoriously hard to remove, so use the foil method (acetone-soaked cotton wrapped in foil for ten minutes) rather than scrubbing, and apply a peel-off base coat if you want truly easy removal after the dance..
Nail Stickers and Decals

Nail stickers are my secret weapon for intricate designs on a teen budget — tiny flowers, stars, lace patterns, and jewels that would take a pro to paint by hand. Apply them to dry polish with tweezers, press down firmly, and seal with two top coats, wrapping the free edge so the sticker does not lift. Water decals work similarly: soak, slide off, place, seal.
A sheet of stickers costs a couple of dollars and covers multiple manicures. For hoco, I love delicate gold decals on nude or white floral stickers on pastel. My wear tip: the top coat seal is everything — without it, stickers peel within hours, but with two good layers they last for days. Keep designs to one or two accent nails so they look intentional and chic..
Chrome Powder Magic
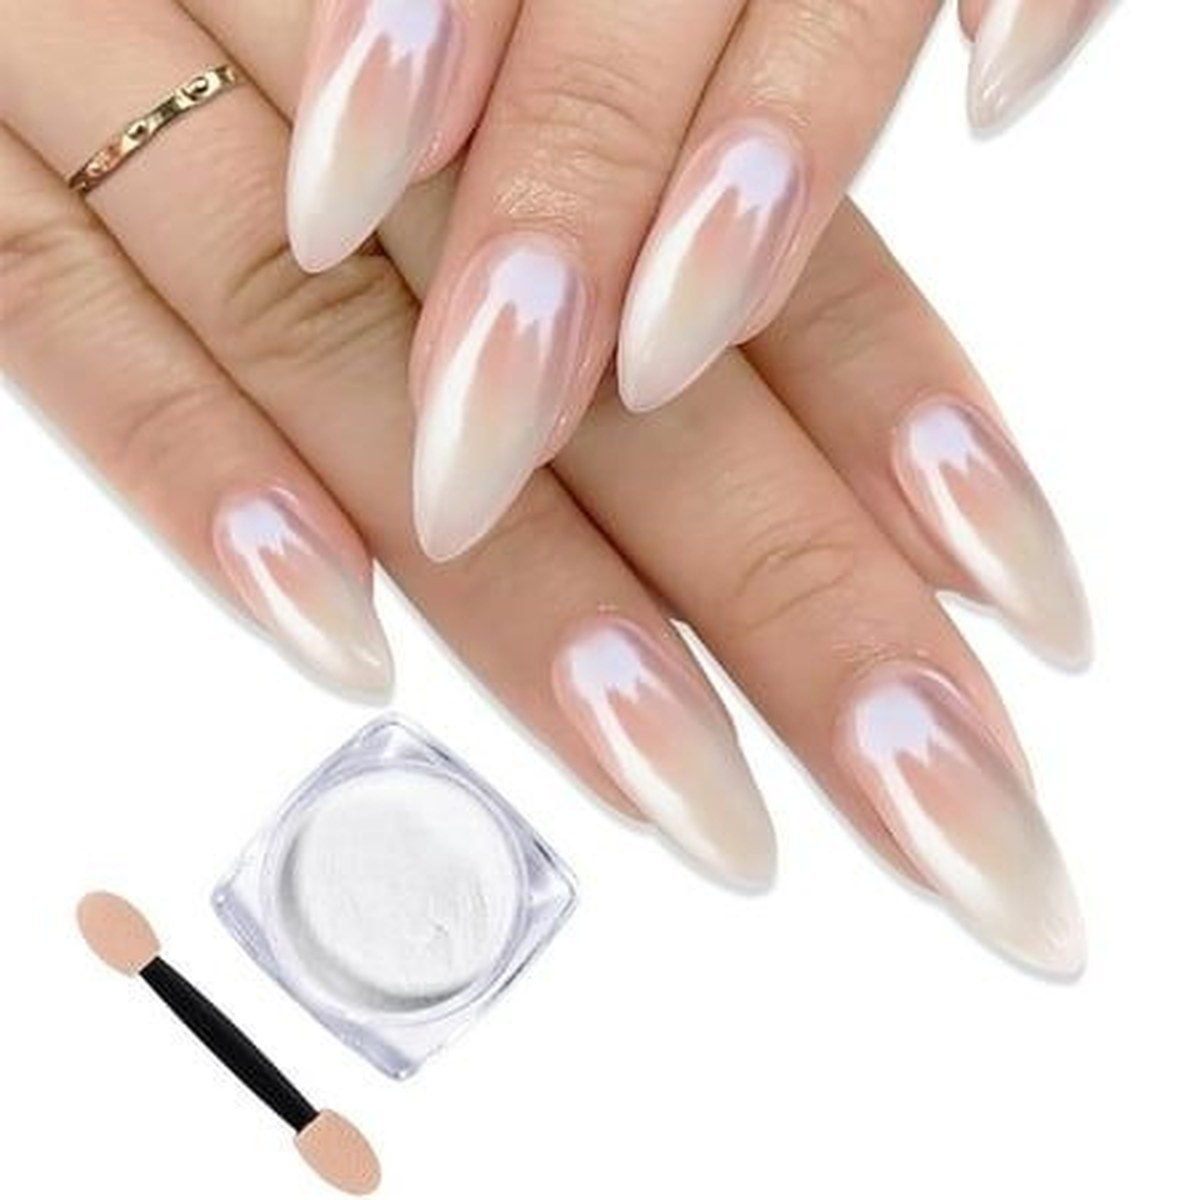
Chrome powder is the budget buy that looks most expensive — a ten-dollar jar gives you mirror-shine nails that look like a fifty-dollar salon service. Apply over a tacky base (black for classic chrome, nude for champagne, white for pearl), buff the powder in with the included applicator or a silicone tool until it shines, dust off excess, and seal with a no-wipe top coat. The transformation is genuinely dramatic.
It works over regular polish too, not just gel — apply the powder over a tacky top coat layer. My wear tip: chrome shows every bump, so buff your nails smooth first and push back cuticles neatly, and avoid water for an hour after application so the seal sets. One jar lasts for dozens of manicures, making this the best value on this list..
Jelly Sandwich Nails

Jelly sandwich nails are my trendy budget pick — translucent jelly polish layered with glitter in the middle for a squishy, dimensional look. Paint one coat of jelly polish (sheer, buildable color), add a layer of fine glitter or tiny decals, then seal with another coat of jelly. The glitter suspended in the translucent color looks like it is floating.
Jelly polishes are affordable and the technique is just layering, so it is very beginner-friendly. Pink, nude, or smoky jelly shades are perfect for hoco. My wear tip: jelly polish needs two to three coats for even color, so be patient and let each coat dry, and the squishy finish looks best with a high-gloss top coat. This is a unique look that will get compliments all night..
Matte Top Coat Upgrade
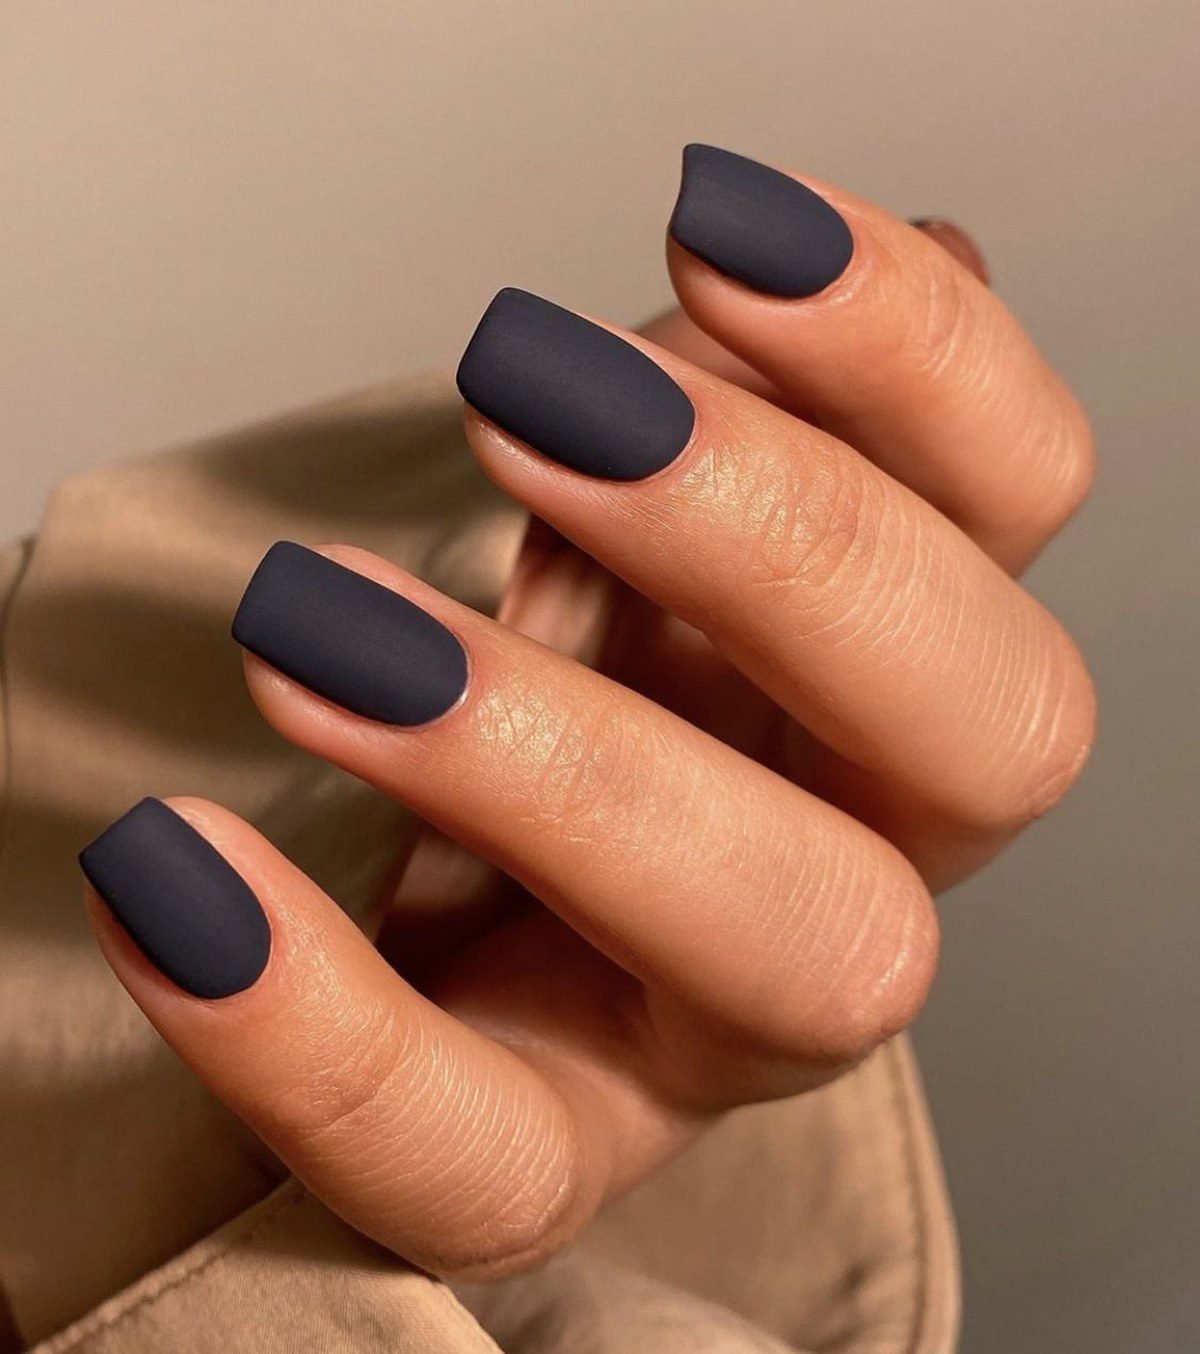
A matte top coat is the cheapest way to make any manicure look instantly modern — one bottle over your existing polishes creates a whole new finish. Dark colors look especially stunning matte: black, burgundy, navy, or deep green with a velvety matte finish feels very high-fashion for hoco. Just paint your color normally and finish with matte top coat instead of glossy.
You can even do matte with glossy accents (matte base, glossy tips or dots) for a textured design with zero extra skill. My wear tip: matte shows fingerprints and oils, so avoid touching your face and keep hands clean, and matte top coat can be reapplied mid-week to refresh the finish. It is a five-dollar product that doubles your polish collection's versatility..
Half-Moon with Stickers

Hole-reinforcement stickers (yes, the office supply kind) are the ultimate budget nail art hack for perfect half-moons. Place a sticker at the base of each nail, paint your main color over the whole nail, peel the sticker off while wet, and you have a crisp half-moon. Leave the moon bare, paint it a contrasting color, or add glitter.
Nude moons with burgundy nails, or gold moons with black nails, look so chic for hoco. A pack of stickers costs a dollar and lasts forever. My wear tip: press the sticker edges down firmly so polish does not bleed underneath, peel while the polish is wet for the cleanest line, and seal with top coat. This is one of the easiest designs here with one of the most polished-looking results..
Water Marble Nails

Water marbling looks incredibly impressive but uses only polish and water — the ultimate budget show-off technique. Fill a cup with room-temperature water, drop in alternating colors of polish, swirl with a toothpick, dip your nail in, and clean up. Each nail comes out with a unique marble pattern. For hoco, try your dress colors or a metallic-and-nude combo.
It is messy (tape around your fingers first), but the results look like expensive salon art. My wear tip: use fresh polish that spreads well — old thick polish sinks — and room-temperature filtered water works best. Do one nail at a time and clean the water surface between nails. Practice twice before hoco night, because the first attempt is always a learning experience..
Gold Foil Flakes

Gold foil flakes are my favorite cheap luxe detail — a tiny jar costs a few dollars and makes any manicure look expensive. Paint your base color, and while the top layer is still tacky, press small foil pieces on with tweezers or a silicone tool. Scatter them randomly for an organic gilded look, or place them deliberately at the cuticle or tip.
Seal with two top coats, making sure to cap the edges so the foil does not catch. Burgundy, black, navy, or emerald bases with gold foil are perfect for hoco. My wear tip: less is more — a few well-placed flakes look more expensive than a nail covered in foil, and always double-seal because foil edges lift easily. This pairs beautifully with gold jewelry..
Solid with One Accent

A solid manicure with one accent nail is the simplest budget hoco look — and honestly one of the chicest. Paint all nails a rich solid color (burgundy, navy, black, or deep green), then make the ring finger special: glitter, chrome, foil, a decal, or just a contrasting color.
The single accent draws the eye without requiring art skills on every nail. This is also the fastest option here — you are essentially doing a regular manicure plus one fun nail. My wear tip: choose an accent that ties to your accessories (gold glitter for gold jewelry, for example), keep the solid color application neat since it is the majority of the look, and this design is the easiest to touch up mid-week if anything chips before the dance..
Builder Gel Overlay

A builder gel overlay is my budget strength pick — it gives you salon-strong nails at home for the cost of one bottle. Apply builder gel over your natural nails following the product instructions (it is like a thick gel polish), cure with an affordable UV lamp, and you have a strong, smooth base that prevents breaking and makes polish last twice as long. Then paint your hoco design over it.
A basic lamp and builder gel cost less than one salon visit and last for many manicures. My wear tip: prep is everything — push back cuticles, dehydrate the nail, and apply thin layers to avoid heat spikes during curing. This is ideal if your nails always break before events, and the smooth surface makes every design on this list look better..
Nail Art Pens

Nail art pens are the budget tool for actual drawing on nails — thin lines, dots, hearts, and French tips without needing a steady brush hand. They work like markers: draw your design on dry polish, let it set, seal with top coat. For hoco, I love white pen details on dark polish (tiny hearts, stars, lace lines) or black pen art on nude.
A set of pens costs less than one salon nail art design and lasts for ages. The pen format gives you way more control than a brush. My wear tip: let pen art dry completely before top coat or it will smear — wait at least ten minutes — and apply the top coat with a light touch, floating it over the design rather than brushing hard. Practice your design on paper first..
Customized Press-Ons

Customizing blank press-ons is my advanced budget move — you get the perfect shape of press-ons plus your own art, done comfortably at a table instead of on your own hands. Buy plain press-ons, paint and decorate them while they are stuck to a holder or tape strip (so much easier than painting your own nails), let everything dry fully, then glue them on. You can do ombré, art, glitter — anything — with total control.
This is ideal for intricate hoco designs that would be hard to do on yourself. My wear tip: size and prep the press-ons first, decorate them a day ahead so everything is fully dry, and use real nail glue for application. Bring the glue to the dance for fixes. Nobody will believe you did these at your kitchen table..
Great hoco nails do not require a salon appointment or a big budget — just a little planning and the right techniques. My advice is to pick one design from this list, do a full practice run a week before the dance, and buy quality basics (good base coat, real nail glue) instead of a dozen cheap polishes. Your nails will look amazing, your wallet will thank you, and nobody will ever guess you did them yourself. Save this list and start practicing this weekend.