Minimalist Halloween nail designs are the 2026 answer for anyone who wants a nod to spooky season without a full costume on their fingertips. I’ve worn bold Halloween nail art for years, but this year I’m reaching for sheer bases, negative space, and single tiny motifs that read chic at the office and festive at the party. These subtle Halloween nails work on every nail length — from short natural squares to long almonds — and most take under 30 minutes with a detail brush or nail stickers. Below are my 25 favorite minimalist Halloween nail designs for 2026, each easy to DIY or show your nail tech as a reference.
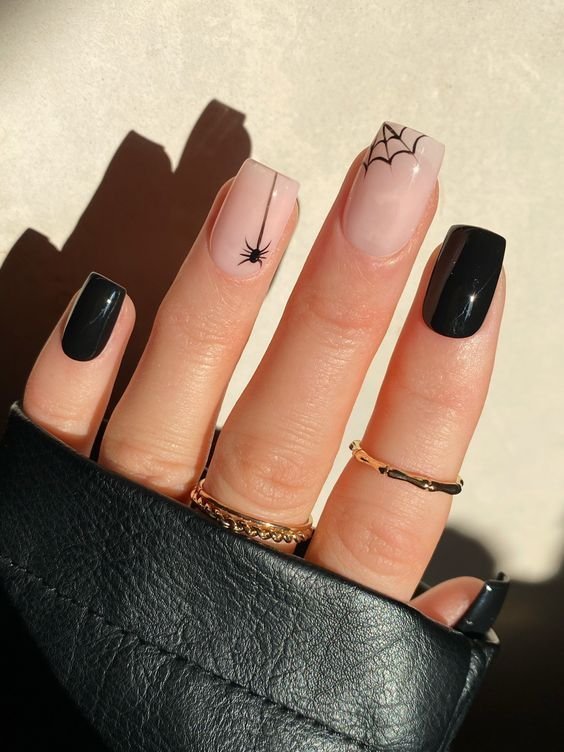
1. Sheer Nude With a Floating Spiderweb
I love how this design keeps things whisper-quiet while still reading unmistakably Halloween. I start with two coats of a sheer nude or milky pink polish as the base, then use a striping brush and black nail art paint to draw a delicate spiderweb across one or two accent nails, usually the ring finger. The trick I swear by is keeping the web lines ultra-fine and slightly off-center so it looks effortless rather than stamped. This suits short to medium nails beautifully and flatters every skin tone since the nude base can be matched to yours. My go-to tip: let the base dry fully, then seal with a glossy top coat to make the web pop. It wears well for two weeks with minimal chipping.
2. Tiny Black Micro Bats
These micro bats are my favorite way to do Halloween when I want almost nothing on my nails. I paint all ten nails in a sheer beige or soft blush, then add one tiny bat silhouette on each ring finger using a dotting tool and black gel polish. The bats should be genuinely small — about 2 millimeters wide — because that scale is what keeps the whole manicure minimal instead of cartoonish. I find this design suits almond and oval shapes best, and it looks amazing on shorter nails where there’s less real estate. A quick application tip from my routine: cure or dry each bat before top coat so the wings don’t smudge. This is also a great first Halloween design if you’re new to nail art.
3. Negative-Space Crescent Moon
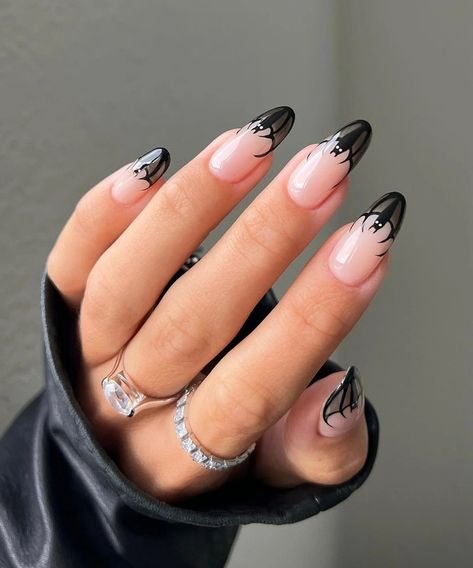
I reach for this crescent moon design whenever I want Halloween energy that could pass as everyday nail art. The look is a bare or sheer nude nail with a single black or deep charcoal crescent moon painted near the cuticle of the middle finger, leaving the rest of the nail completely empty. Negative space is what makes it minimalist, and the moon shape keeps it seasonal without screaming costume. This suits medium to long nails where the moon has room to breathe, and I think it looks especially striking on deeper skin tones against a bare nail. My application tip: use a small flat brush or a moon sticker as a stencil, then clean the edges with a pointed cotton swab dipped in remover for a razor-sharp crescent.
4. Single Ghost Outline Accent
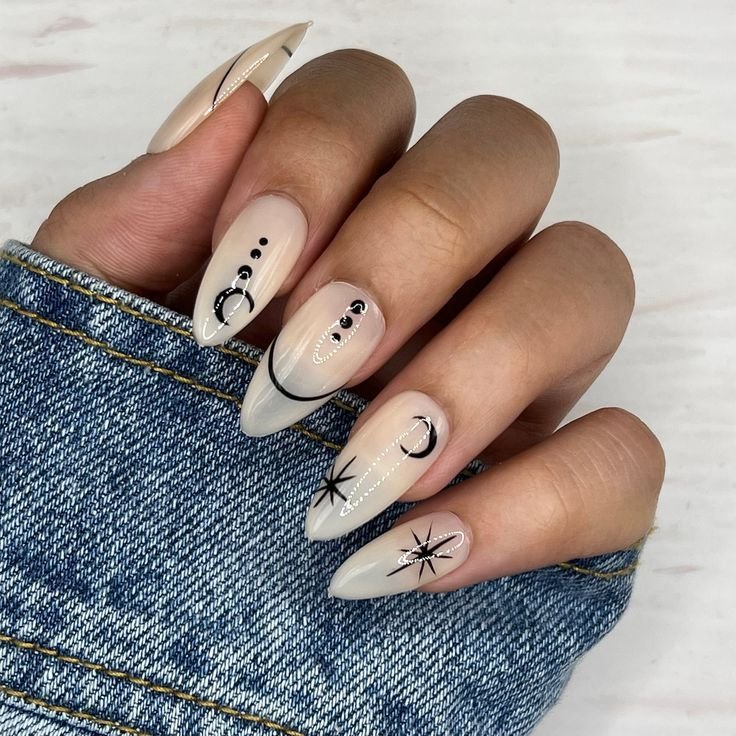
One tiny ghost outline is all it takes, and honestly it’s the design I get the most compliments on. I keep nine nails in a clean sheer white or milky base, then draw a simple ghost outline — just the wavy bottom edge and two dot eyes — in soft grey or black on the ring finger. The outline-only approach is key: a filled-in ghost would look heavy, but the line drawing stays airy and modern. This suits short square nails perfectly and works for all ages, from teens to professionals. My go-to tip is to sketch the ghost with a grey polish first, then go over it in black once you’re happy with the shape, so mistakes wipe away easily. Finish with matte top coat for an extra-modern feel.
5. Matte Black Micro French Tips
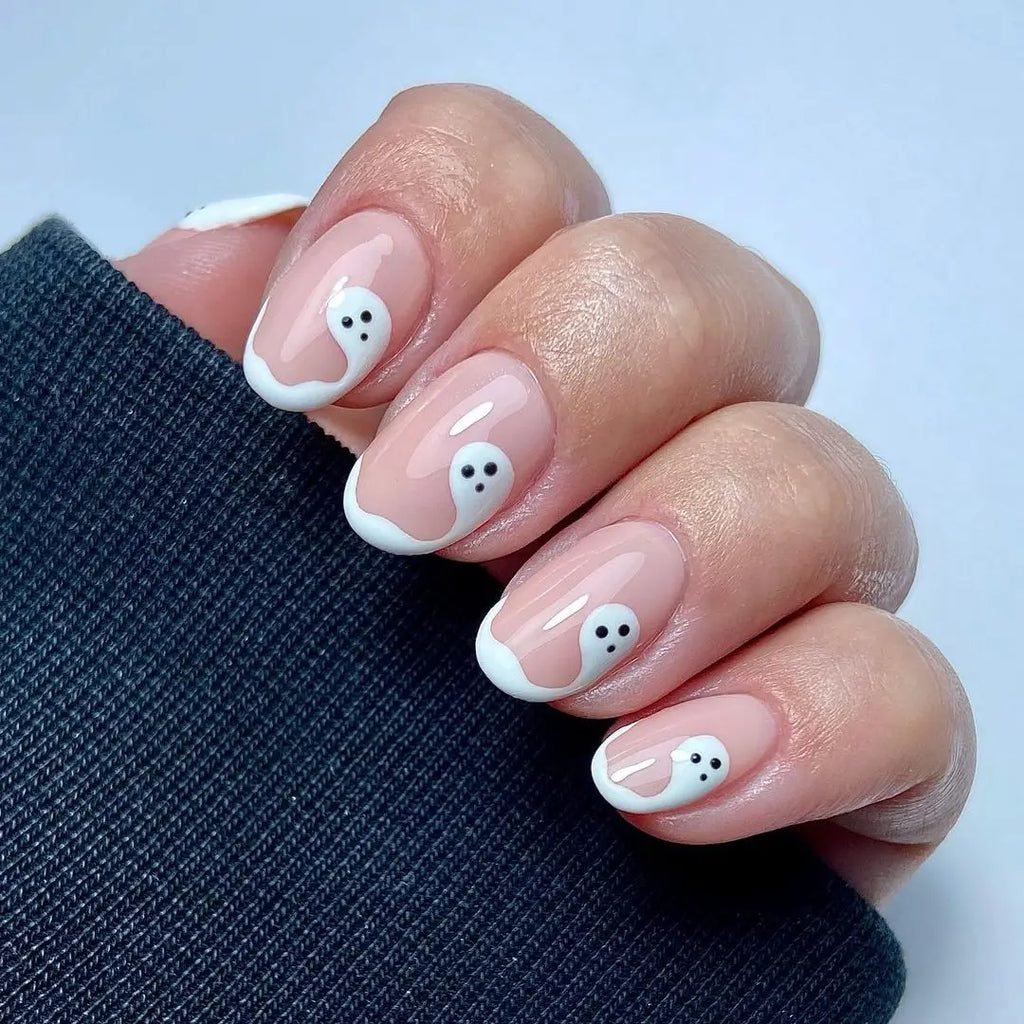
Micro French tips in matte black are my everyday October uniform. Instead of the classic white smile line, I paint a razor-thin black line — barely 1 to 2 millimeters — along the free edge over a sheer nude base, then finish with a matte top coat. The result reads edgy and seasonal up close but polished and neutral from a distance, which is exactly what I want for workdays. This design suits every nail shape, though I find it sharpest on almond and coffin shapes. My application tip: use nail vinyl guides or a steady hand with the brush held perpendicular to the nail, and always cap the free edge with top coat to prevent the matte black from chipping. It’s a 15-minute manicure that lasts.
6. Burnt Orange Sliver Tips
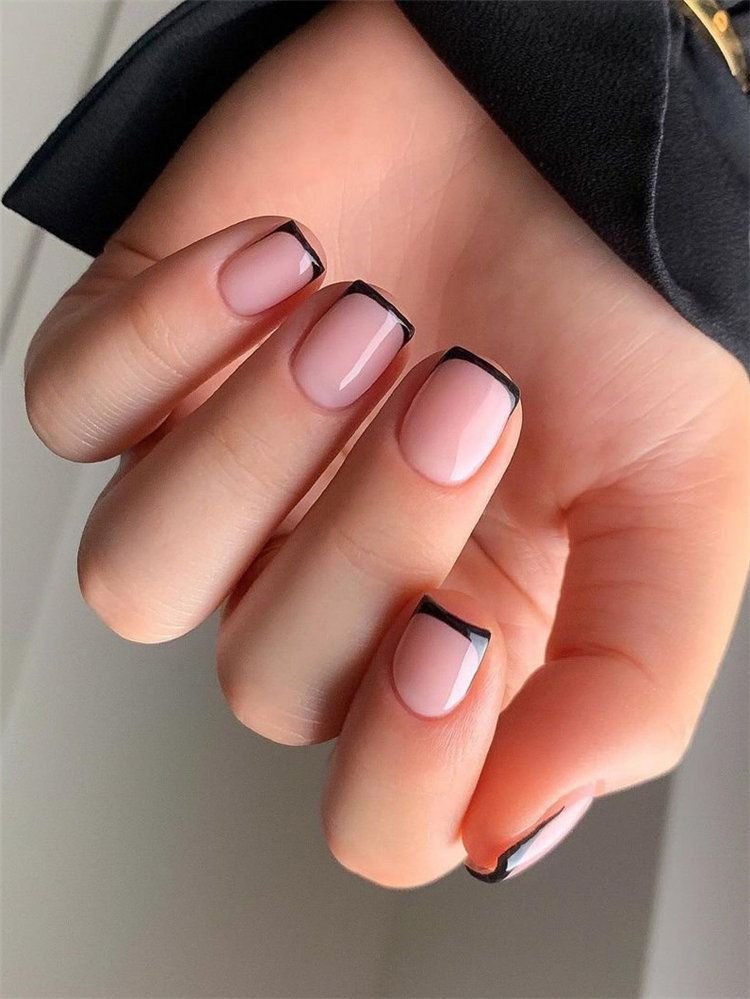
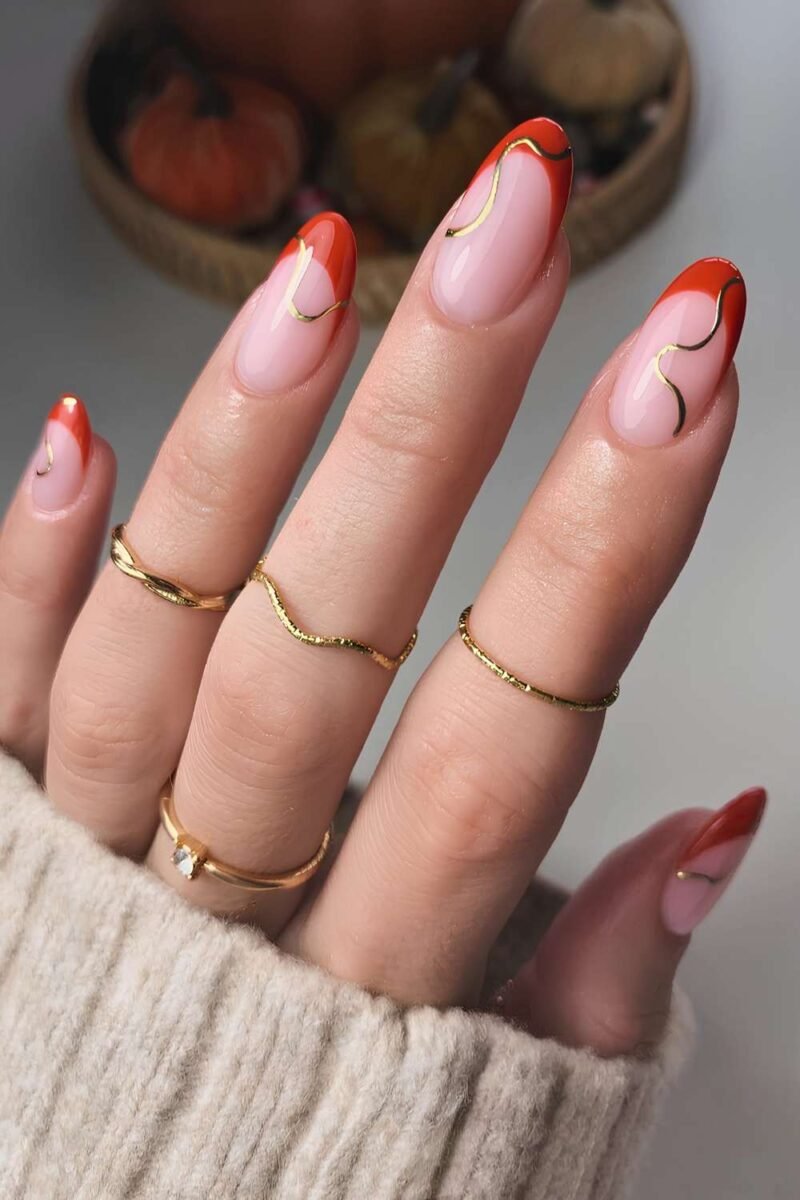
Burnt orange sliver tips give me all the pumpkin-spice feeling of Halloween without a single literal motif. I paint the nail in a sheer nude, then add the thinnest possible burnt orange tip — think half the width of a traditional French. The autumnal color is what makes it Halloween-adjacent, and the sliver keeps it firmly minimalist. I love this on short natural nails because the tiny pop of color elongates the fingertip visually. It suits warm and neutral skin tones especially well. My quick tip: pick a burnt orange with brown undertones rather than a bright pumpkin, and apply the tip color in one confident stroke rather than building it up, which keeps the line crisp and thin.
7. Barely-There Pumpkin Dot
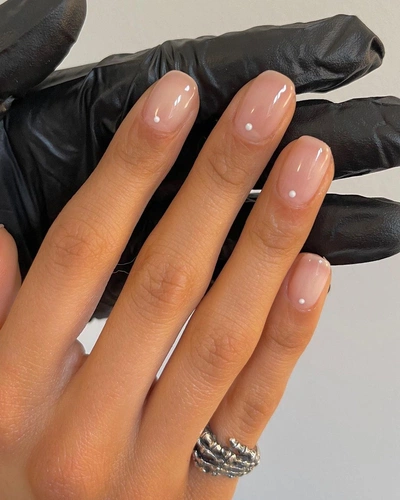
Sometimes one dot is the whole design, and this barely-there pumpkin proves it. I wear a sheer nude or clear base on all nails, then place a single tiny burnt-orange dot — no bigger than a pinhead — near the cuticle or tip of each ring finger. That’s it. From across the room it looks like a clean nude manicure; up close there’s a little wink of Halloween. This is my recommendation for anyone with a strict dress code or who simply doesn’t like nail art but wants to participate in the season. It suits very short nails and looks delicate on petite hands. My tip: use the very tip of a toothpick for the dot, and add a microscopic green dot beside it if you want to suggest a pumpkin stem.
8. Fine-Line Spider Accent
A fine-line spider on one nail is spooky in the most elegant way I know. I start with a milky sheer base, then draw a minimalist spider — just a small oval body with eight hair-thin legs — in black on the middle finger, letting it dangle as if from an invisible thread near the cuticle. The single-insect approach keeps it chic rather than creepy, and the fine lines make it look like jewelry on the nail. This suits medium-length nails best so the legs have room to spread. My application tip is to draw the legs with a 5/0 detail brush or a nail art pen, working from the body outward in quick strokes, and to keep the design on just one nail per hand for maximum minimalism.

9. Single Black Cat Silhouette
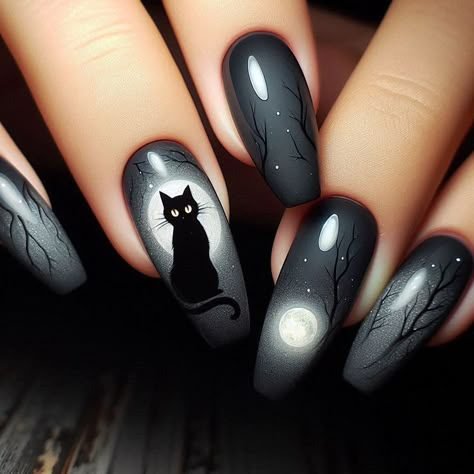
I’ve always had a soft spot for the black cat silhouette because it captures Halloween in one unmistakable shape. My minimalist take is a sheer nude base on every nail with a single small black cat — arched back, tail curled — sitting on the ring finger. I keep the cat small and solid black, positioned low near the tip so most of the nail stays bare. This suits oval and almond shapes beautifully and reads playful without being childish. For application, I honestly recommend a quality nail sticker or stamping plate for the cat shape, since freehanding a recognizable cat at that scale is genuinely hard; then seal it under two thin top coats so the edges disappear into the base.
10. Foggy Grey Ombré
Foggy grey ombré nails are my pick when I want a whole-manicure Halloween mood with zero motifs. I blend a sheer nude at the cuticle into a soft, smoky grey at the tip using a makeup sponge, creating a misty gradient that looks like October fog rolling in. The effect is subtle, wearable, and surprisingly flattering — grey gets a bad reputation, but a soft warm grey works on most skin tones. This suits medium to long nails where the gradient has space to transition. My go-to technique: apply the grey to the sponge, dab it on the tip, and repeat in thin layers rather than one heavy pass, cleaning up the cuticles afterward. A glossy top coat deepens the smoky effect.

11. Nude With Mini Graveyard Crosses
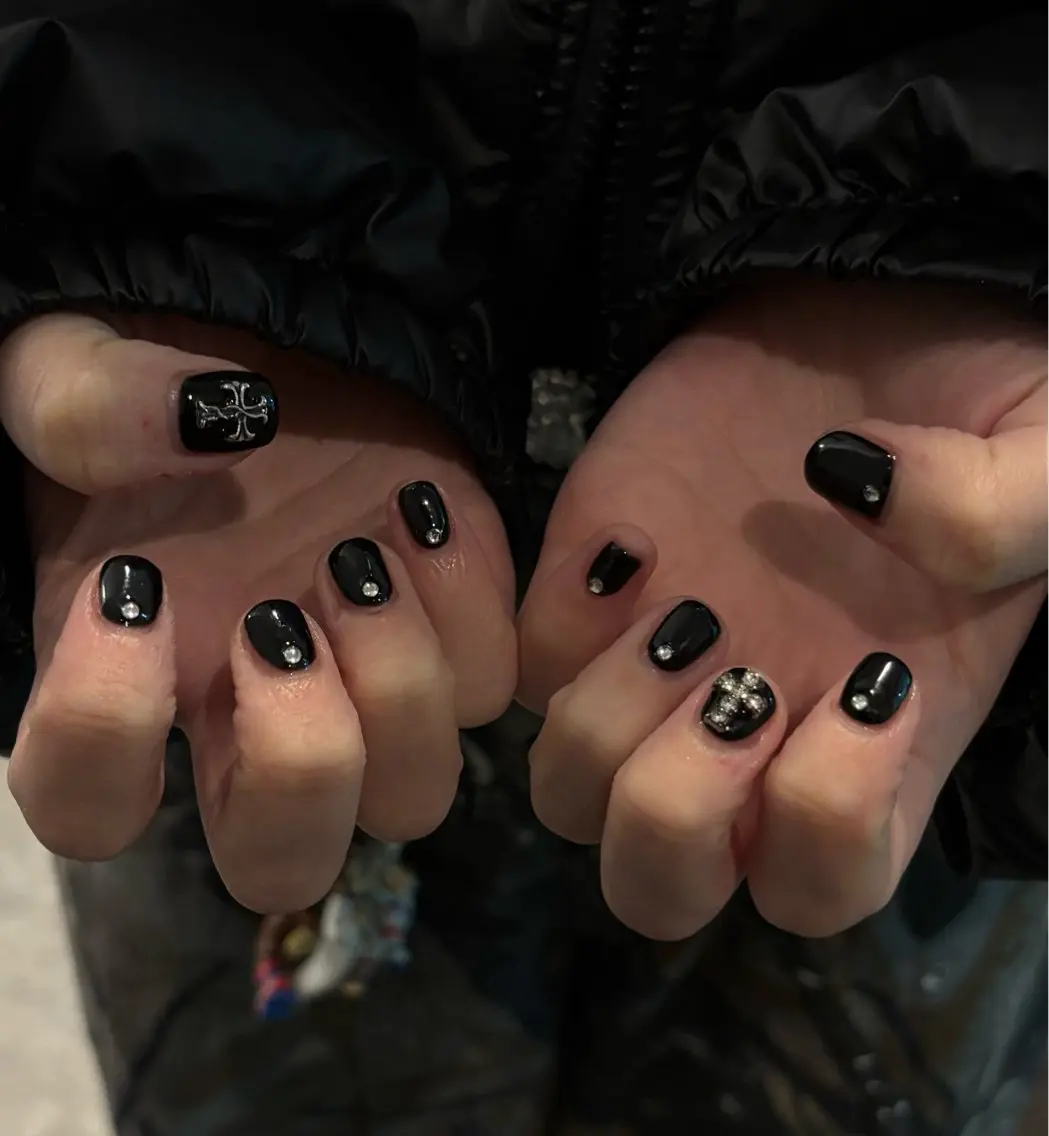
Mini graveyard crosses sound dark, but at this scale they’re just chic little marks. I paint a sheer nude base and add two or three tiny black crosses — each about 2 millimeters tall — scattered on one accent nail per hand, like a distant graveyard silhouette. Keeping them small and sparse is everything; clustered or large crosses would tip into goth territory. I think this suits short square nails and looks great on anyone who loves the haunted aesthetic but wants it restrained. My application tip: draw the vertical line first, then the horizontal bar, using a detail brush with barely any polish on it. Space them unevenly for a natural, hand-drawn feel.
12. Sheer Pink With a Tiny Blood Drop
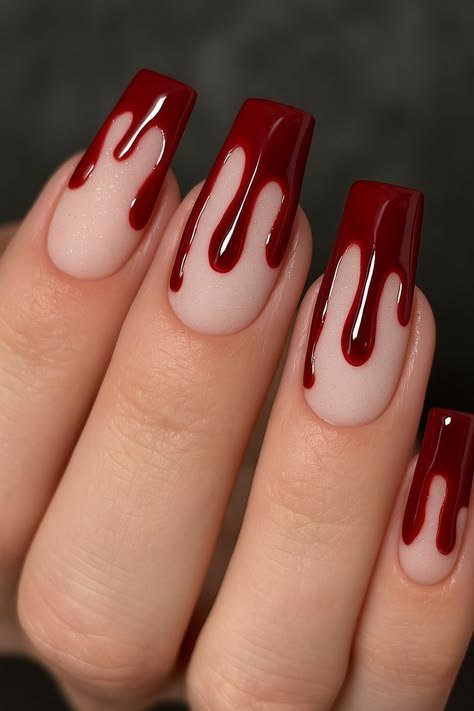
This tiny blood-drop accent is the subtlest vampire nod I know, and I wear it every October. The base is a sheer pink or milky nude on all nails; on the ring finger I place one small deep-red teardrop near the cuticle, as if a single drop of blood just landed there. The contrast between the soft pink and the rich oxblood red is what makes it striking despite its size. It suits all nail lengths and looks particularly elegant on almond shapes. My tip: form the teardrop with a dotting tool — place a round dot, then drag the tool upward slightly to pull the point — and choose a red with brown undertones so it reads as dried blood rather than bright cherry.
13. Black Stars on Bare Nails
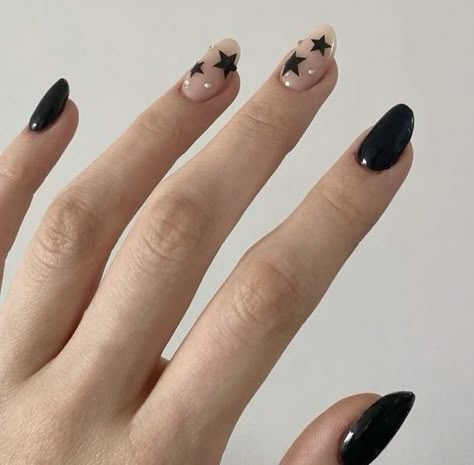
Scattered black micro-stars on bare nails are my favorite celestial-meets-spooky crossover. I buff the natural nail to a shine or use a single coat of sheer base, then stamp or draw tiny four-pointed stars in black across two or three nails per hand, keeping the rest completely bare. The bare-nail approach is what makes this minimalist — the stars look like they’re floating. This suits short natural nails beautifully and works on every skin tone since there’s no base color to clash. My application tip: a star stamping plate gives the cleanest results at this size, and I place the stars asymmetrically — one near the cuticle, one near the tip — for an effortless scattered look. Seal with glossy top coat.
14. Subtle Cobweb French
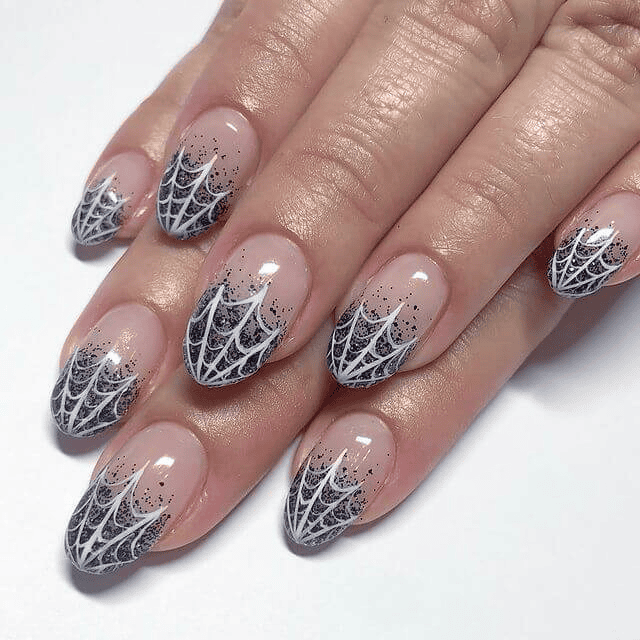
This is the French manicure’s spooky cousin, and I love it for October weddings and events. I do a classic sheer pink base with white tips, then add an ultra-fine grey cobweb in the corner of each white tip using a striping brush. The web is so delicate it reads as texture from a distance and reveals itself as Halloween up close. This suits medium-length square or almond nails where the tip area is wide enough for the web detail. My go-to tip: draw the web with watered-down grey polish so the lines stay whisper-thin, and keep it to the outer corner of the tip rather than spanning the whole nail. It photographs beautifully.
15. Micro Jack-o’-Lantern Face
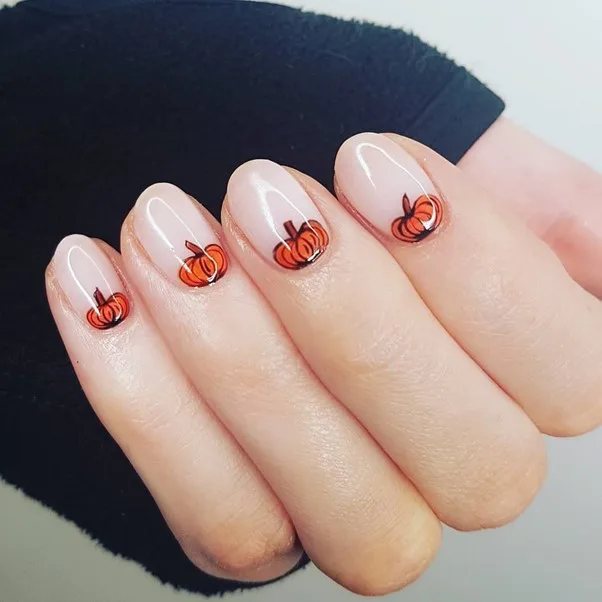
One micro jack-o’-lantern face is the most Halloween thing on this list, kept minimal by scale alone. I paint all nails in a sheer nude, then on the ring finger I add a tiny pumpkin face — two triangle eyes and a jagged smile, each element barely a millimeter — in black over a small burnt-orange circle no bigger than a pencil eraser. The miniature scale is what keeps it chic; a full-size pumpkin face would be a different manicure entirely. This suits short to medium nails and delights anyone who loves classic Halloween iconography. My tip: paint the orange circle first and let it dry completely, then add the face with a nail art pen for maximum control at tiny sizes.
16. Plum Sheer Wash
A plum sheer wash is Halloween mood in a bottle — no art required. I apply one or two coats of a translucent plum or blackberry jelly polish over the whole nail, letting the natural nail show through softly. The jelly finish keeps it sheer and modern rather than heavy, and the deep berry tone reads autumnal and slightly vampiric without any literal spookiness. I find this incredibly flattering on medium and deep skin tones, though it works on everyone. This suits all nail shapes and lengths, making it my top recommendation for minimalists who want a one-polish Halloween manicure. My tip: jelly polishes are sheer by nature, so apply thin coats and build slowly; two coats is usually the sweet spot.
17. Negative-Space Coffin Tips
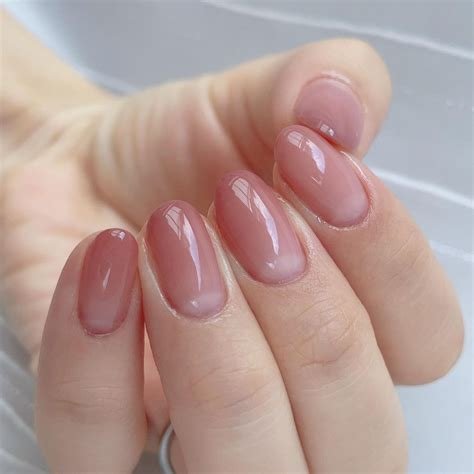
These negative-space coffin tips are a clever little pun I can’t resist each October. I leave the nail bare or sheer nude, then paint just the tip area in solid black — but instead of a curved French line, I use a flat, angled edge that echoes a coffin shape. The geometric black tip against the bare nail is striking yet minimal, using only two elements: color and shape. This suits medium to long nails, particularly coffin and square shapes where the angular tip reads clearly. My application tip: use striping tape to get the crisp angled edge, pressing it firmly before painting, and peel it off while the polish is still slightly tacky for the sharpest line.

18. Ghostly White Ombré Tips
Ghostly white ombré tips are the softest Halloween gradient I wear. I start with a sheer nude base and sponge a milky white from the mid-nail to the tip, fading it so the transition is seamless — like a ghost fading into fog. The effect is ethereal and barely-there, reading as an elegant gradient first and Halloween second. I love this on almond and oval shapes, and it suits brides or anyone attending October events who wants seasonal polish without motifs. My go-to technique: use a cosmetic sponge with white polish dabbed on, apply in three light passes, and finish with a glossy top coat to melt the gradient together. Cleanup around cuticles is essential for the clean look.
19. Tiny Witch Hat Accent
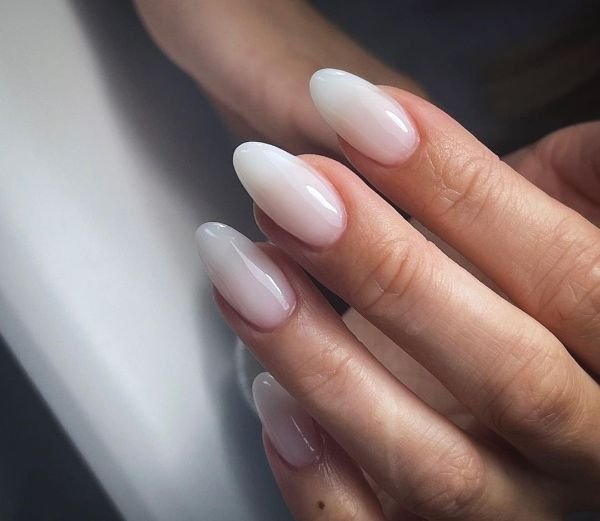
A tiny witch hat on one nail is pure Halloween charm at minimal scale. I keep the base sheer nude across all nails, then paint a small black witch hat — a triangle with a slightly bent tip and a thin brim — on the ring finger, adding a micro gold band if I’m feeling fancy. The hat should occupy less than a third of the nail to stay minimalist. This suits short and medium nails and is a hit with anyone who loves witchy aesthetics but not full nail art. My application tip: the bent tip is what makes it read as a witch hat rather than a plain triangle, so use a detail brush to flick the top sideways, and keep the brim thin and straight.

20. Gold Foil Moon on Sheer Base
Gold foil moons are where minimalist Halloween meets luxury, and this is my date-night pick for October. I apply a sheer nude or milky base, then press a small crescent of gold foil near the cuticle of the middle finger, sealing it under top coat. The metallic gold catches light beautifully and the moon shape nods to Halloween’s midnight magic without any black at all. This suits all nail shapes and looks stunning on deeper skin tones where gold truly glows. My tip: apply foil over tacky — not wet, not dry — polish or a foil adhesive, press with a silicone tool, and always seal with two top coats since foil edges lift easily. One moon per hand is plenty.

21. Barely-Black Smoke Marble
Barely-black smoke marble nails look like mist trapped under glass, and I find them endlessly wearable. I use a sheer grey or nude base, then swirl in wisps of diluted black polish with a thin brush or a blooming gel, keeping the black to faint smoky tendrils rather than bold marble veins. The restraint is the whole point — it should look like smoke, not stone. This suits medium to long nails, especially almond shapes, and flatters cool skin tones. My application tip: work on one nail at a time while the base is still wet so the black diffuses naturally, and use a clean brush to soften any line that gets too dark. Glossy top coat is non-negotiable here.

22. Mini Skeleton Hand Accent
A mini skeleton hand waving from one nail is spooky-cute at the right scale. I paint a sheer nude base everywhere, then draw a tiny skeleton hand — simplified to a few finger bones — in white or light grey on the ring finger, small enough to leave plenty of bare nail around it. The monochrome palette keeps it minimal; white on nude is soft rather than stark. This suits short to medium nails and appeals to anyone who wants Halloween with a playful edge. My honest tip: this is one of the harder freehand designs on the list, so I use a fine nail art pen and practice on paper first, simplifying the hand to three or four bone lines. Less detail reads better at this size.

23. Soft Black Aura Nails
Soft black aura nails are the 2026 trend I didn’t know I needed for Halloween. I sponge a sheer nude base, then build a soft halo of black or deep charcoal in the center of each nail, fading out to the edges — like an aura, but moody. The blurred edges keep it modern and minimal compared to solid black nails. I love this on short almond nails where the aura shape mirrors the nail. It suits all skin tones since the nude base can be customized. My application tip: an eyeshadow applicator or small sponge gives the softest blend; apply the black in the center and dab outward, building in thin layers, and seal with matte top coat for a velvety finish or glossy for depth.

24. Tiny Candy Corn Stripe
This candy corn stripe distills the whole treat into one thin line, and it’s genius in its simplicity. I paint a sheer nude base, then add a single vertical or diagonal stripe on the ring finger divided into three tiny segments — white, orange, yellow — like a miniature candy corn stretched into a line. The stripe is no wider than 2 millimeters, so it reads as a color-block accent first and candy corn second. This suits short square nails perfectly and is ideal for anyone who finds full candy corn nails too literal. My tip: paint the stripe in three passes with a striping brush, letting each color dry before adding the next to keep the segments crisp and clean.

25. Matte Nude With Glossy Ghost Tips
I save this ghost-tip French for last because it’s the cleverest minimal design I know. I paint the nail matte nude, then add tips in the same nude shade but with a glossy top coat — and shape each tip with a wavy, ghost-like bottom edge instead of a straight French line. The matte-versus-gloss contrast reveals little ghost silhouettes only when light hits the nail. It’s invisible Halloween, and I love that. This suits medium-length nails in any shape and works beautifully for professional settings. My application tip: do the matte base first, then carefully paint the wavy tips with regular nude polish and seal only the tips with glossy top coat, keeping the rest matte.

Minimalist Halloween nails prove that spooky season doesn’t require a costume on your fingertips. Whether you chose the floating spiderweb, the micro bats, or the invisible ghost tips, these 25 subtle designs keep your manicure chic, wearable, and quietly festive all October long. My advice: pick the one that fits your nail length and lifestyle, keep your tools simple — a detail brush and a steady hand go far — and enjoy Halloween nail art that works as hard at the office as it does at the party.