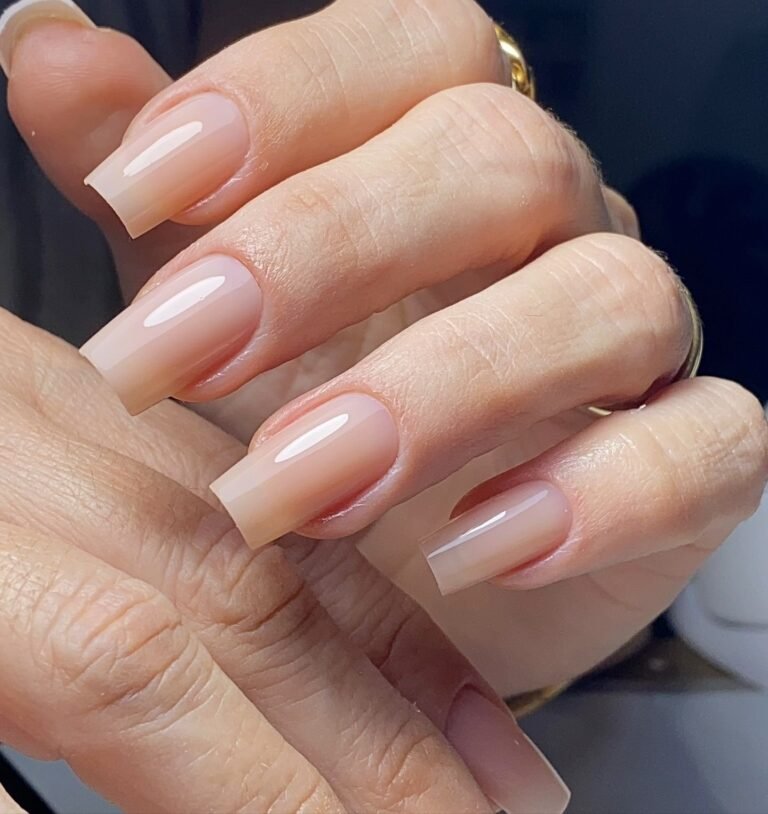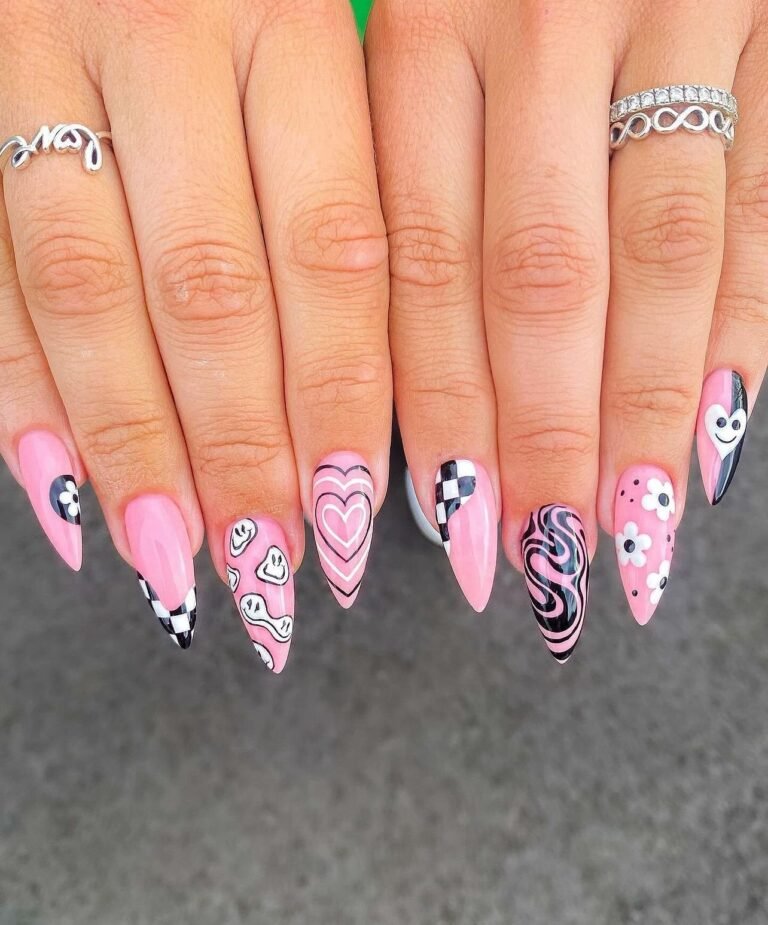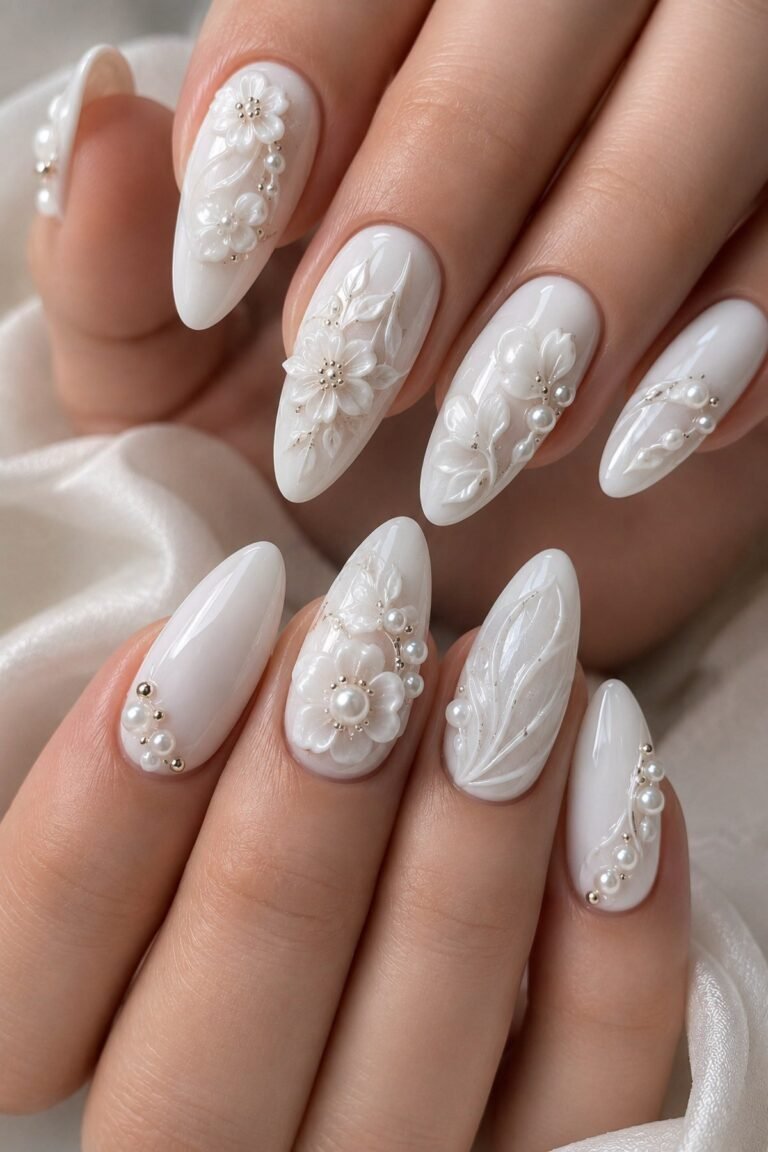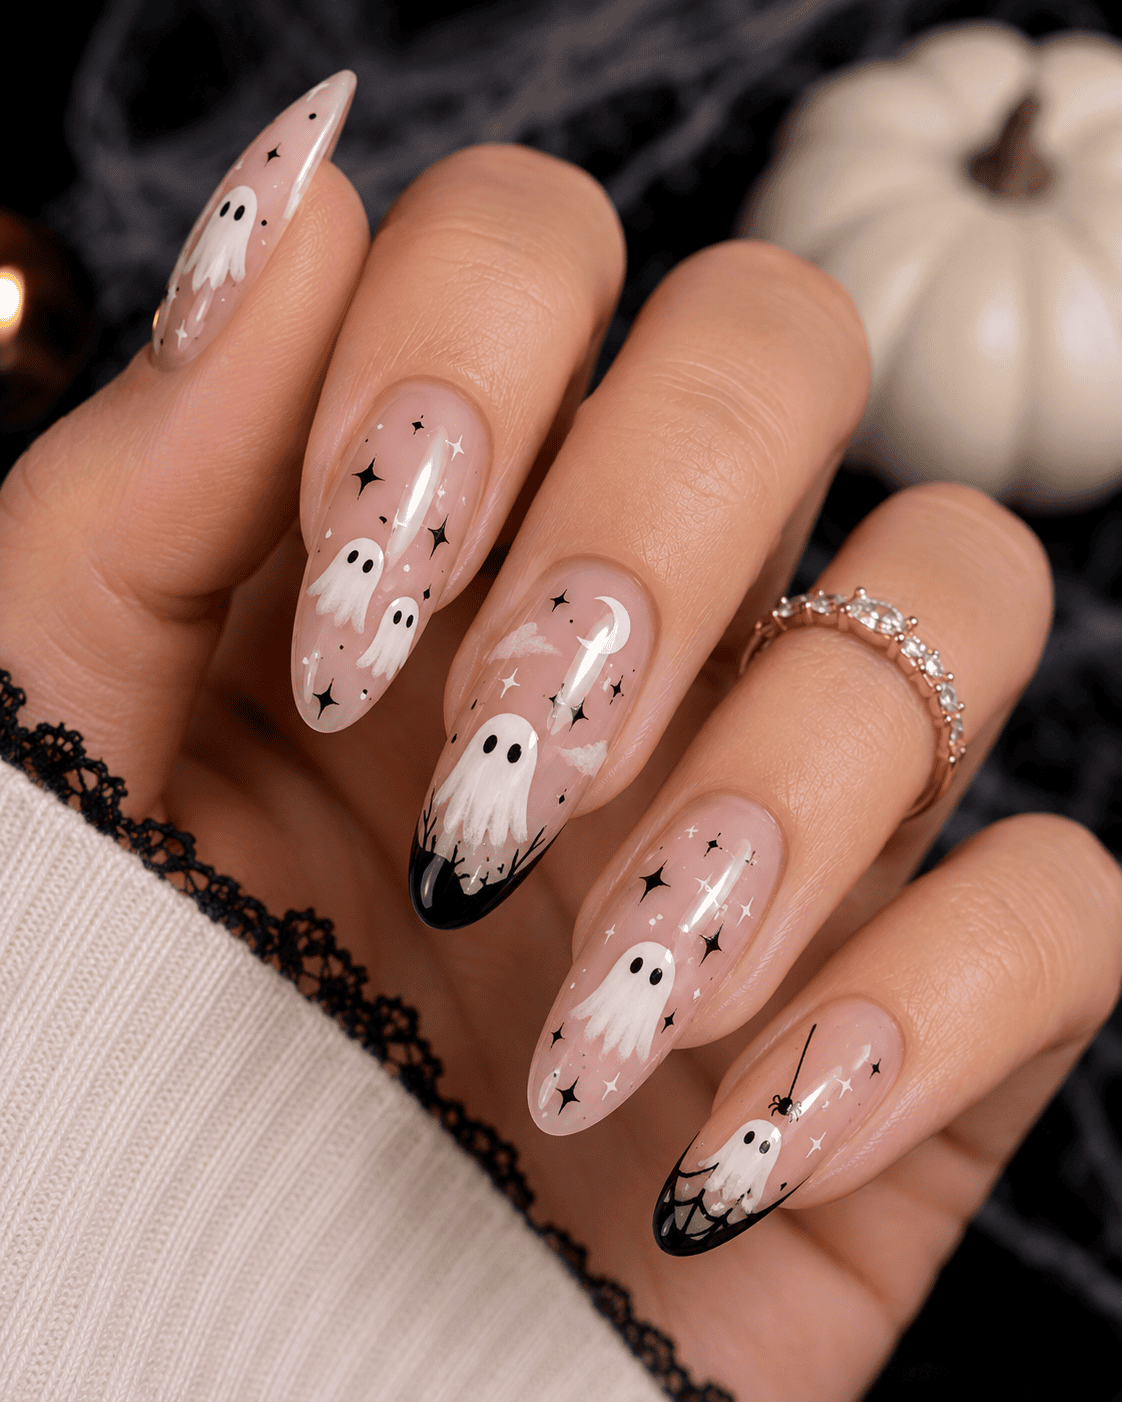
Cute Halloween nail ideas are my favorite way to celebrate October without going full horror movie. I love a manicure that reads “spooky season” from across the room but still looks adorable up close. This roundup of 30+ cute Halloween nail ideas 2026 covers ghosts, pumpkins, candy corn, black cats, and spiderwebs in soft, wearable color palettes. Every design below works on natural nails or press-ons, and most are beginner-friendly with a dotting tool. I’ve worn variations of almost all of these to pumpkin patches, costume parties, and my desk job. Pick your favorite, save the inspiration, and get ready for compliments all October long.
1. Tiny Ghost on Sheer Nude

I love how this design keeps things sweet instead of scary. A sheer nude or milky pink base makes the little white ghost on the ring finger pop without looking harsh. I painted the ghost with a small flat brush, then added two dot eyes and a tiny open-mouth “boo” face with a toothpick. The rest of the nails stay plain, which makes this so wearable for the office. It suits literally everyone, especially if you want Halloween nails that don’t scream costume. My go-to tip: let the white polish get slightly tacky before drawing the face so the black details stay crisp and don’t bleed.
2. Smiling Pumpkin Patch
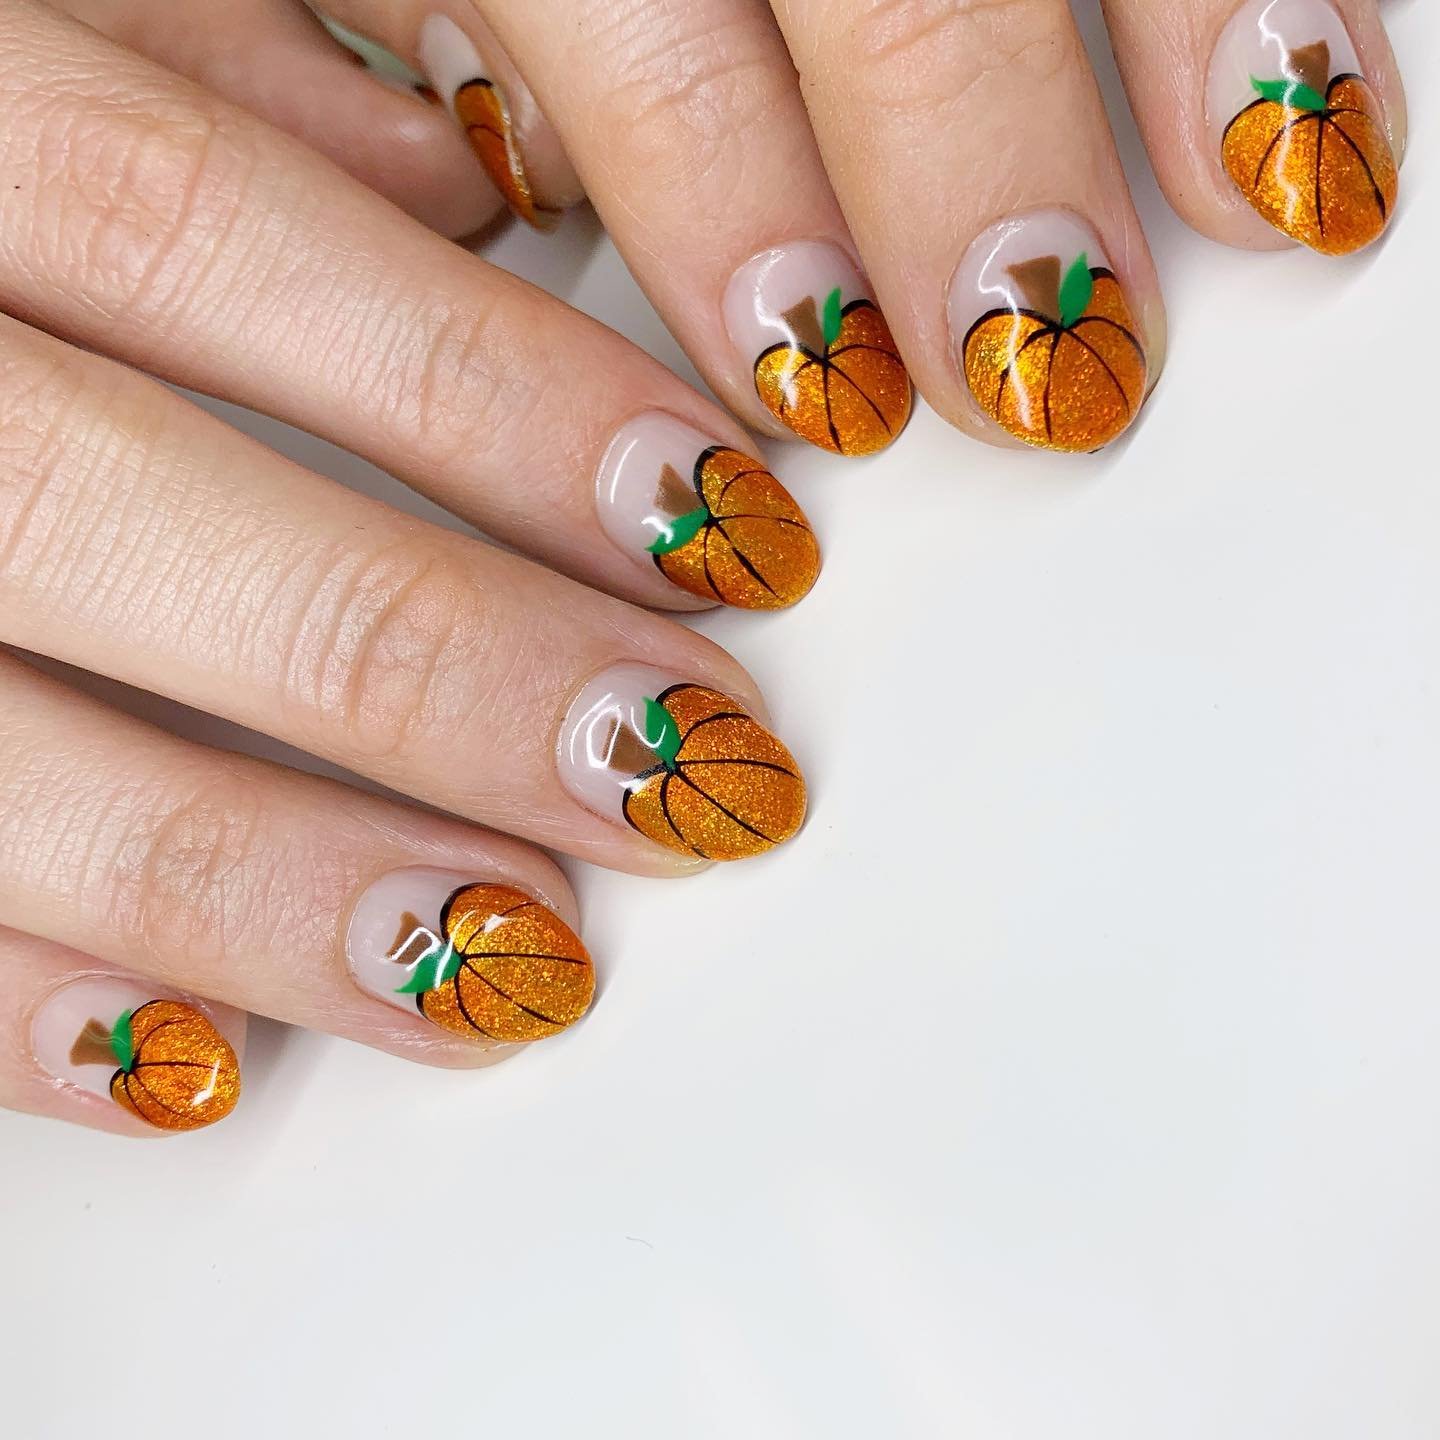
This smiling pumpkin design is pure October joy. I paint two or three nails in a warm pumpkin orange and draw a simple jack-o’-lantern face on one accent nail with black polish. The trick is keeping the face cute: round triangle eyes and a little toothy grin, not a scary scowl. It suits short and medium nails equally well since the design is simple. I wear this to the pumpkin patch and fall markets every year. Quick tip: use a striping brush or the tip of a bobby pin for the face details, and seal with a glossy top coat to make the orange look juicy and fresh.
3. Candy Corn Tips

Candy corn nails are the ultimate retro Halloween look, and I never get tired of them. The gradient of white tip, orange middle, and yellow base is instantly recognizable. I paint the yellow base first, then sponge or layer the orange and white in horizontal bands. It suits anyone who loves a playful, sweet-treat manicure. I wear mine with cozy sweaters through all of October. My go-to tip: use a makeup sponge to blend the color bands for a soft ombre effect instead of harsh lines, then clean up the cuticles with a small brush dipped in acetone for a salon-sharp finish.
4. Black Cat Silhouette

I adore this black cat silhouette against an orange moonlit background. Paint your nails a warm orange or golden yellow, then use a thin brush to draw a sitting cat silhouette in black on one or two accent nails. Add tiny pointed ears and a curled tail for instant charm. It suits cat lovers and anyone who wants Halloween nails with personality. I wore this to a Halloween movie night and got so many questions. Quick tip: practice the silhouette on paper first. Keep the body simple, almost like a blob with ears, and it will still read as a cat immediately.
5. Delicate Spiderweb Accent
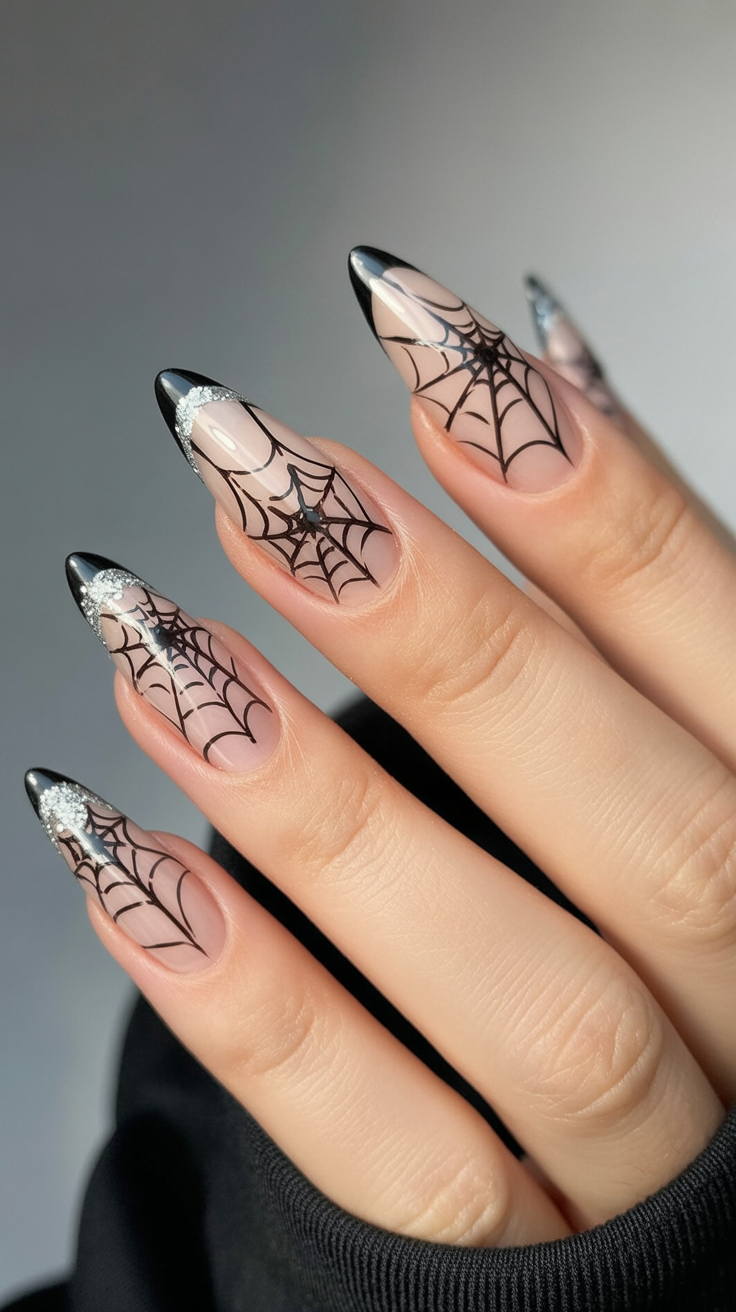
This delicate spiderweb accent is spooky-cute perfection. I paint most nails a soft lavender or pale gray, then draw a thin white or silver spiderweb on one accent nail using a striping brush. Adding a tiny spider with a dotting tool makes it playful rather than creepy. It suits longer nails where the web has room to spread, but works on short nails too. I wear this to Halloween parties when my costume is cute rather than scary. My go-to tip: draw the web with three crossing lines first, then connect them with curved arcs. Less is more here.
6. Little Witch Hat
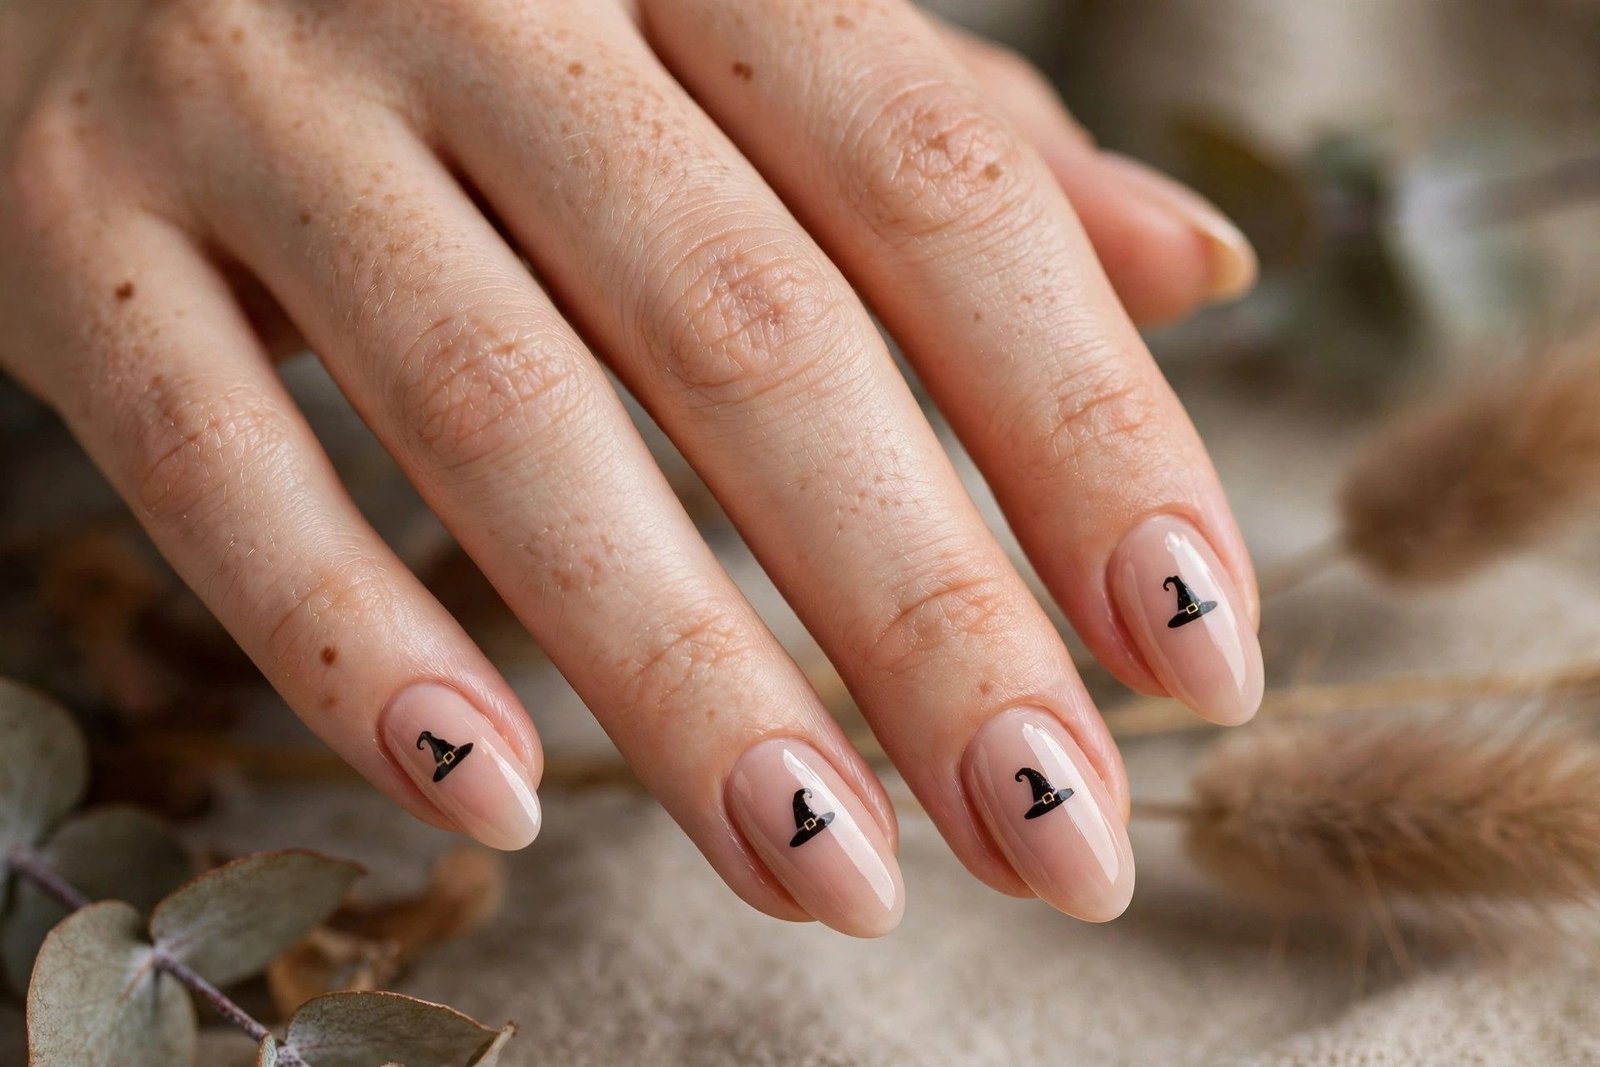
The little witch hat design always makes me smile. I paint a black triangle hat with a tiny buckle on one accent nail over a purple or midnight-blue base. The other nails can be solid black, purple, or even orange for contrast. It suits anyone who leans into the witchy aesthetic at Halloween. I love wearing this with all-black outfits in October. Quick tip: draw the hat with a striping brush in two strokes, a wide triangle and a thin brim line. Add a small gold dot for the buckle, and you’ve got an instantly recognizable witch moment.
7. Pastel Halloween Mix
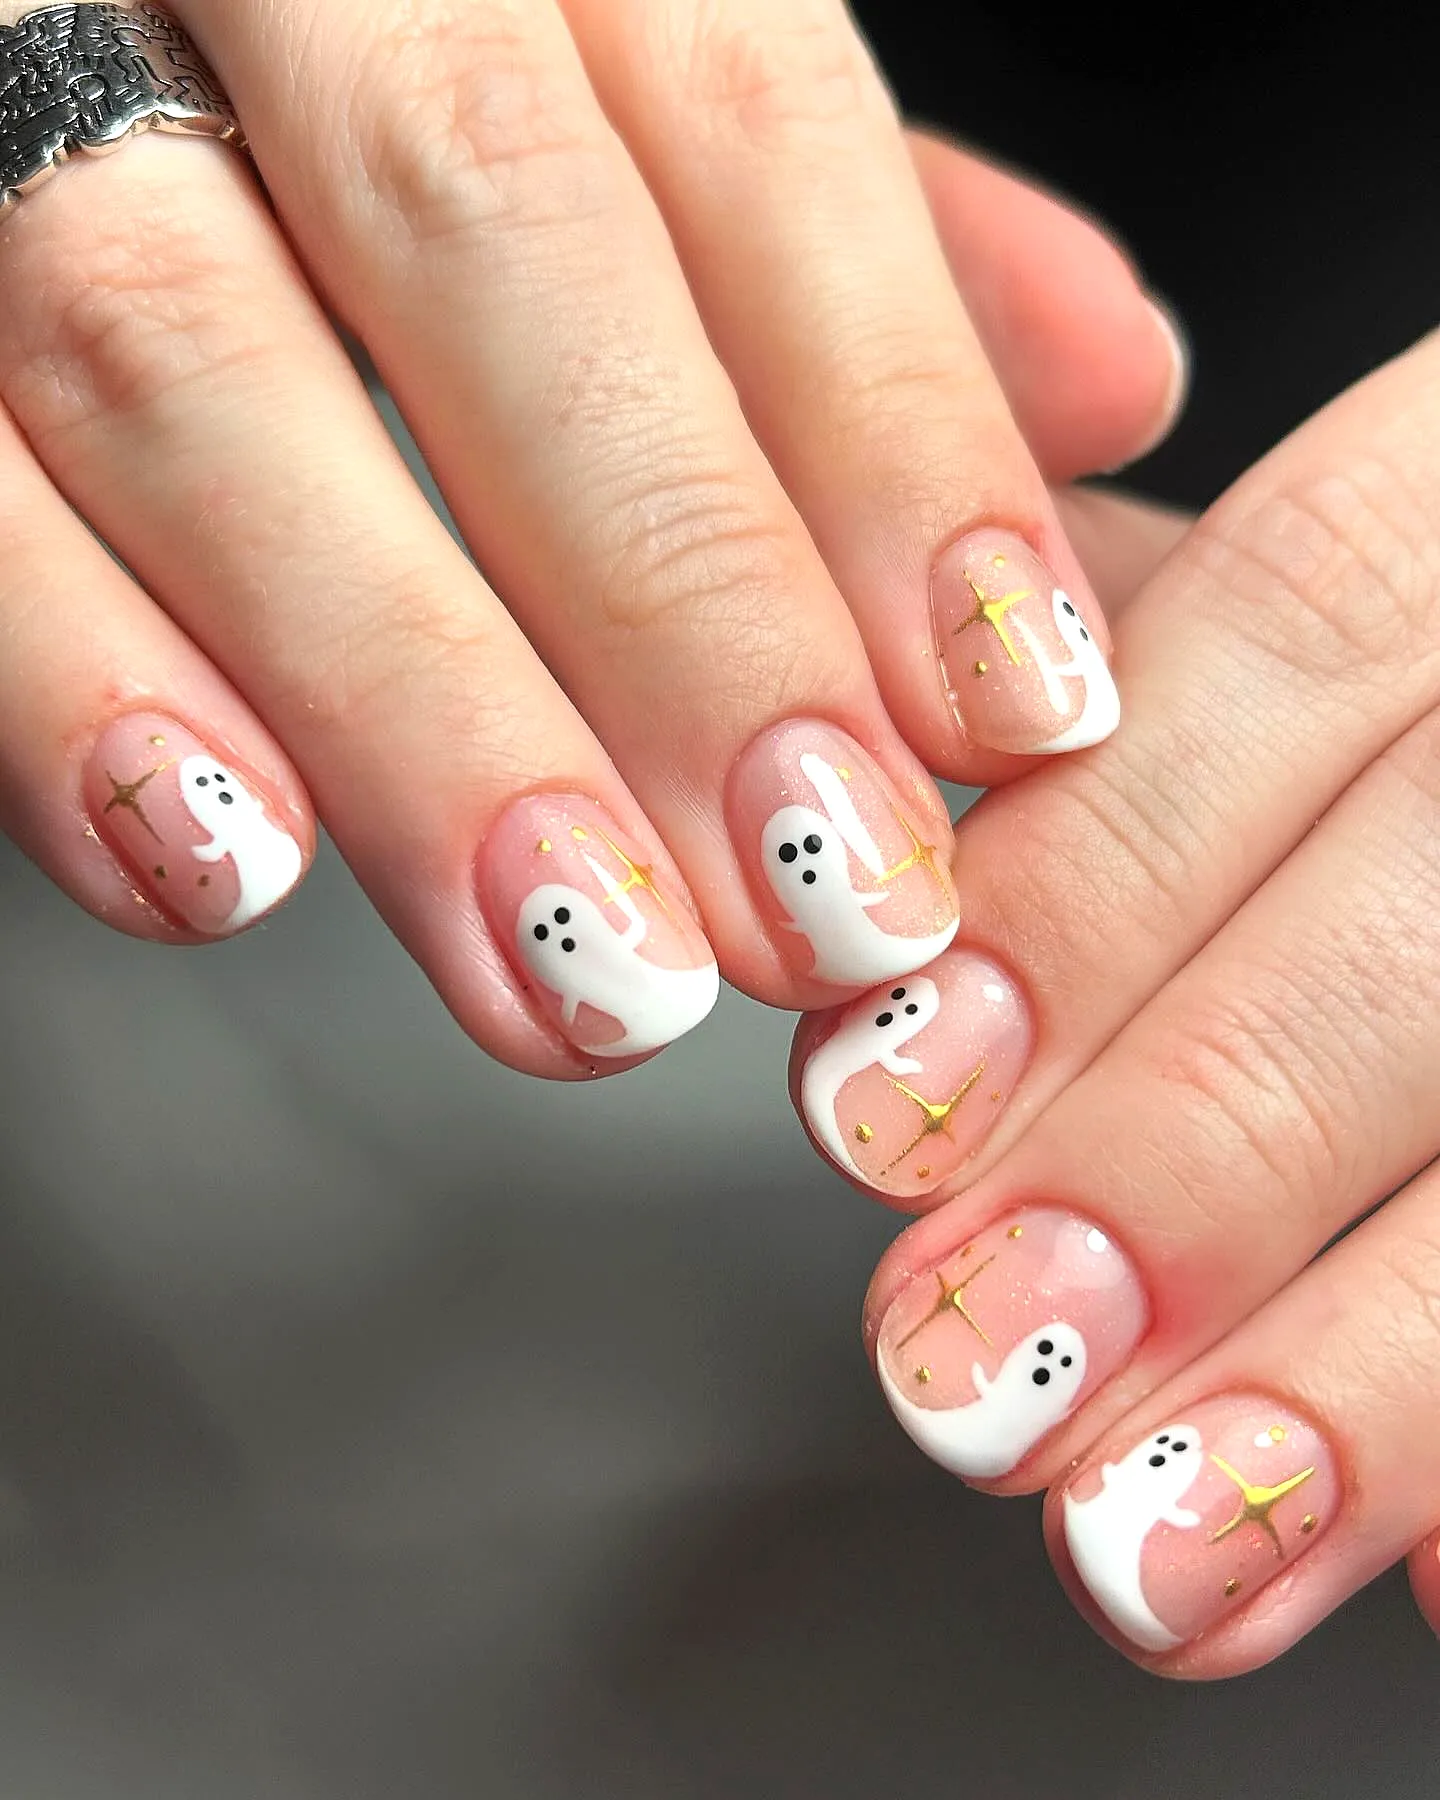
This pastel Halloween mix is for anyone who finds traditional Halloween colors too intense. I use soft peach, lilac, mint, and baby pink bases and add tiny white ghosts, orange pumpkins, and black bats. The pastel palette keeps everything sweet and wearable. It suits younger nail lovers and anyone whose style is more coquette than goth. I wear this when I want festive nails that still match my everyday wardrobe. My go-to tip: keep the art tiny and centered on each nail so the pastels stay the star. A matte top coat makes the whole look feel extra soft and modern.
8. Ghost Faces on Every Nail

Covering every nail with a different ghost face is so fun and surprisingly easy. I use a sheer white or milky base on all nails, then give each ghost its own expression with a dotting tool: sleepy eyes, surprised O-mouths, happy smiles. It suits playful personalities and looks adorable in photos. I wear this set to Halloween parties and trick-or-treating with my nieces. Quick tip: vary the faces but keep them all simple two-dot eyes. The variety is what makes it charming. Let each layer dry before adding faces so nothing smudges, and finish with two coats of top coat.
9. Pumpkin Spice Latte Nails

Pumpkin spice latte nails are my official start-of-fall signal. I paint nails in warm shades of pumpkin orange, cinnamon brown, and creamy latte, adding tiny pumpkin or leaf accents on one or two nails. The color story feels cozy and seasonal without being costumey. It suits anyone who loves autumn aesthetics. I wear this from late September straight through Thanksgiving. My go-to tip: add a thin gold line or tiny gold stud at the cuticle for a luxe touch. The warm metallic against the pumpkin tones looks expensive and so seasonal.
10. Candy Corn French Tips

Candy corn French tips are a clever twist on the classic. Instead of full candy corn nails, I paint a nude base and add the white-orange-yellow trio just at the tips in a French manicure shape. It’s subtler and more elegant than the full design. It suits anyone who wants Halloween spirit in a work-appropriate manicure. I wore these to the office all October and only got compliments. Quick tip: use French tip guides or the curved edge of a sticker to get clean smile lines, then fill in the three candy corn bands with a small brush. Precision makes this look salon-done.
11. Lucky Black Cat Eyes
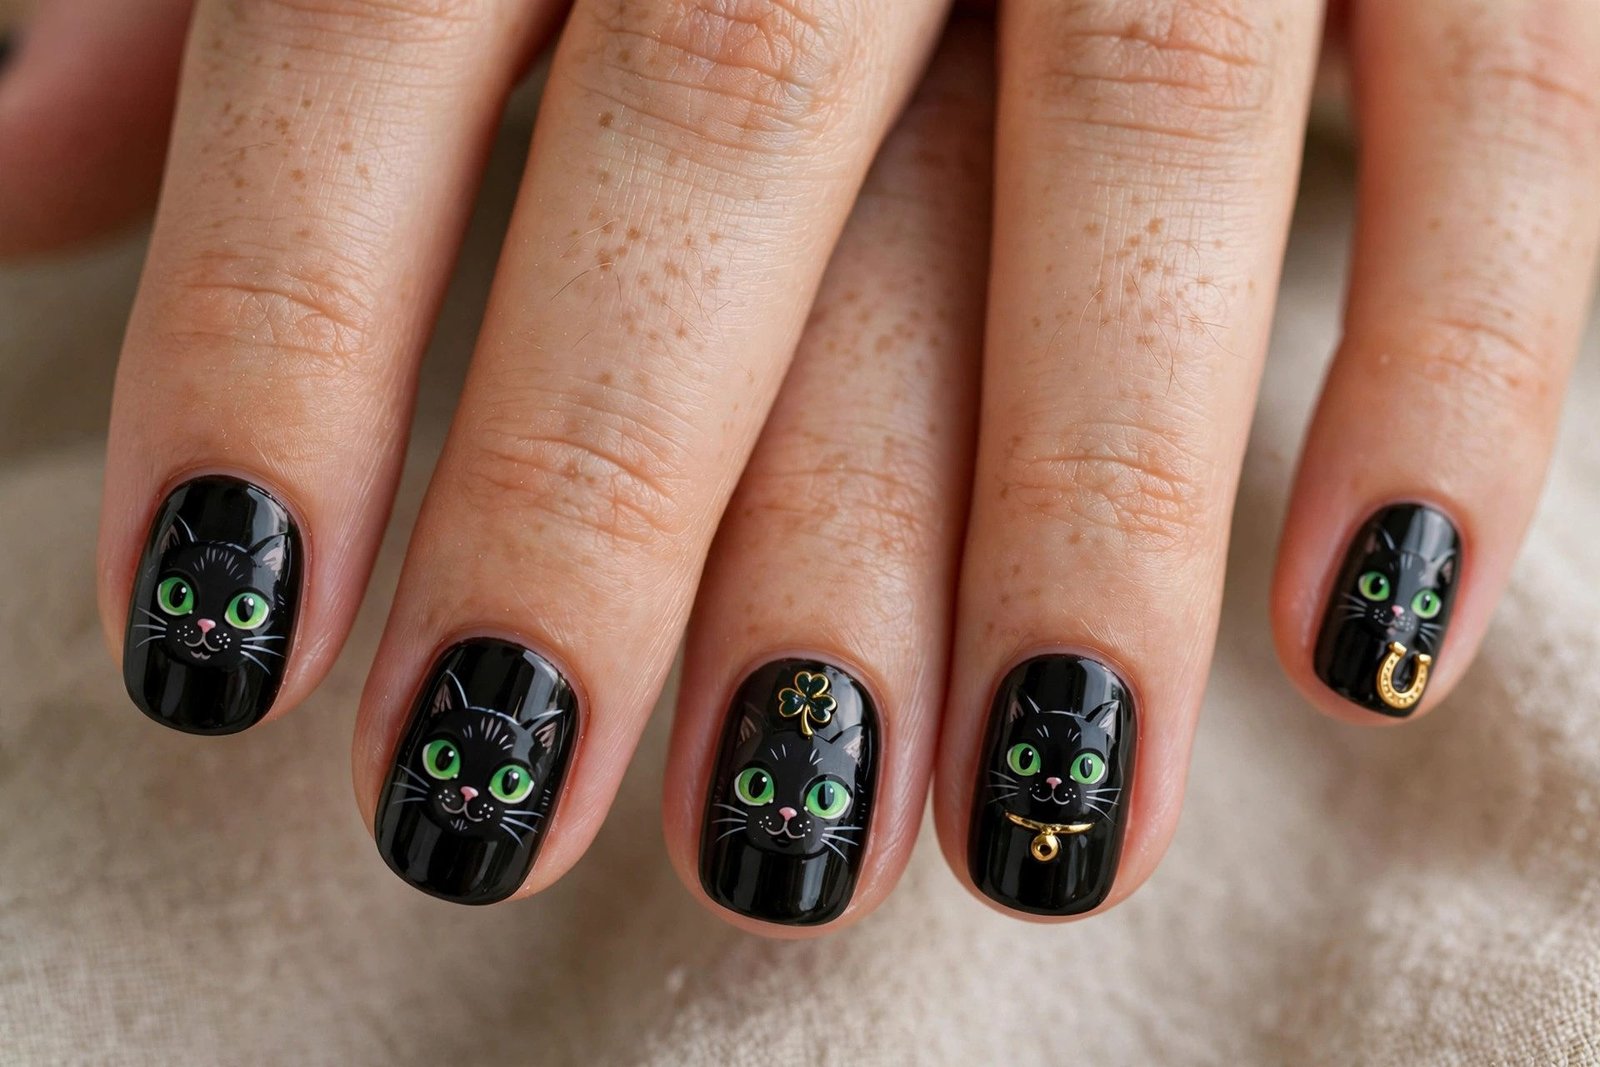
These lucky black cat eyes are mischievous and cute. I paint nails solid black or deep plum, then add two almond-shaped cat eyes in gold or green on an accent nail, with slit pupils. The rest stay simple and glossy. It suits anyone who loves a slightly mysterious vibe. I wear this with gold jewelry and it looks incredible. My go-to tip: the eyes are just two almond shapes drawn with a striping brush, then a thin vertical line for the pupil. Keep them symmetrical by marking the center of the nail first. Top with high-gloss for maximum drama.
12. Glitter Spiderweb

A glitter spiderweb takes the classic web design from cute to glamorous. I paint a deep purple or black base, then draw the web in silver or holographic glitter polish with a thin brush. The sparkle catches the light beautifully. It suits evening Halloween events and anyone who loves glam nails. I wore this to a costume gala and felt amazing. Quick tip: glitter polish is more forgiving than plain polish for line work because the sparkle hides wobbles. Draw the web slowly, let it dry fully, then seal with a gel-effect top coat to smooth the glitter texture.
13. Friendly Witch Fingers
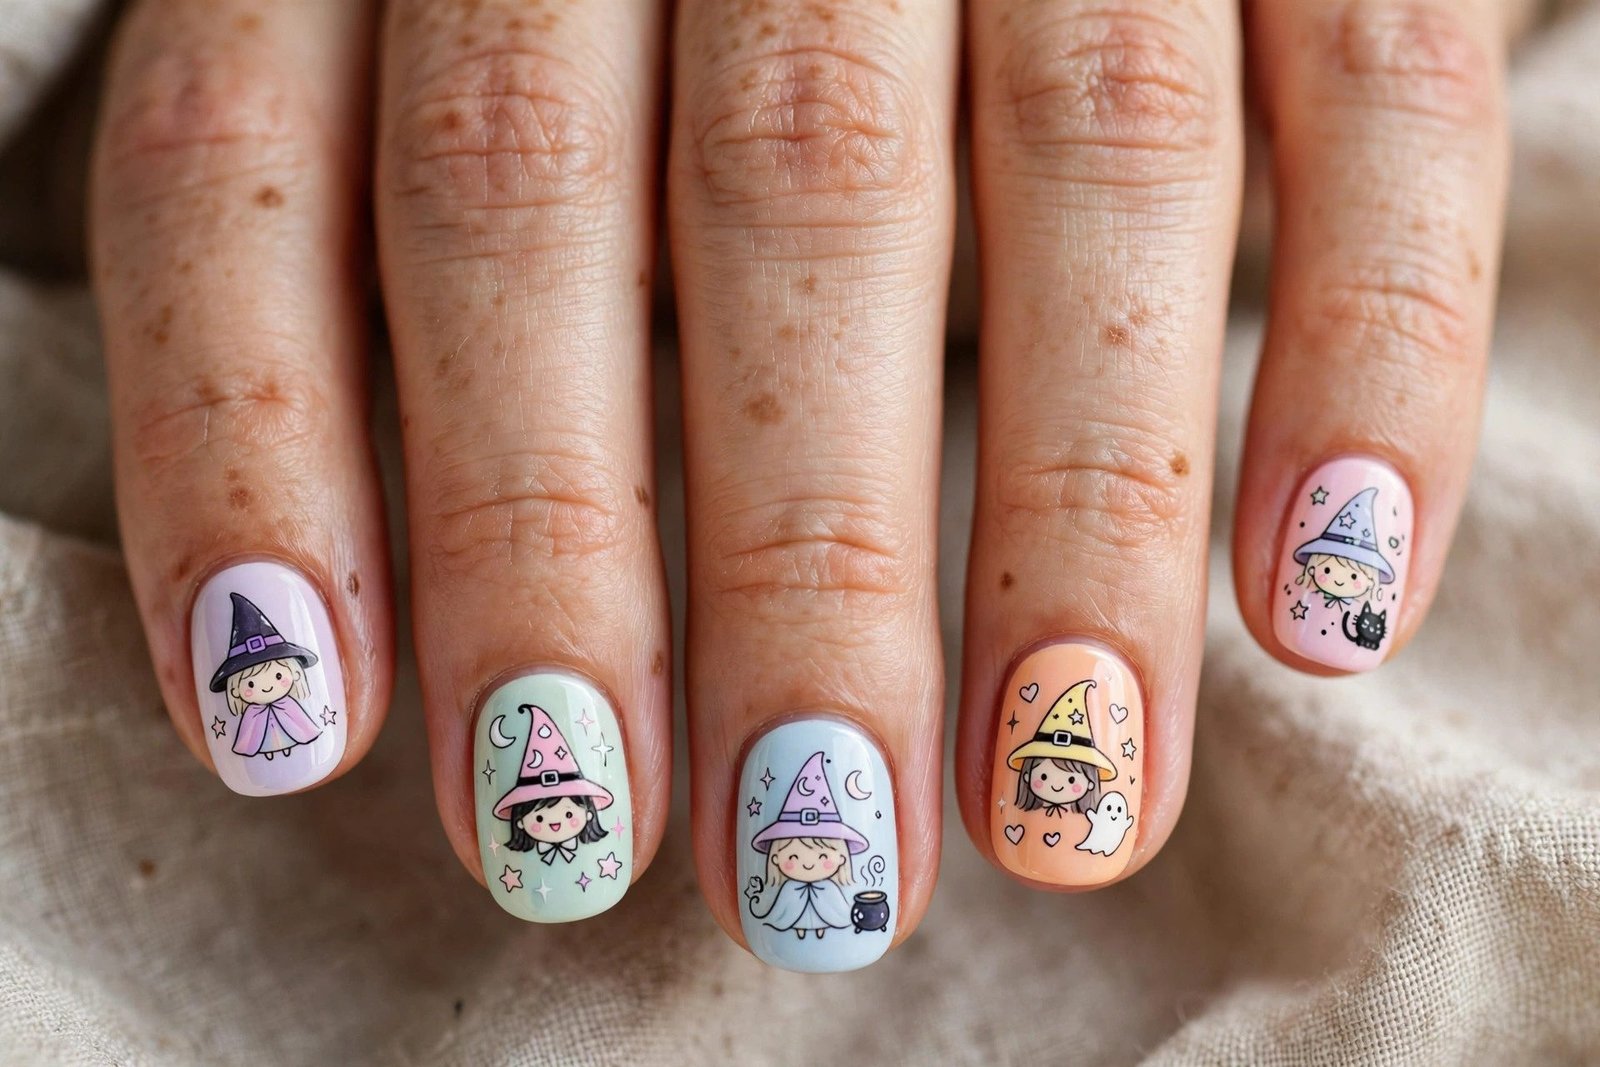
Friendly witch fingers are all about the color story: deep purple, emerald green, and black with tiny stars and moons. I keep the art simple, little crescent moons and four-pointed stars scattered over dark bases. It suits witchy girls who want cute over creepy. I wear this with layered rings and it looks so intentional. My go-to tip: use a dotting tool for the stars’ centers and a striping brush for the points, or cheat with tiny star stickers sealed under top coat. Nobody will know, and the result is perfectly crisp.
14. Ghost and Pumpkin Duo

The ghost and pumpkin duo is a classic pairing I return to every October. Alternate nails between tiny white ghosts on black and mini pumpkins on orange, or keep a nude base with both motifs as accents. It suits absolutely everyone, it’s the Halloween nail equivalent of a crowd-pleaser. I wear this when I can’t decide on just one theme. Quick tip: keep the motifs the same size across nails for a balanced look. If freehand feels scary, start with the pumpkins, they’re just orange ovals with lines, then try the ghosts. You’ll get the hang of it fast.
15. Boo-Tiful Ghost Outline

This ghost outline design is minimal and modern. I paint nails a soft gray or nude and draw simple ghost outlines in white or black, just the rounded shape with two dot eyes, no fill. The negative-space effect feels fresh and artistic. It suits minimalists who still want a nod to Halloween. I love this for weeks when my outfits are busy and my nails need to be quiet. My go-to tip: the outline is just one continuous curved line, practice it twice on paper and you’ll nail it. A thin nail art brush makes all the difference here.
16. Jack-o’-Lantern Grin
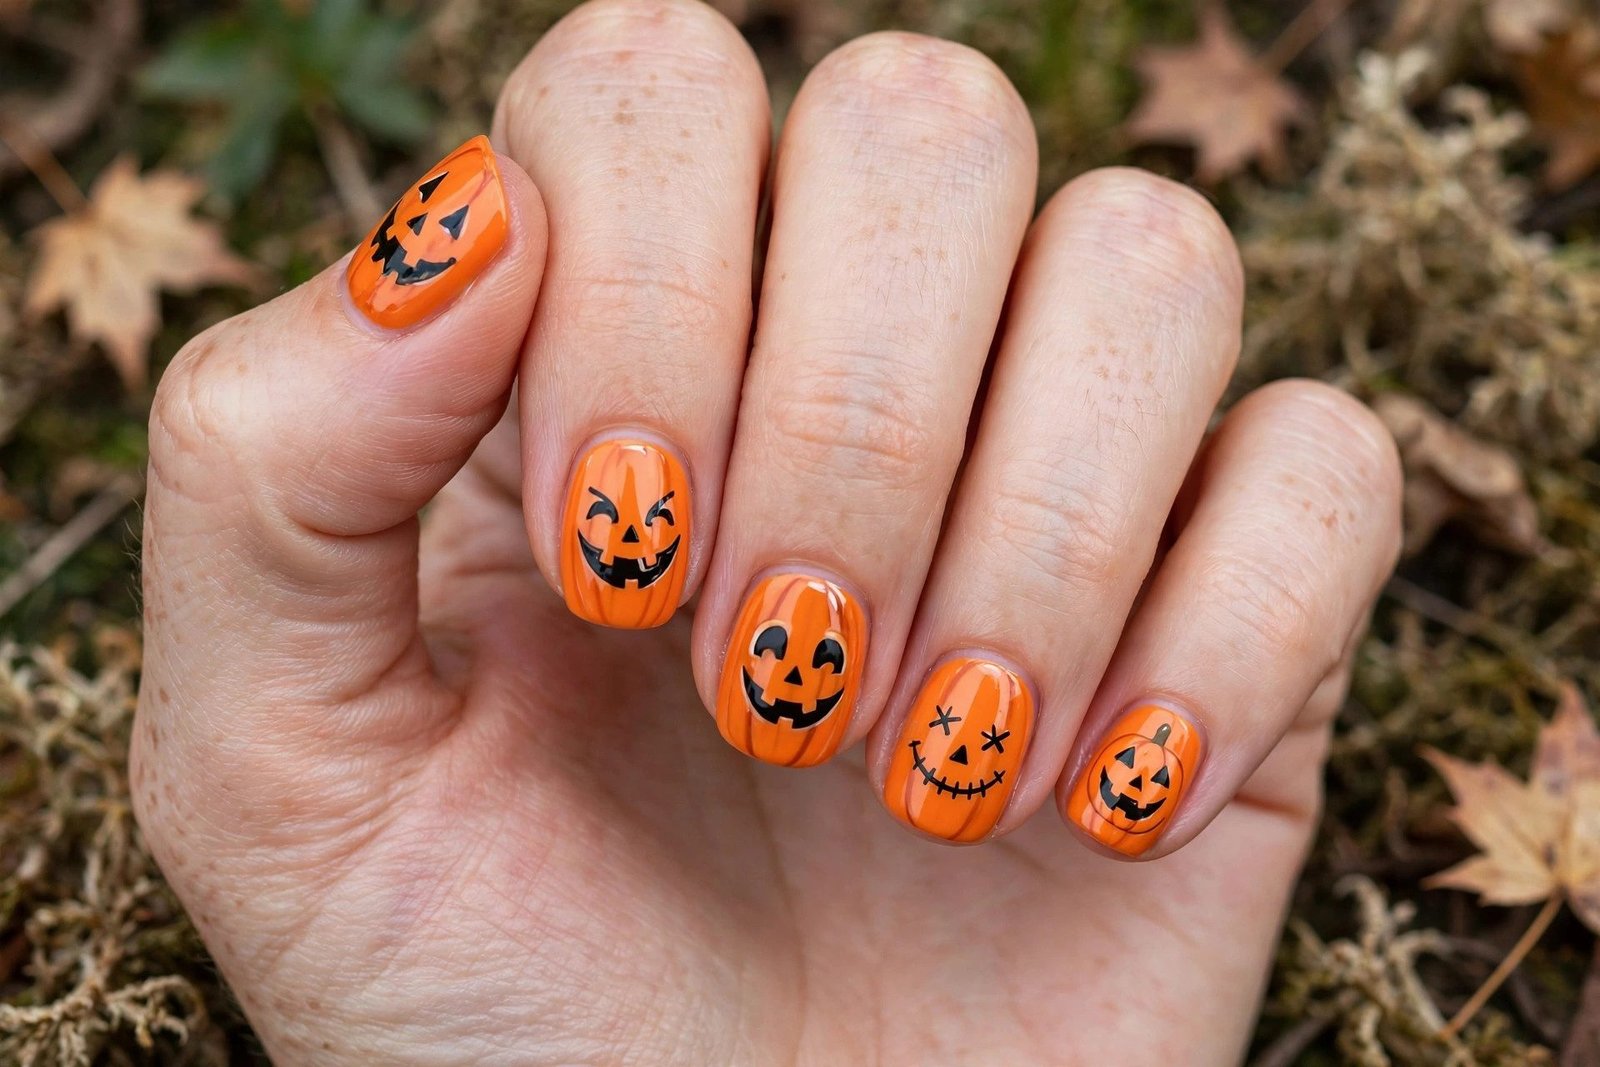
The jack-o’-lantern grin is Halloween in a single nail. I paint a rich orange base and carve out the classic triangle eyes and toothy smile in black on the ring finger. Keeping the grin wide and goofy, not menacing, is what makes it cute. It suits short nails perfectly since the face fills the nail nicely. I wear this to pumpkin carving parties, obviously. Quick tip: sketch the face with a toothpick first to check the spacing, then go over it with black polish and a detail brush. Two thin coats of orange underneath prevent streaks and make the color pop.
17. Sweet Candy Corn Dots
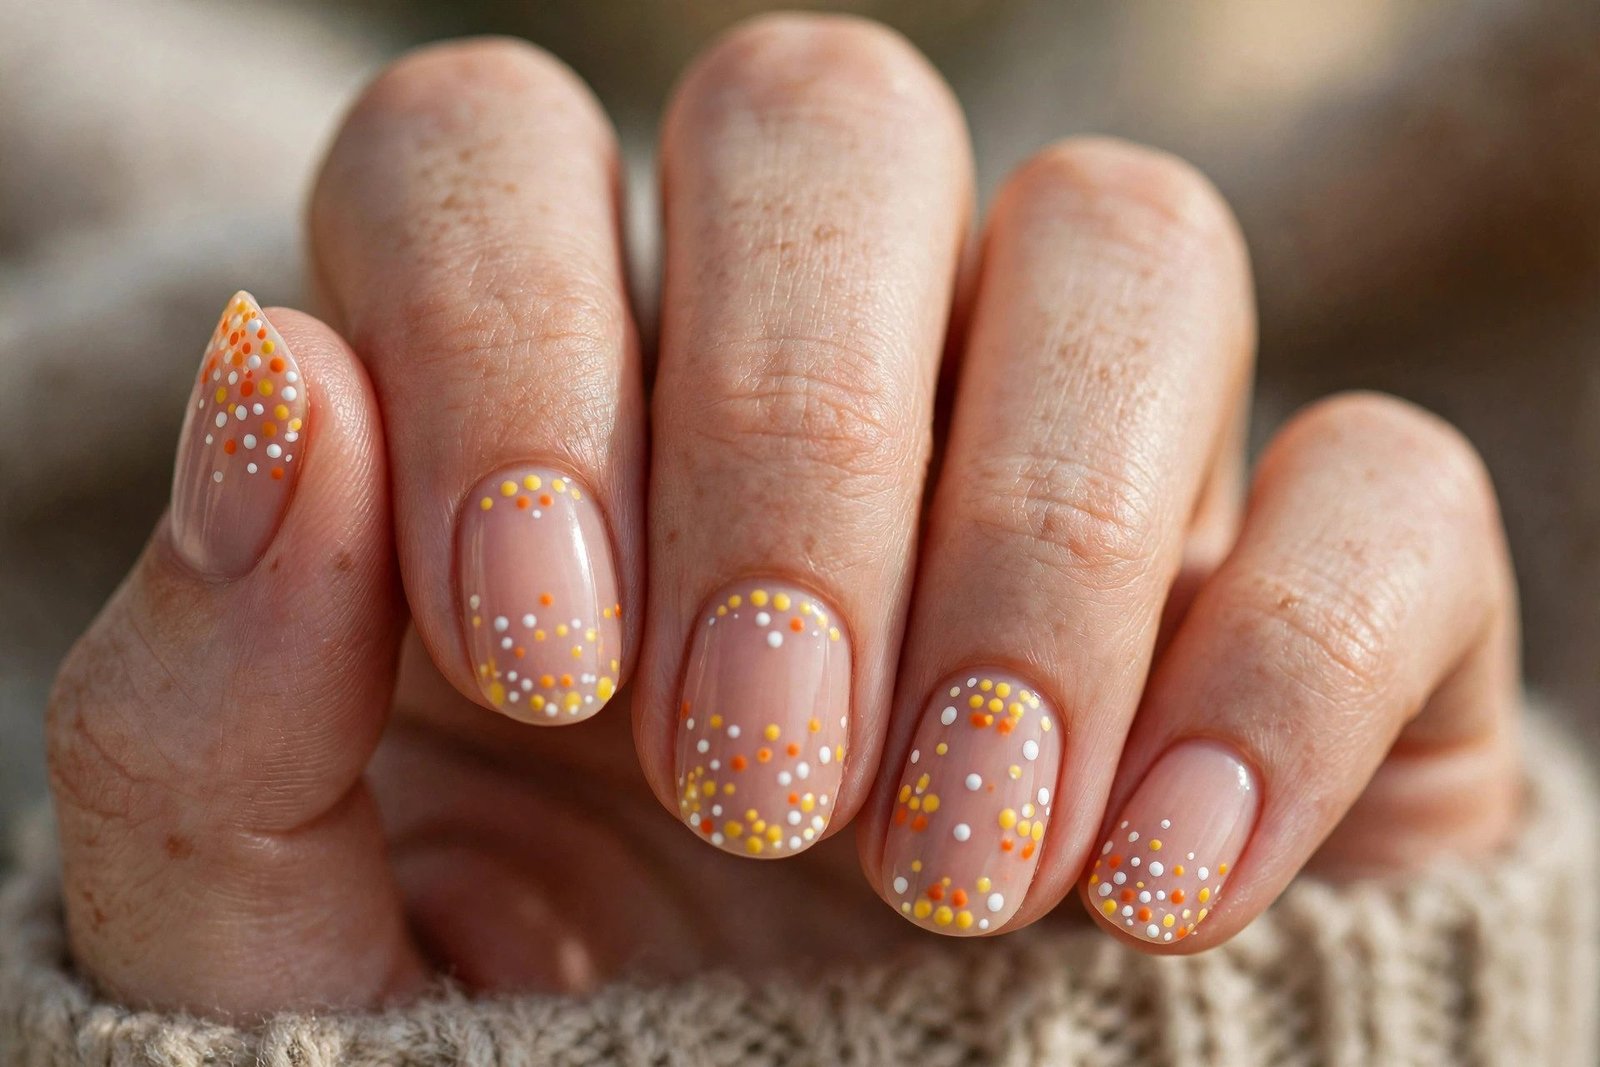
Sweet candy corn dots are the easiest Halloween nail art that still looks intentional. I paint a nude or white base and add rows of tiny dots in yellow, orange, and white to mimic candy corn kernels. The dotting tool does all the work. It suits total beginners and looks adorable on short nails. I wear this when I’m short on time but want festive nails. My go-to tip: load your dotting tool generously and touch it straight down without dragging. Uniform dots are the whole trick. Finish with top coat to smooth everything into one glossy, candy-like surface.
18. Cat Ears French
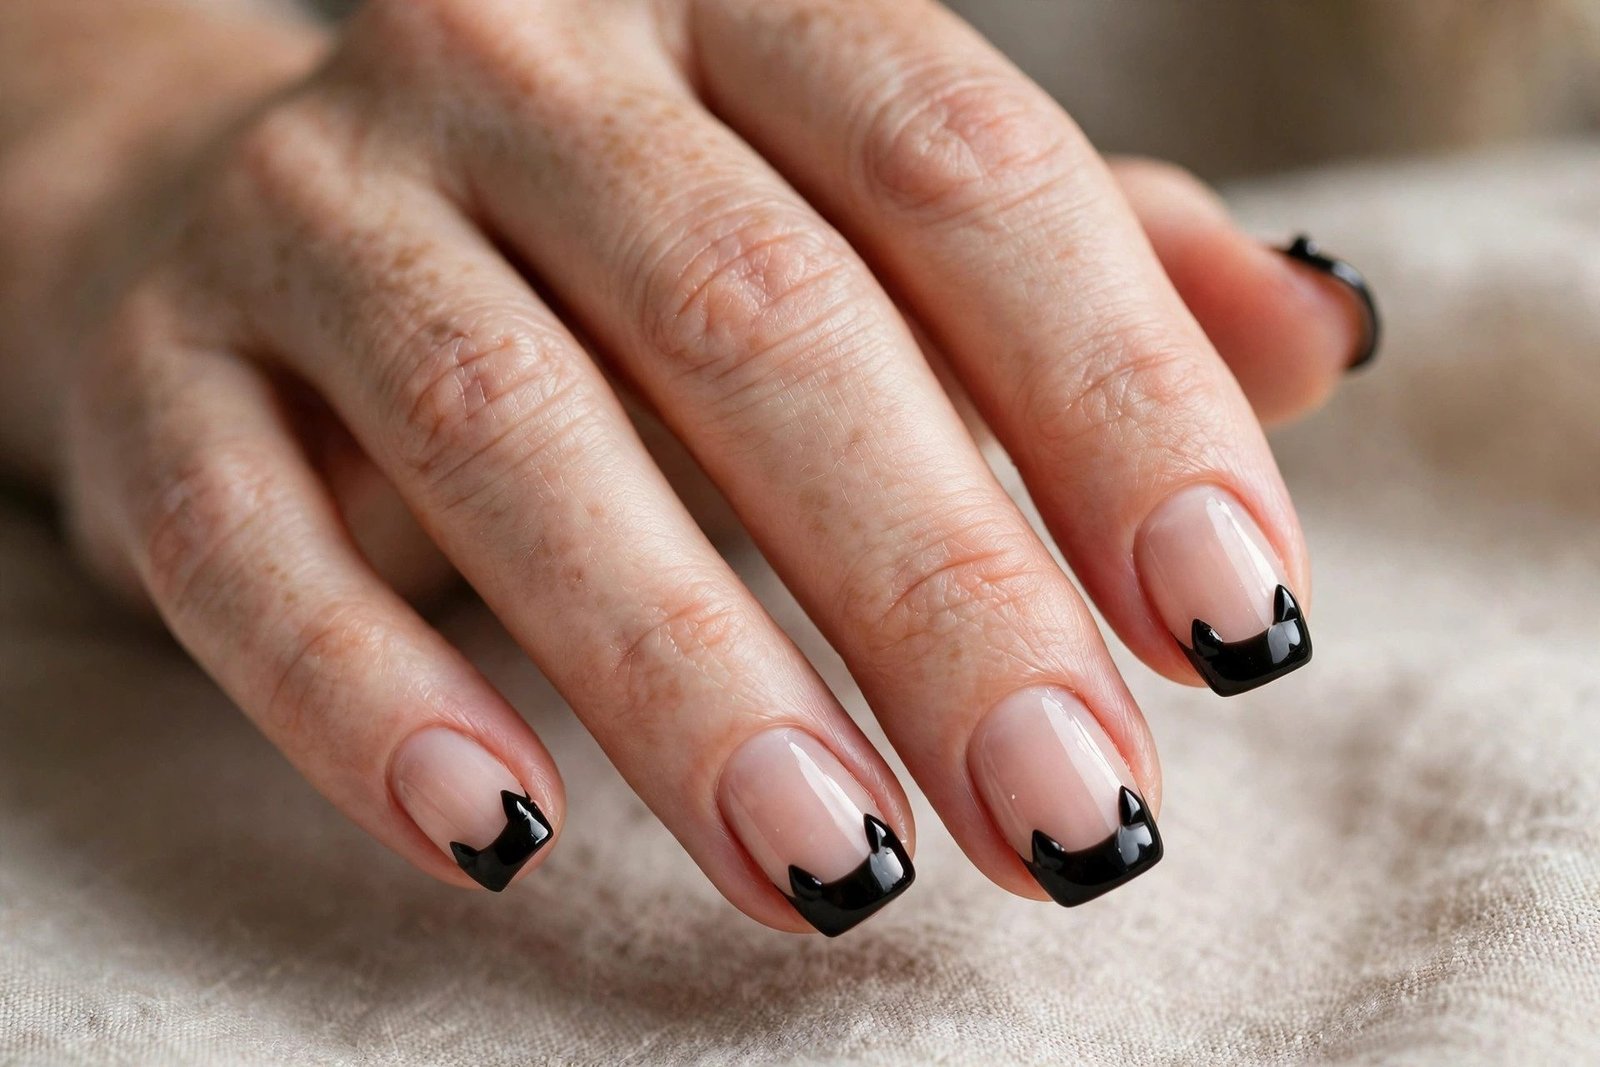
Cat ears French tips are subtle Halloween at its best. I paint a classic nude French manicure, then add two tiny black triangles at the tip corners to suggest cat ears. It’s the kind of detail people notice on second glance. It suits anyone who wants Halloween nails that fly under the radar. I wore these to a work event in October and loved the secret festivity. Quick tip: draw the ears with the very tip of a striping brush and keep them small, about a third of the tip width. Symmetry matters most here, so do both ears before moving to the next nail.
19. Holographic Spiderweb

A holographic spiderweb is my party-nail secret weapon. I start with a black or deep navy base, then draw the web with holographic or iridescent polish so it shifts colors in the light. The effect is mesmerizing and very 2026. It suits anyone who loves a futuristic twist on Halloween. I wear this to evening events where the lighting shows off the holo shift. My go-to tip: holo polishes are often sheer, so layer the web lines twice for opacity. Work in a well-lit area so you can see where you’ve already drawn, and seal carefully to protect the delicate holo finish.
20. Witchy Purple Ombré
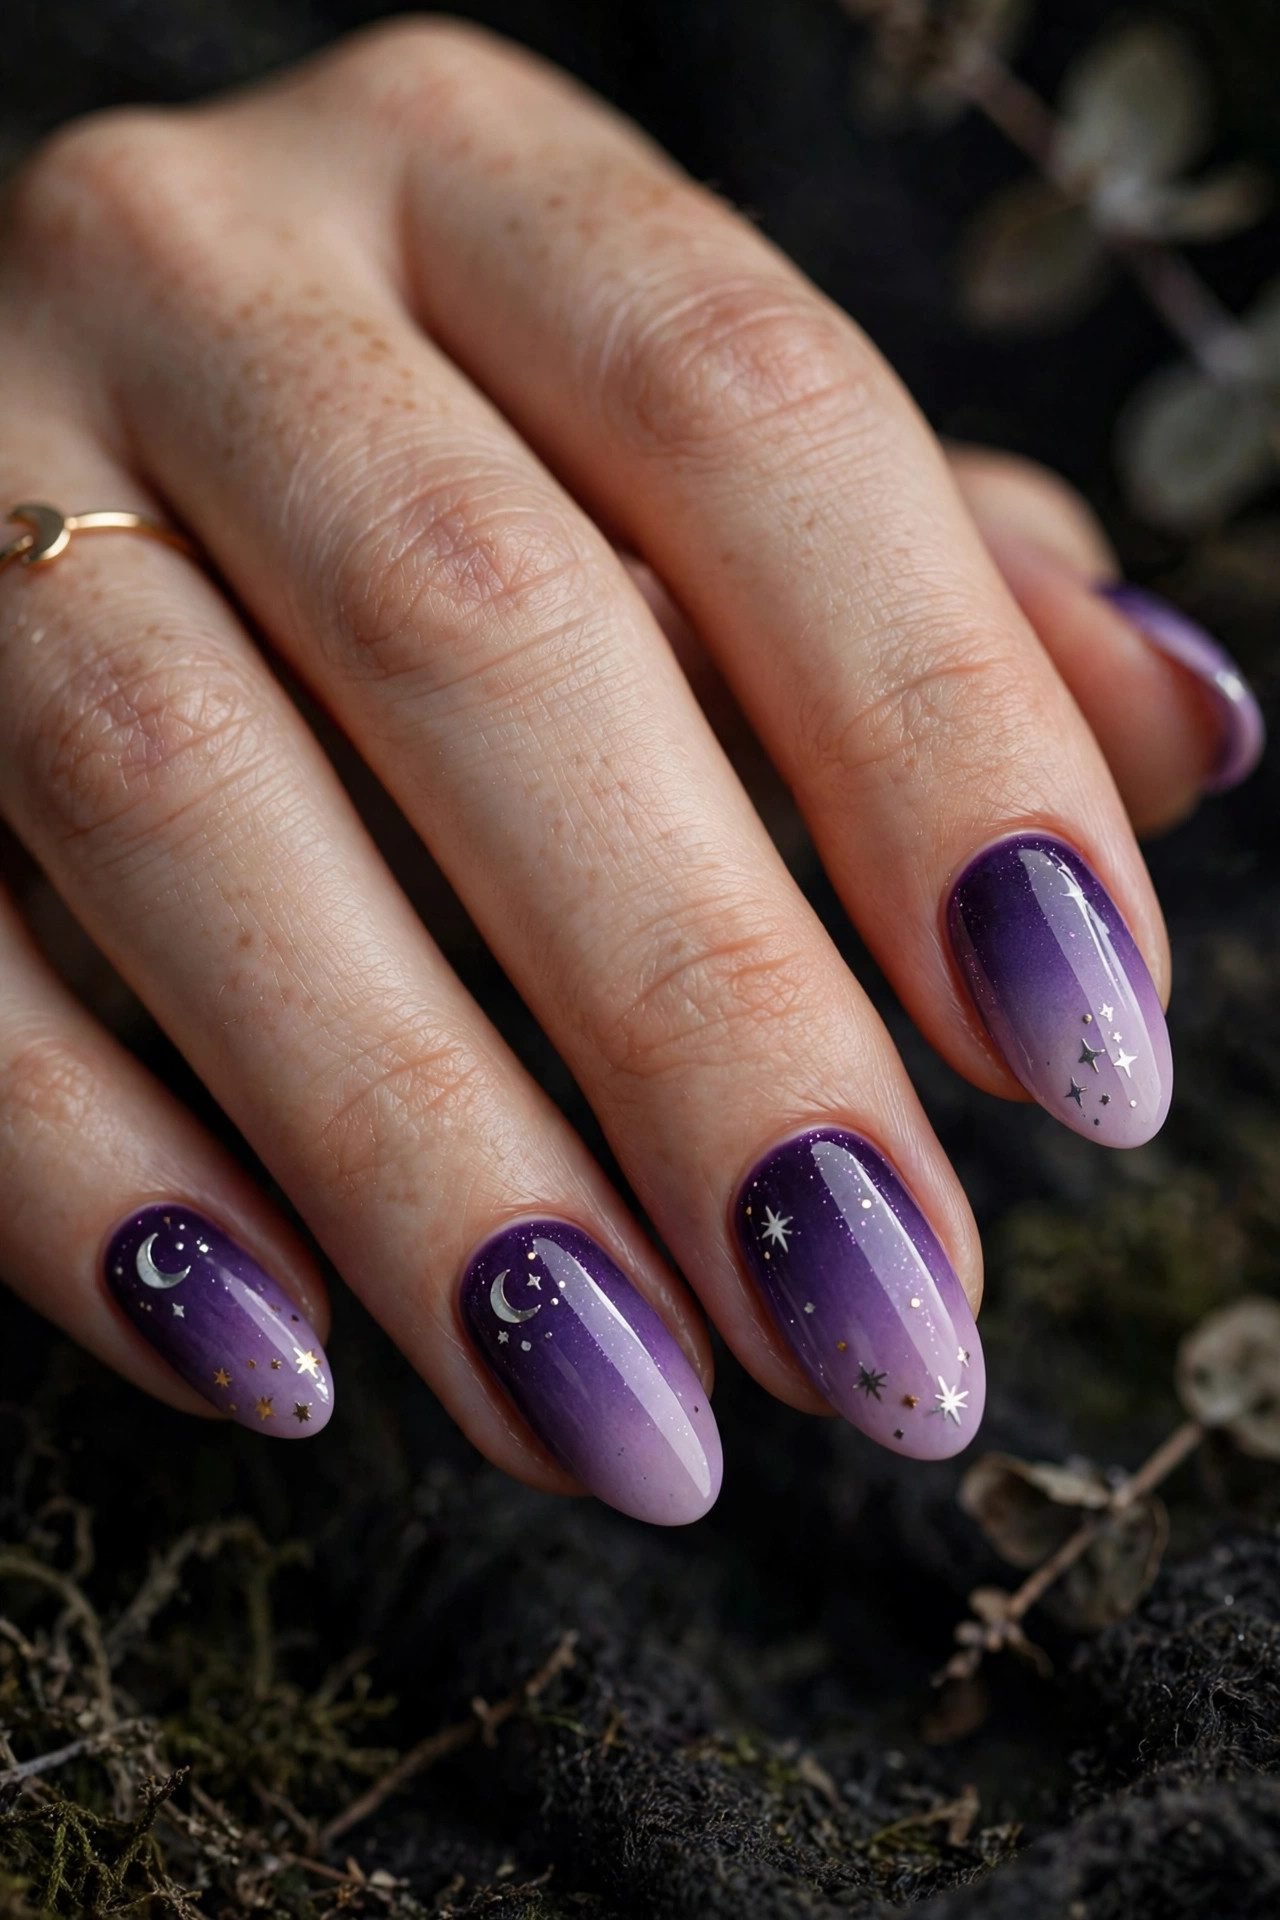
Witchy purple ombré gives me all the Halloween vibes with zero nail art skills required. I blend deep plum into lavender across each nail using a makeup sponge, then add a glossy top coat. The gradient alone reads as magical and seasonal. It suits anyone who loves the witchy aesthetic but not the fiddly details. I wear this all October as my everyday Halloween manicure. Quick tip: apply the two purples in stripes on the sponge, then dab straight down onto the nail with a rolling motion. Clean up with acetone around the edges, and the blend will look airbrushed.
21. Kawaii Halloween Faces

Kawaii Halloween faces are the cutest thing I’ve ever put on my nails. I paint each nail a different pastel shade and add tiny kawaii faces, blush cheeks included, to mini pumpkins, ghosts, and bats. The blush cheeks are what sell the whole look. It suits anyone with a soft, playful aesthetic. I wear this when I want my nails to make people smile. My go-to tip: the blush is just two tiny pink dots placed below the eyes. Keep every face simple, dots and small curves only. The charm comes from the repetition across all ten nails.
22. Friendly Ghost Tips

Friendly ghost tips put the ghost right where a French tip would go. I paint a nude base and add a white ghost shape across each tip, with two tiny black dot eyes. It reads as a French manicure from far away and a ghost up close. It suits anyone who loves clever, understated nail art. I wore these to a family Halloween dinner and my grandma loved them. Quick tip: paint the white tip shape first and let it dry completely, then add the eyes. If the ghost shape is uneven, a thin brush dipped in the nude base color cleans the smile line beautifully.
23. Pumpkin Vines and Leaves

Pumpkin vines and leaves are a more elegant take on pumpkin nails. I paint a warm cream or sage base and add delicate green vines with tiny orange pumpkin accents, almost like a botanical illustration. It suits anyone who prefers pretty over playful. I wear this to fall weddings and Thanksgiving-adjacent events. My go-to tip: the vines are just thin curved lines with a striping brush, and the leaves are two small strokes meeting at a point. Keep the design airy with lots of negative space. This looks far more advanced than it actually is.
24. Candy Corn Coffin Nails
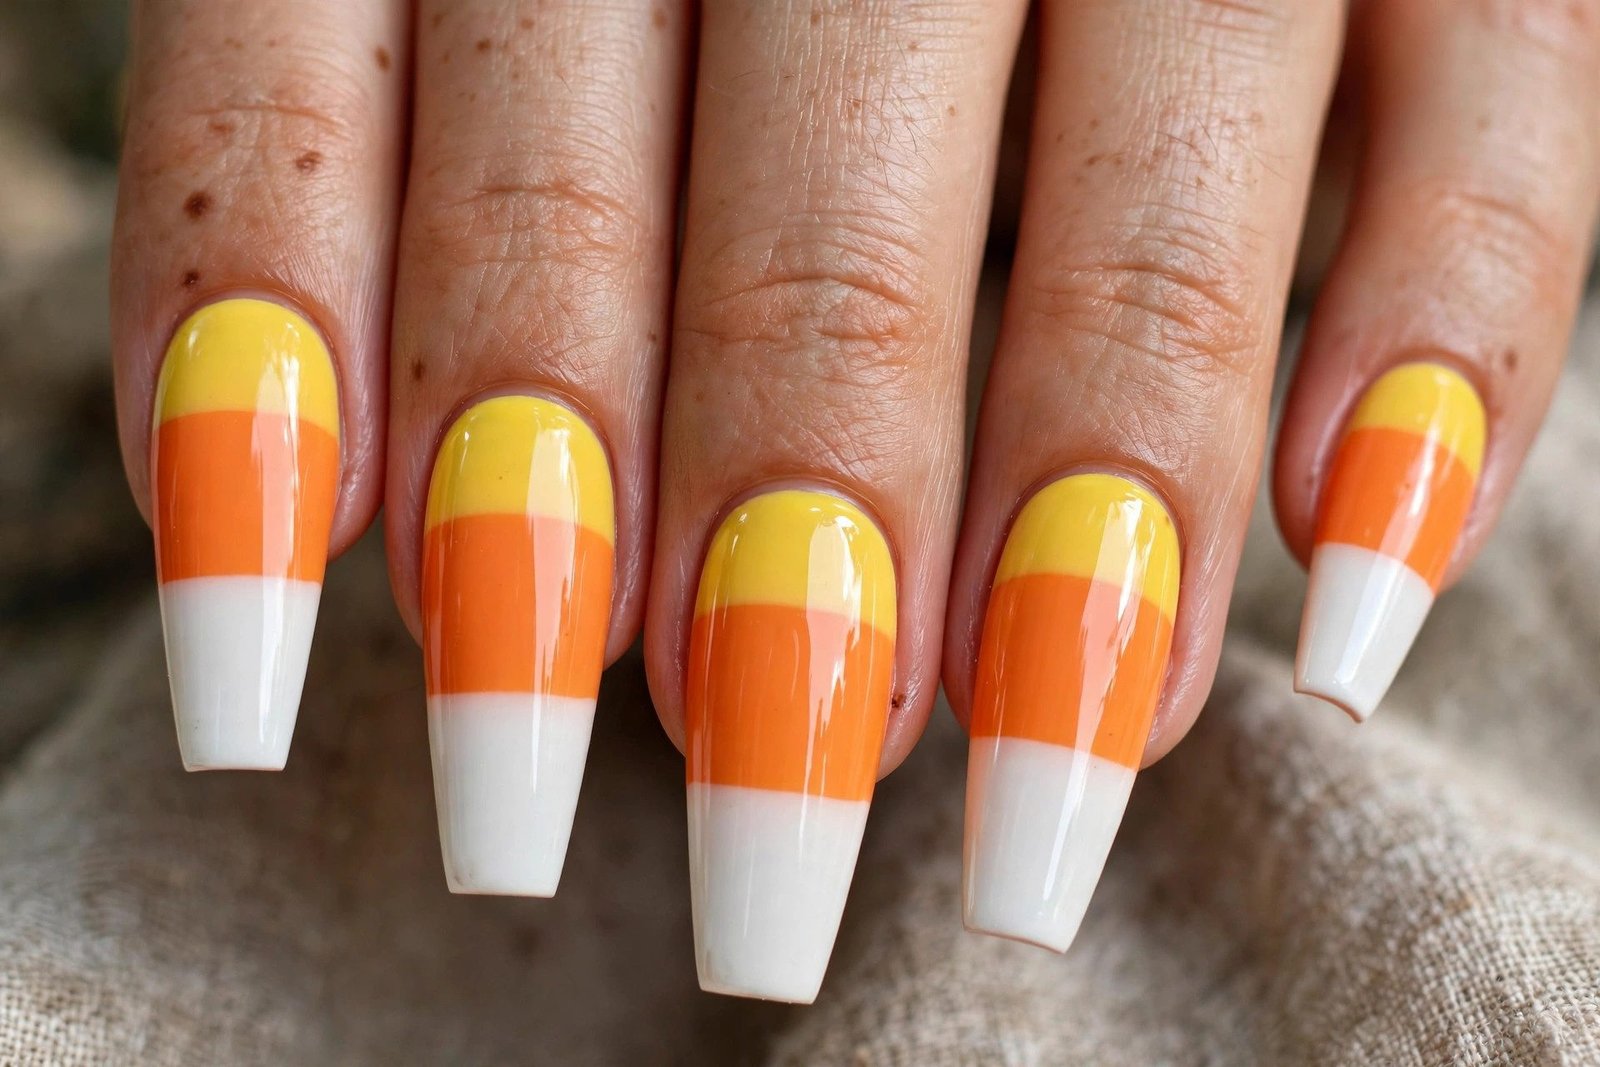
Candy corn on coffin nails is a match made in Halloween heaven. The long, tapered shape gives you plenty of room for the full white-orange-yellow gradient on every nail. I love the drama of the shape paired with the sweetness of the candy colors. It suits anyone who loves long nails and bold Halloween statements. I wear this with all-black outfits for maximum contrast. Quick tip: on long nails, paint the bands vertically instead of horizontally for an elongating effect. Use striping tape to keep the color blocks crisp if freehand lines feel intimidating.
25. Black Cat and Moon

The black cat and moon combo is storybook Halloween at its finest. I paint a deep midnight-blue base, add a big harvest moon in pale yellow on one nail, and perch a black cat silhouette on the moon’s curve. The scene tells a whole story on one nail. It suits romantics and dreamers. I wear this when I want my nails to feel like a tiny piece of art. My go-to tip: paint the moon first as a simple circle, let it dry, then add the cat sitting on top of it. Keep the cat small and simple, silhouette style, so it reads clearly against the moon.
26. Spiderweb French Tips

Spiderweb French tips are edgy but still cute. I paint a nude or sheer pink base, then draw a black or dark purple web just across the tip area in a French shape. It keeps the spooky detail contained and chic. It suits anyone who likes Halloween with a fashion-forward edge. I wore these with a little black dress to a Halloween cocktail party. Quick tip: map the web with the same technique as a full web but stop at the smile line. Three anchor lines fanning from the corner, then curved connectors. A matte top coat makes this look incredibly modern.
27. Good Witch Green

Good witch green is my tribute to Elphaba. I paint nails a rich emerald or kelly green and add tiny gold stars and a small black witch hat on an accent nail. The green feels fresh and unexpected for Halloween. It suits anyone who roots for the witches, not against them. I wear this with gold jewelry and it looks stunning. My go-to tip: green polish can stain, so always use a good base coat. For the stars, a dotting tool plus a toothpick for the points works, or use star stickers. The gold-on-green contrast does all the heavy lifting.
28. Cute Bat Silhouettes

Cute bat silhouettes are easier than they look and so effective. I paint a dusky purple or sunset-orange base and add small black bats with rounded wings, more cartoon than creepy. Scatter them across a few nails like they’re flying. It suits anyone who wants quick Halloween art with big impact. I wear this when I’m doing my nails last-minute before a party. My go-to tip: a bat is just a wide “M” shape with a small body. Practice on paper until the wings look even. Keep them small and scattered, a sky full of tiny bats is cuter than one big one.
29. Ghost Holding a Pumpkin

A ghost holding a pumpkin is the ultimate cute Halloween scene. I paint a nude or pale base, draw a small white ghost on the ring finger, and tuck a tiny orange pumpkin into its “arms” with a green stem. It’s like a little story on your nail. It suits anyone who loves detailed, charming nail art. I wear this to Halloween craft fairs and autumn festivals. Quick tip: paint the ghost first and let it dry fully, then add the pumpkin overlapping the bottom. Keep both elements small so they fit together. This is a great design to show off your nail artist’s skills.
30. Sprinkle Halloween Confetti

Sprinkle Halloween confetti nails are pure celebration. I paint a clear or nude base and scatter tiny dots, stars, and mini shapes in orange, black, purple, and white across every nail like confetti. No two nails match, and that’s the point. It suits anyone who loves a fun, low-pressure manicure. I wear this to kids’ Halloween parties and school events. My go-to tip: use a dotting tool in three sizes for variety, and don’t overthink the placement. Random is the goal. A thick glossy top coat smooths everything out and makes the confetti look like it’s suspended in glass.
There you have it, 30+ cute Halloween nail ideas that prove spooky season doesn’t have to be scary. I hope you found a design that matches your October mood, whether that’s tiny ghosts, smiling pumpkins, or candy corn everything. My personal rule is simple: pick the design that made you smile while reading. Save your favorites, grab your polishes, and enjoy every compliment. Happy haunting, and happy painting!