Easy Halloween nails for beginners are proof you don’t need salon skills to have festive October manicures. I started doing my own Halloween nail art with just a dotting tool and a toothpick, and honestly, most of these designs take five steps or less. This list of 25+ easy Halloween nails covers ghosts, pumpkins, bats, and candy corn with techniques any beginner can master tonight. I’ve kept every design to simple dots, lines, and shapes, no advanced brushes required. Grab your polishes and let’s make your nails Halloween-ready in under an hour.
1. Simple Black French Tips
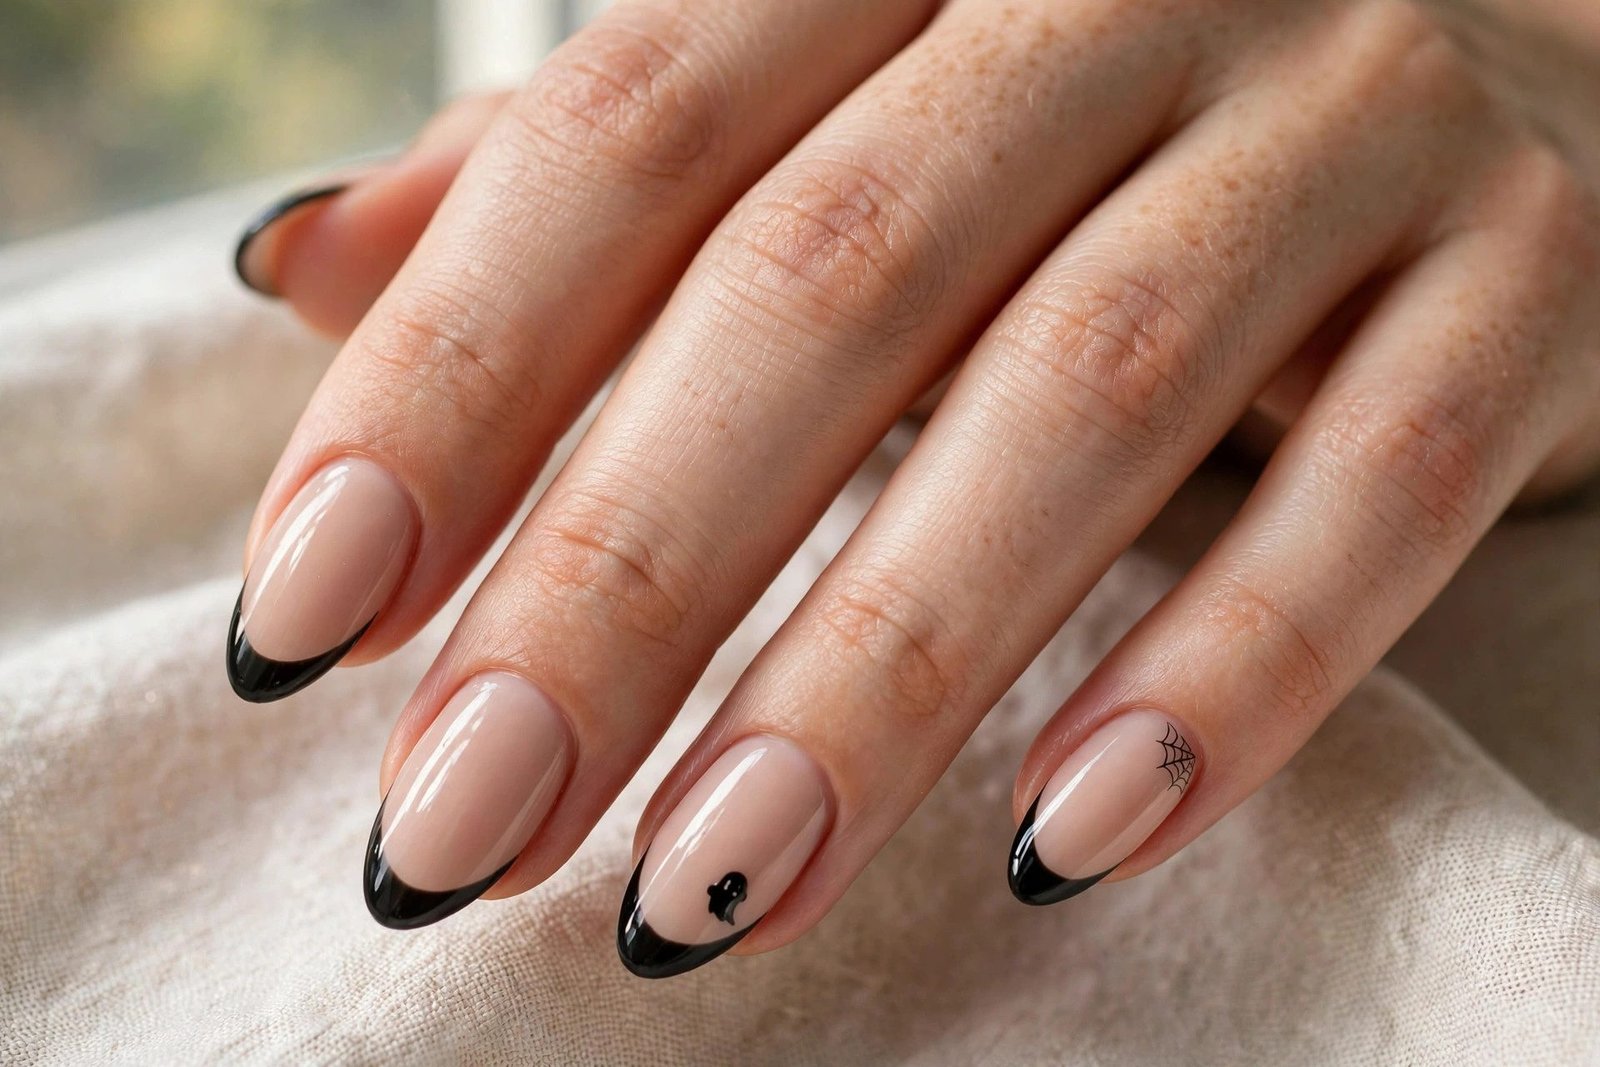
I love starting beginners with simple black French tips because the technique is familiar. Paint a nude base, then add black tips instead of white using the curved edge of a sticker as a guide. Instantly Halloween, zero drawing required. It suits anyone who wants subtle spooky-season nails for work. I wear this all October when I need something polished but festive. My go-to tip: let the nude base dry completely, then press the sticker guides on firmly so the black doesn’t bleed underneath. Two thin coats of black give you opaque, even tips.
2. Dotted Ghost Faces
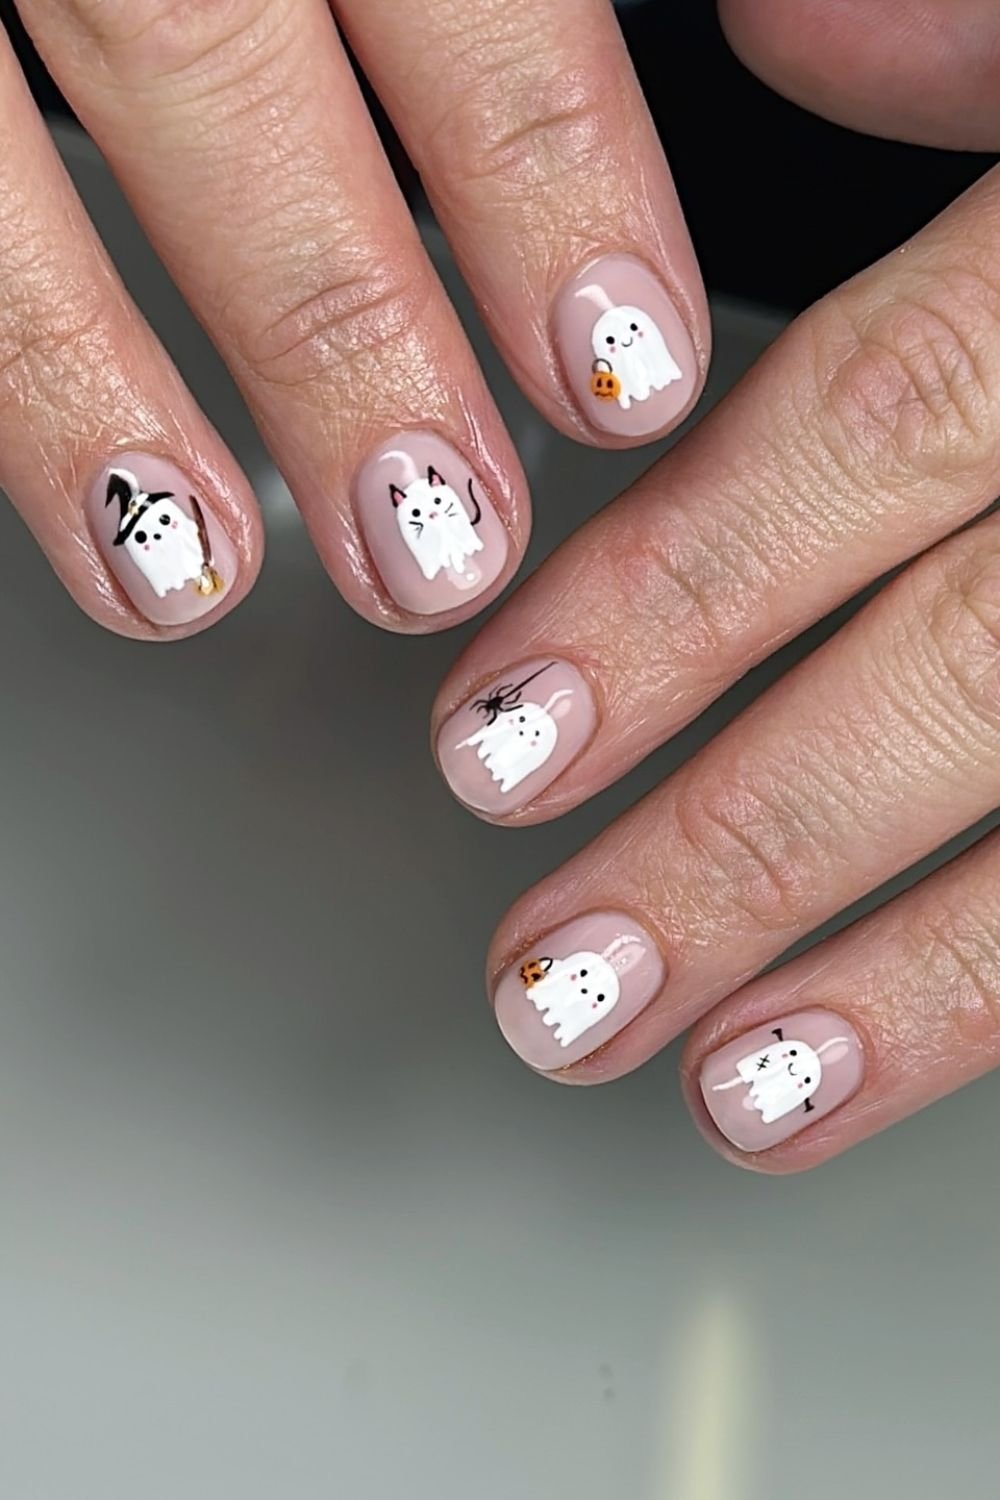
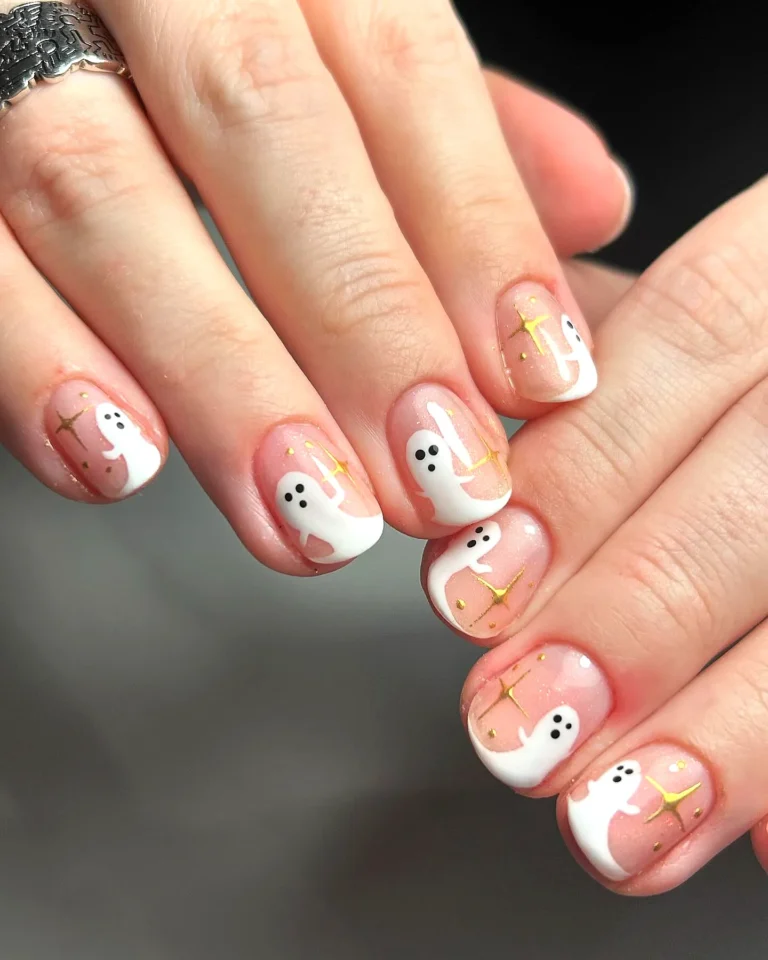
Dotted ghost faces might be the easiest nail art on this entire list. Paint your nails white or milky sheer, then use a dotting tool to add two black dot eyes and a small oval mouth on each nail. That’s it, three dots per nail and you have ghosts. It suits total beginners and looks adorable on short nails. I do this with my nieces every Halloween. Quick tip: dip the dotting tool straight down and lift straight up for perfect round dots. If a dot goes wrong, wipe it off with a cotton swab before it dries and try again.
3. Pumpkin Dots and Lines
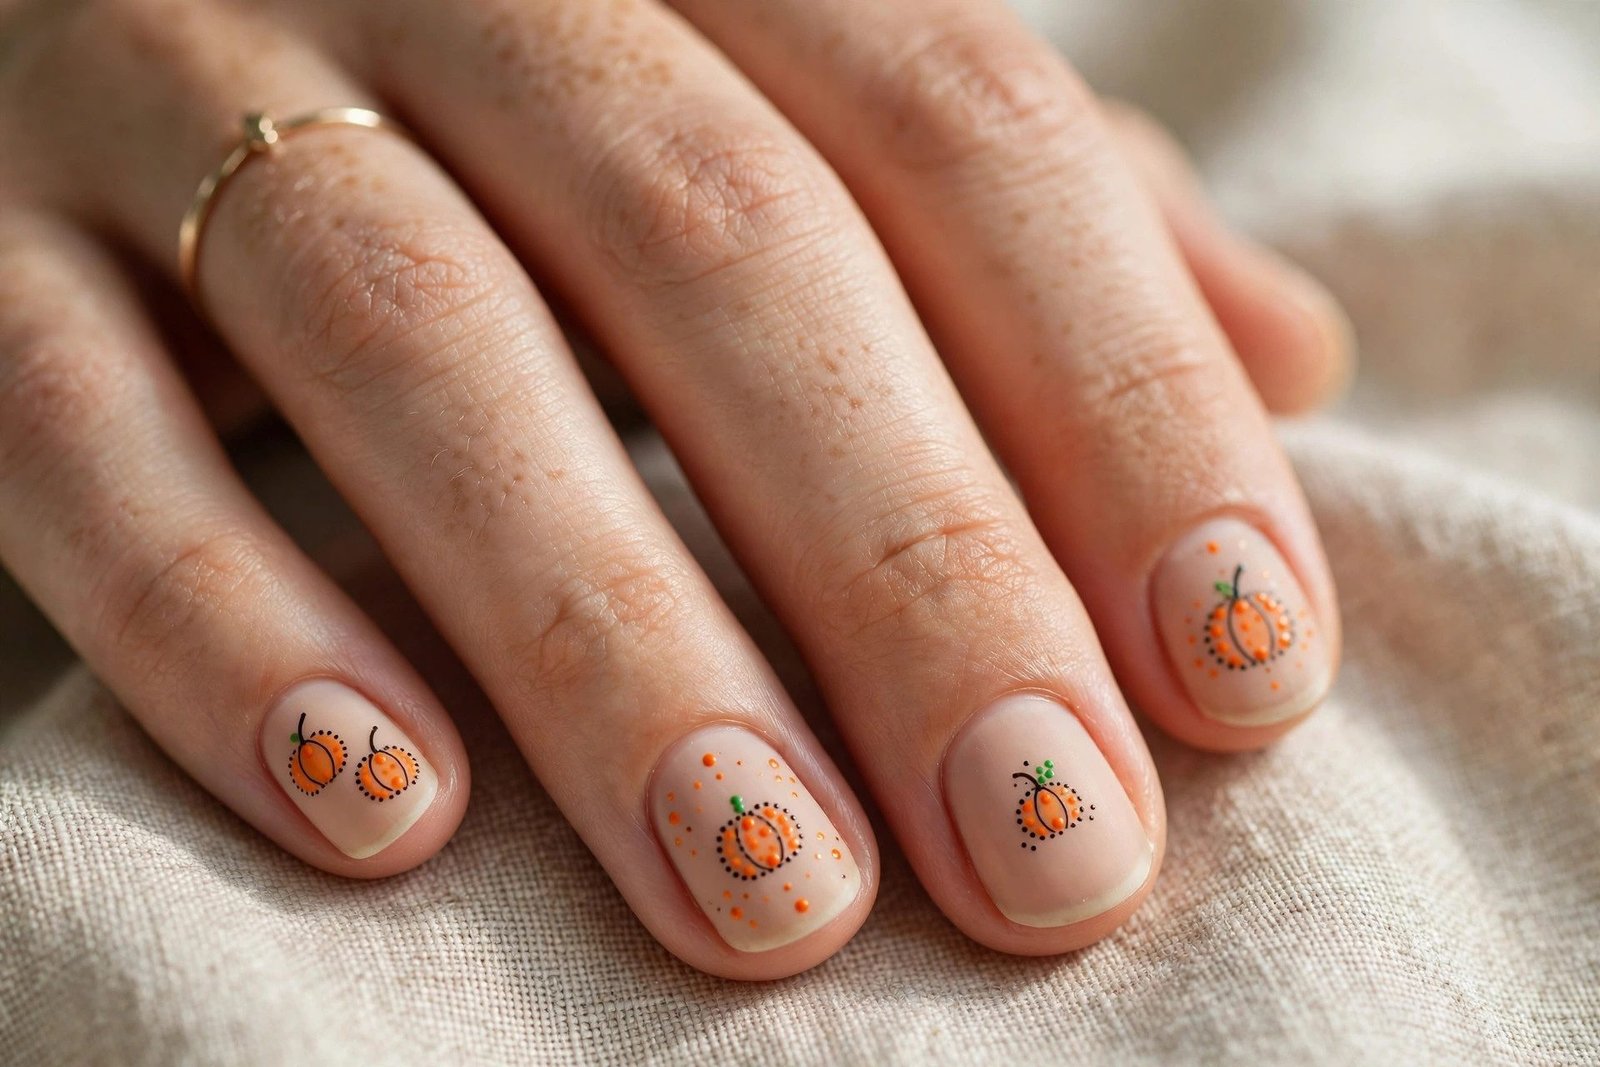
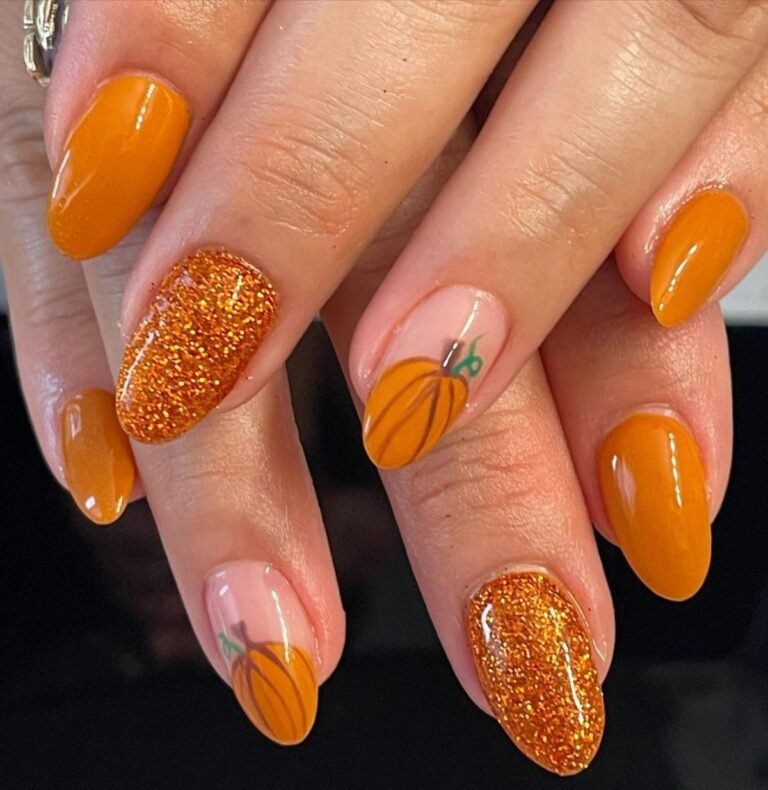
Pumpkin dots and lines break the pumpkin down to its simplest parts. I paint an orange oval with a large dotting tool, add two curved vertical lines with a toothpick, and finish with a tiny green stem. Five steps, one cute pumpkin. It suits anyone nervous about freehand drawing. I wear this as an accent nail with solid orange or black nails. My go-to tip: the oval doesn’t need to be perfect, pumpkins are naturally lumpy. The curved lines sell the pumpkin shape more than the outline does, so focus your effort there.
4. Spooky Dot Gradient
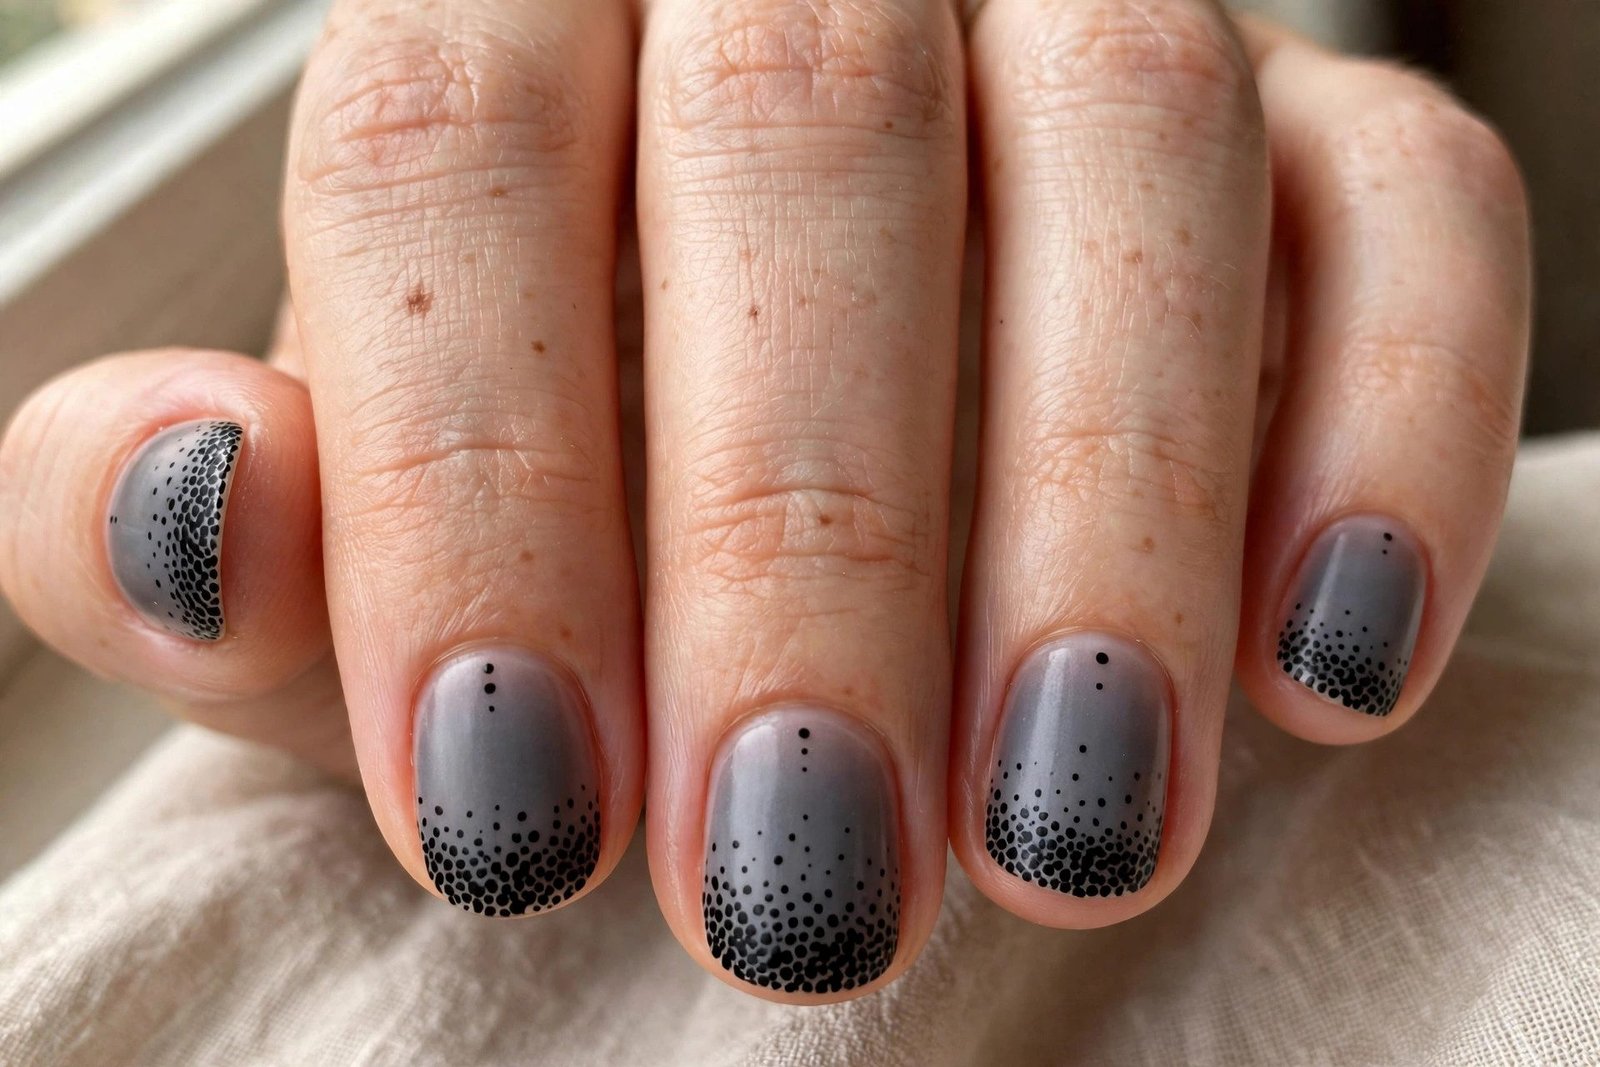
A spooky dot gradient uses only a dotting tool and two polishes. I paint a black base, then add dots that fade from orange at the cuticle to tiny dots at the tip, like falling Halloween confetti. No drawing, just dots in decreasing sizes. It suits anyone who wants Halloween color without specific characters. I wear this when I’m in a hurry but want festive nails. Quick tip: use three dotting tool sizes or flip your tool around, most have two ends. Place the biggest dots near the cuticle and get smaller toward the tip for a natural gradient effect.
5. Dotting Tool Spiderweb

This dotting tool spiderweb cheats the classic web design into something beginner-proof. Instead of lines, I place dots in a spiral pattern on a dark base, then connect them with the tip of a toothpick dragged through the wet dots. The toothpick does the line work for you. It suits beginners who want the web look without steady hands. I love this on an accent nail with solid black others. My go-to tip: work while the dots are still wet so the toothpick drags the polish into lines. Practice the spiral on paper first to get the spacing right.
6. Easy Bat Silhouettes
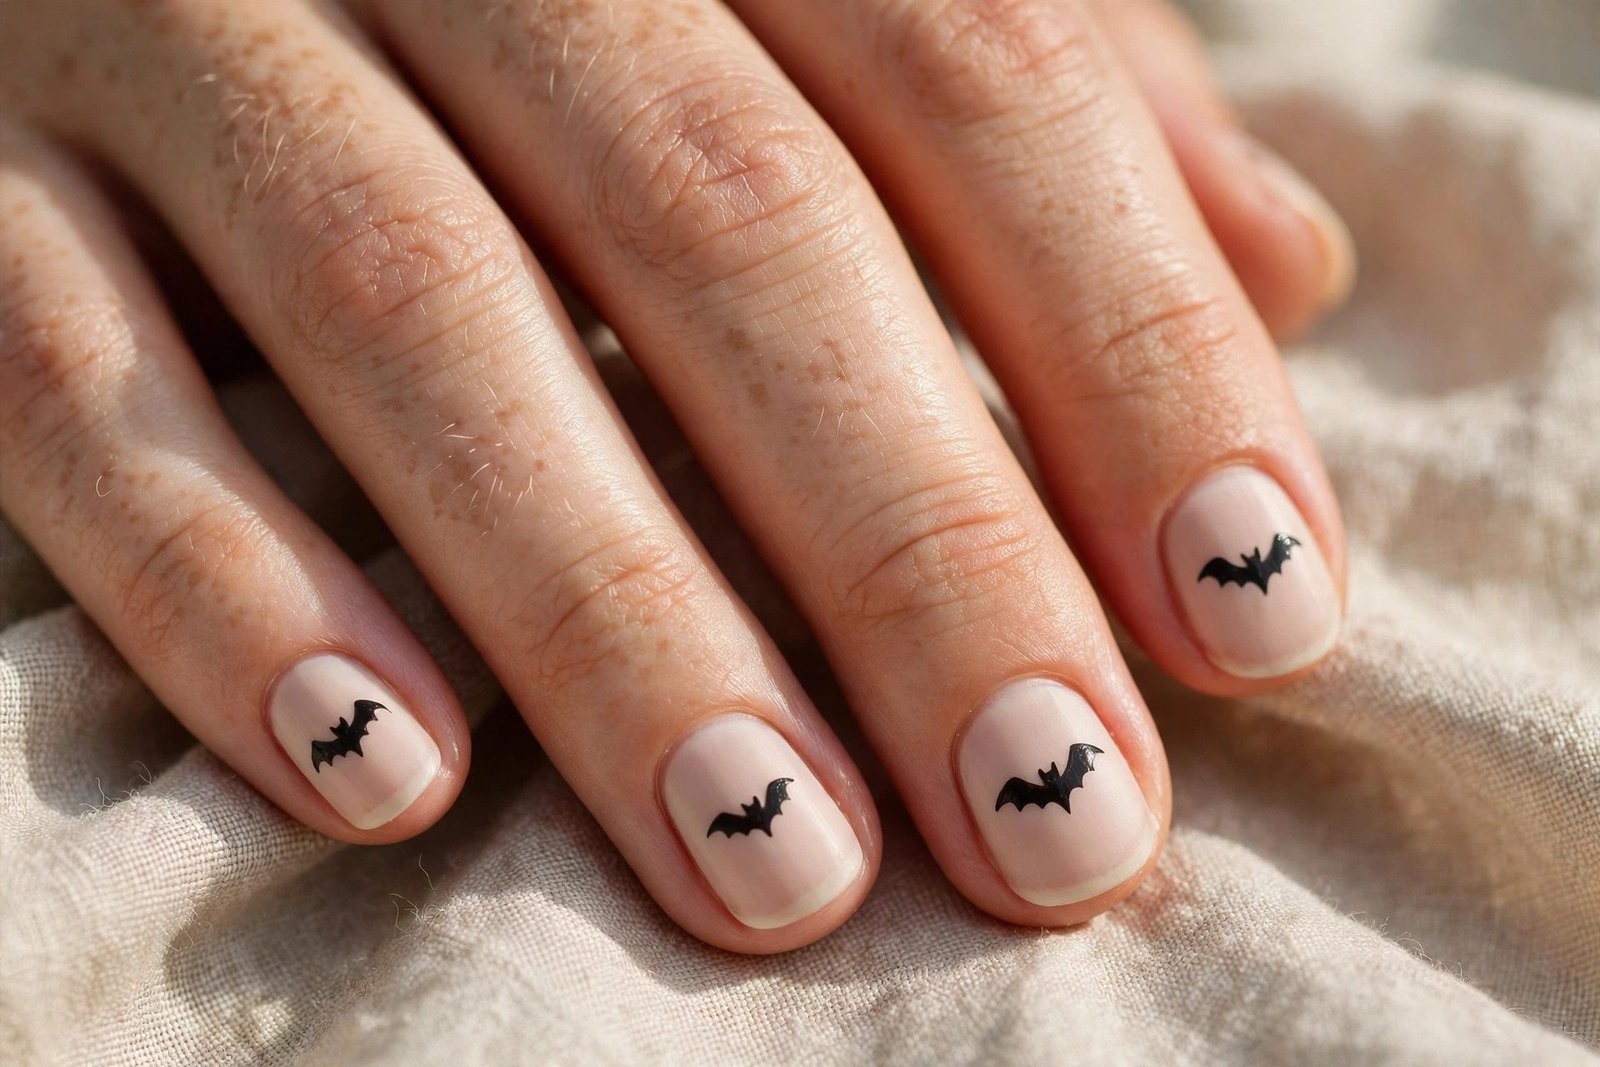
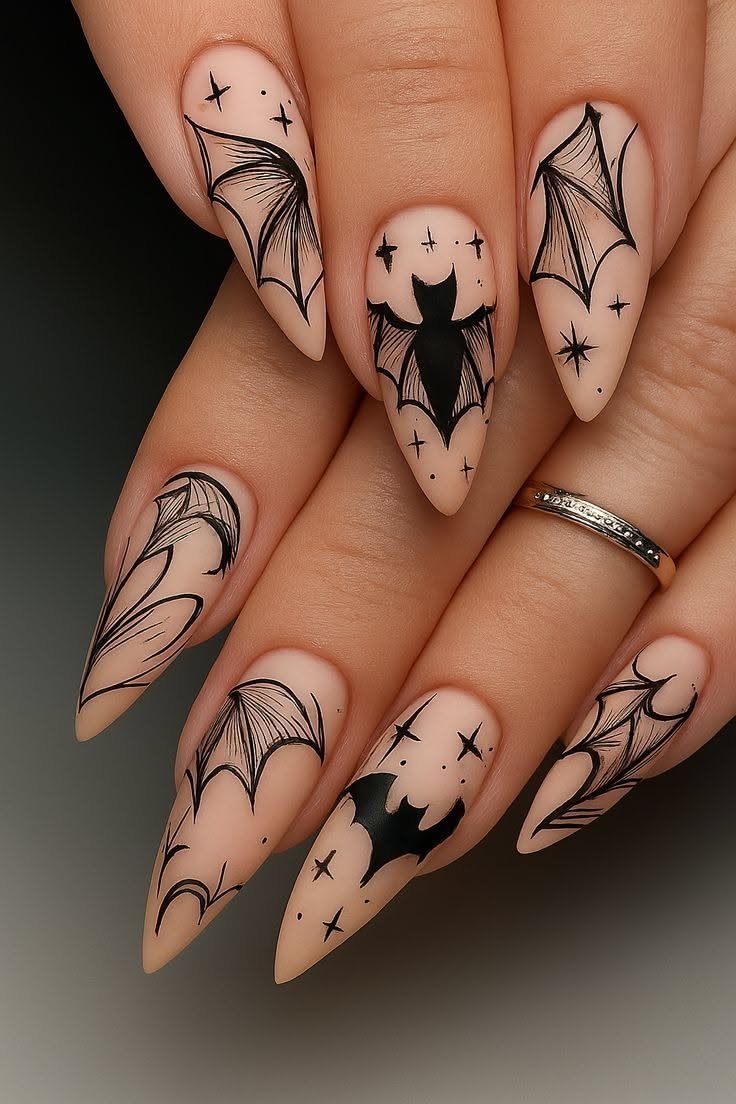
Easy bat silhouettes are just one repeated shape. I paint a purple or orange base, then stamp or draw a simple bat, a wide “M” with a tiny body, in black on a few nails. Scatter them like they’re flying across your manicure. It suits beginners because the shape is so forgiving. I wear this to casual Halloween gatherings. Quick tip: draw the bat with two quick strokes of a striping brush, or use a toothpick for smaller bats. Keep them small and let a few overlap the nail edge. Imperfect bats still read as bats immediately.
7. Candy Corn Stripes

Candy corn stripes simplify the classic into three horizontal bands. I paint the whole nail yellow, then add an orange band across the middle and a white band at the tip with a flat brush. Straight lines are much easier than the triangle shape. It suits anyone who loves the candy corn look but not the fiddly gradient. I wear this with cozy fall outfits. My go-to tip: let each band dry before adding the next to keep the lines crisp. If a line wobbles, clean it up with a small brush dipped in the previous color. Patience beats skill here.
8. Moon and Stars

Moon and stars nails are beginner-friendly and endlessly pretty. I paint a midnight blue or black base, then add a crescent moon with a dotting tool dragged into a curve, plus scattered dot stars. The whole night-sky effect needs no precision. It suits anyone who loves a dreamy Halloween vibe. I wear this all October, not just for Halloween. Quick tip: the crescent is two overlapping circles, paint a full circle then cover part of it with the base color. The stars are just dots in two sizes. A glossy top coat makes it look like a real night sky.
9. Ghost Accent Nail

A single ghost accent nail keeps things simple and cute. I paint nine nails solid black or orange, then make the ring finger a white ghost with dot eyes and mouth. One nail of art, zero overwhelm. It suits beginners who want to try nail art without committing all ten nails. I recommend this to every friend trying Halloween nails for the first time. My go-to tip: paint the ghost shape as a rounded rectangle with a wavy bottom, then add the face once it’s dry. The contrast of one cute ghost against dark nails is always a hit.
10. Pumpkin French Tips
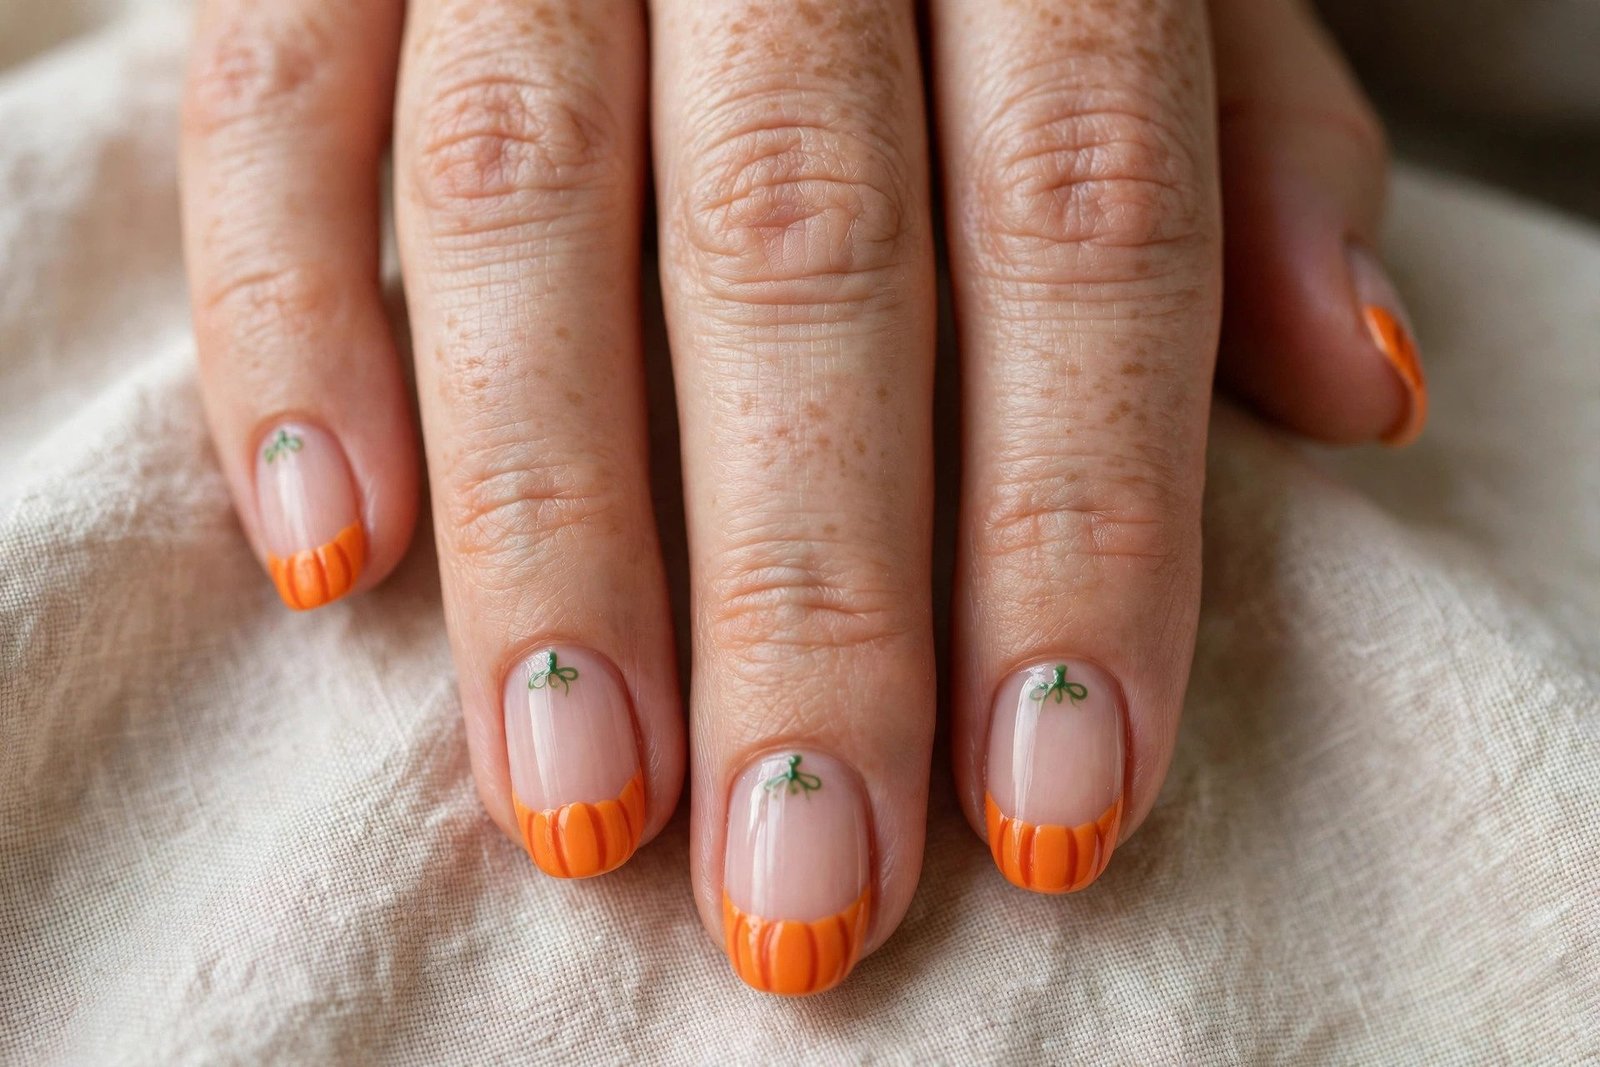
Pumpkin French tips are festive with familiar technique. I paint a nude base and add orange tips, then draw a tiny jack-o’-lantern face on one tip with a toothpick. It’s a French manicure with a Halloween twist. It suits anyone comfortable with French tips who wants a seasonal update. I wore these to a fall wedding and they were perfect. Quick tip: keep the faces tiny and only on one or two nails. The orange tips alone already say Halloween. Let the orange dry fully before adding black details so nothing smears.
11. Polka Dot Halloween
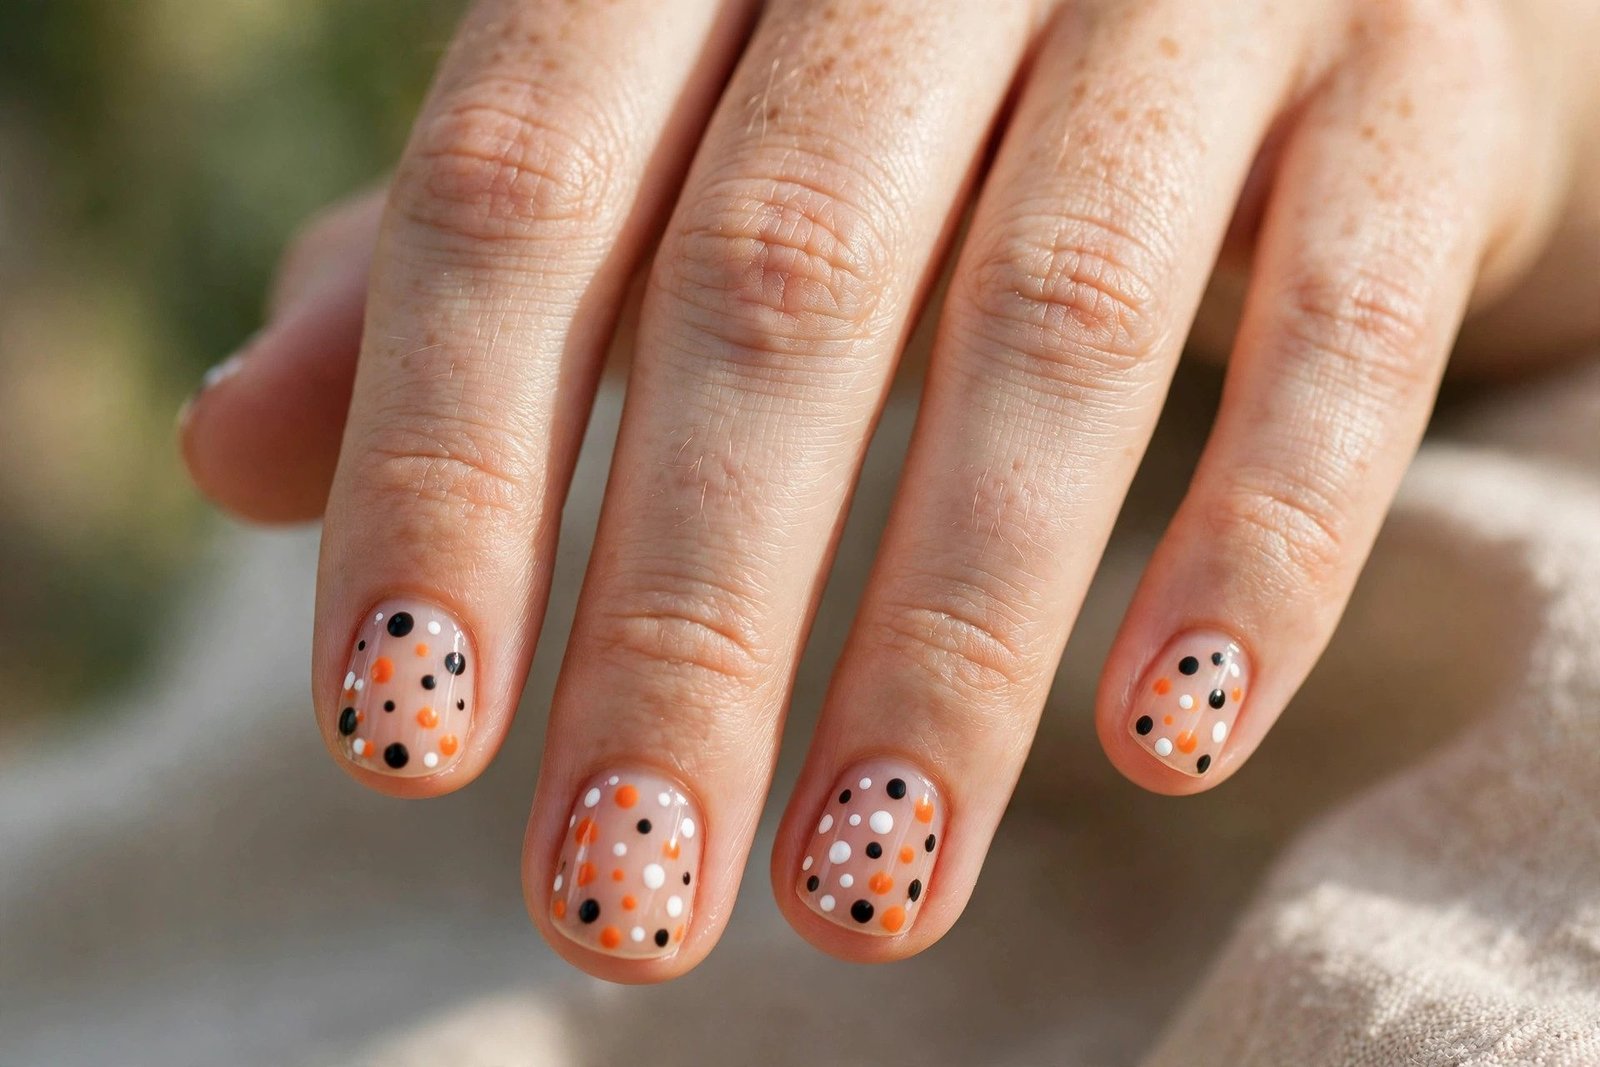
Polka dot Halloween nails are dots in a Halloween palette, and that’s the whole design. I paint a white or nude base and add random dots in orange, black, and purple with a dotting tool. Festive, fun, and impossible to mess up. It suits kids, teens, and anyone who loves playful nails. I wear this when I want zero-stress Halloween nails. My go-to tip: vary the dot sizes for visual interest, and don’t plan the placement. Random looks better than patterned here. Two coats of top coat smooth everything into a glossy, professional finish.
12. Dotted Spider
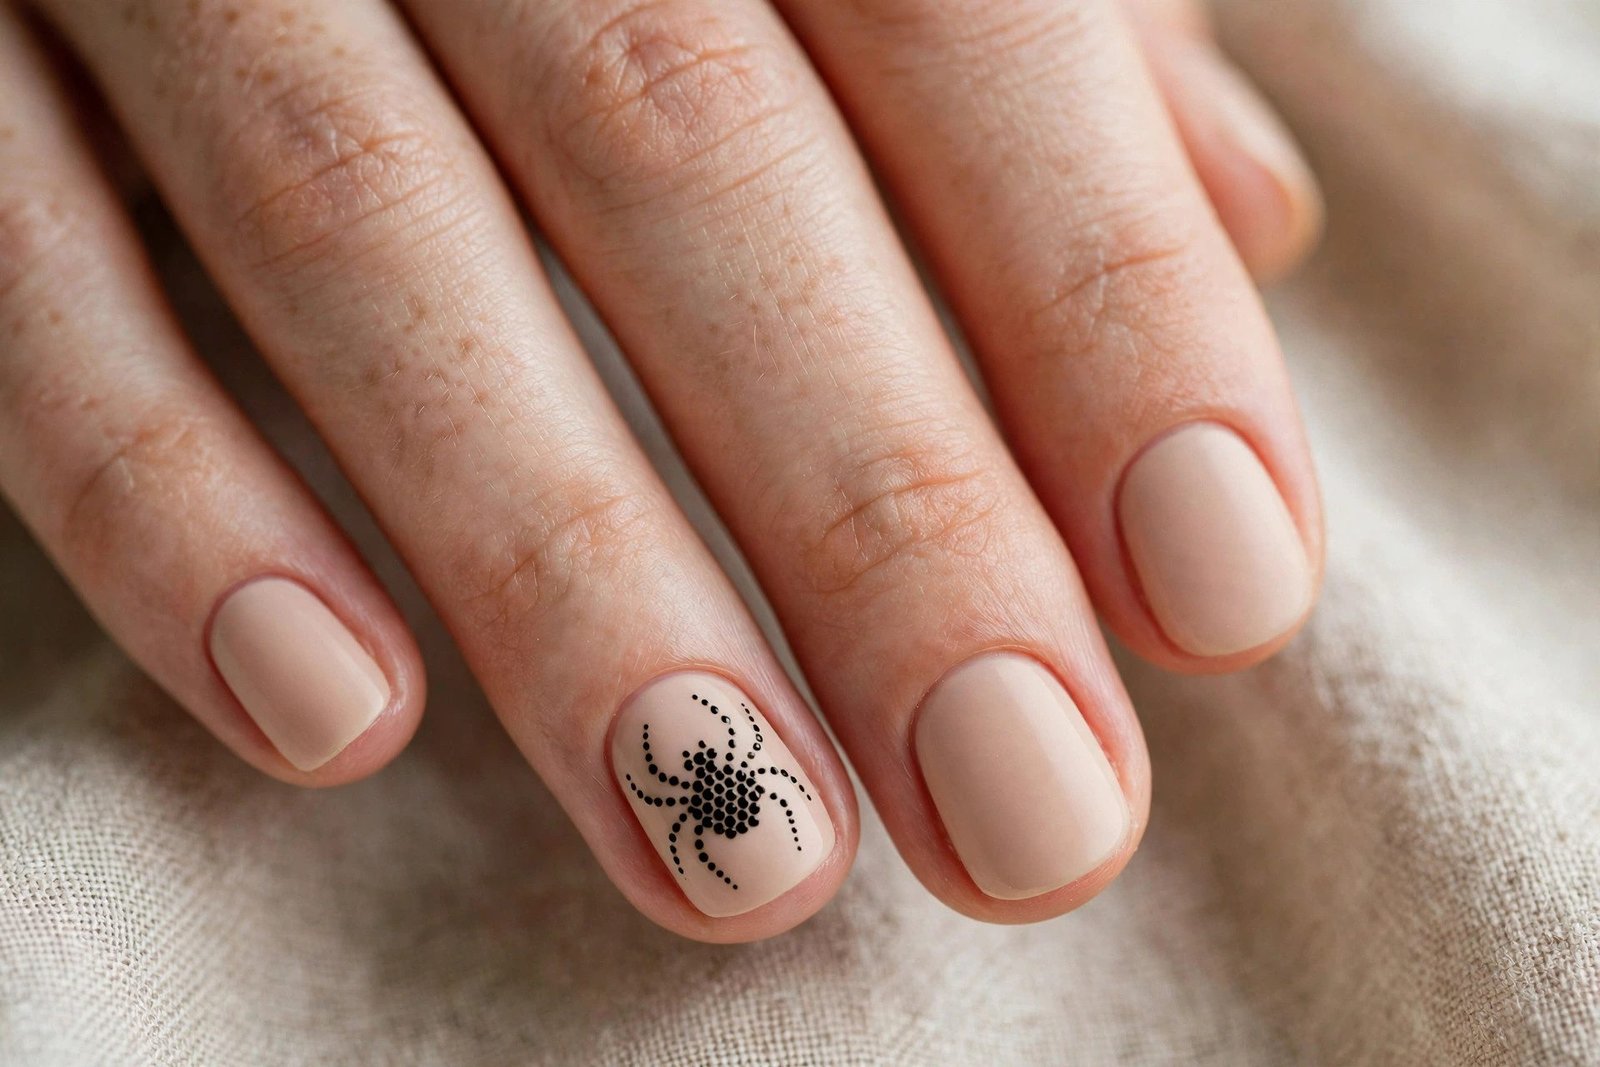
A dotted spider is the cutest arachnid you’ll ever wear. I paint a light base, add a large black dot for the body, a smaller dot for the head, then draw eight little legs with a toothpick. The legs are just short lines, and wobbly legs look charming. It suits anyone who wants spooky-cute without the ick factor. I put this on one accent nail per hand. Quick tip: draw the legs while the body dot is slightly wet so they connect seamlessly. Keep legs short and curved. This spider is more Charlotte’s Web than horror movie, I promise.
13. Bat Wing Tips
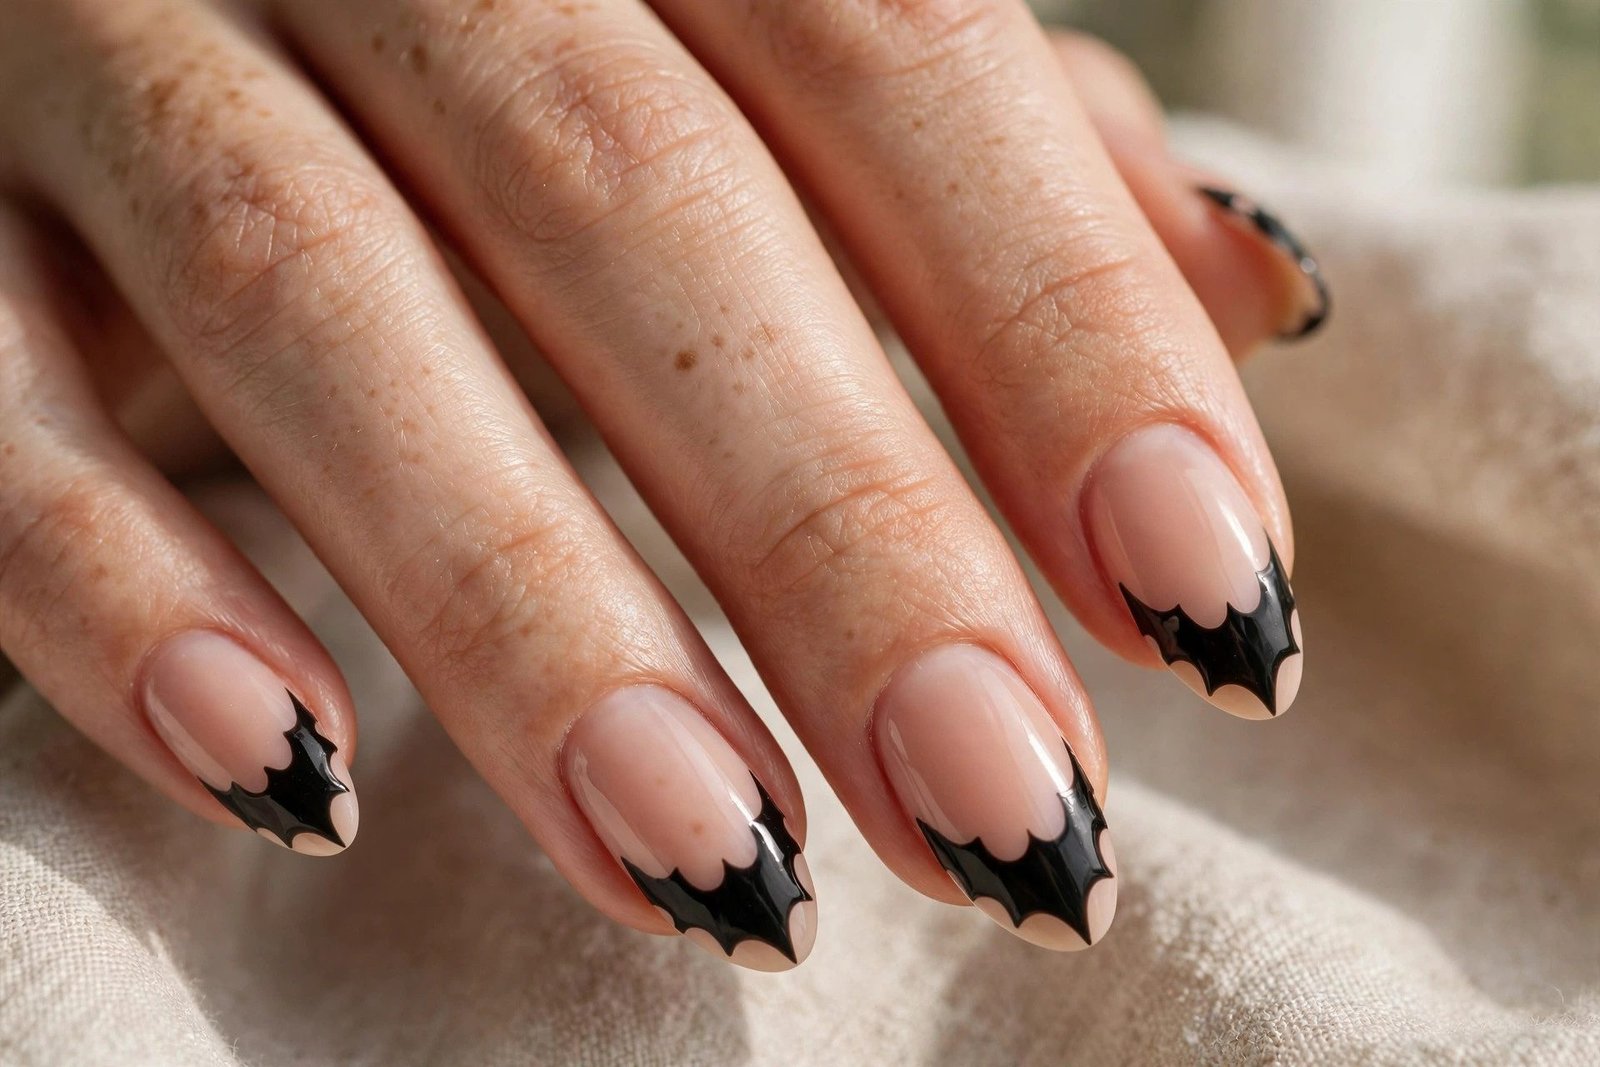
Bat wing tips put tiny bats right on your French tips. I paint a nude base with black tips, then add a small bat silhouette sitting on one or two tips. The combination is clever and very Halloween. It suits anyone who already loves French manicures. I wore this to a Halloween dinner party and got endless compliments. My go-to tip: the bat is tiny here, so use the very tip of a toothpick and keep it simple. Place it slightly off-center on the tip for a natural look. Less detail reads better at this size.
14. Easy Mummy Wrap
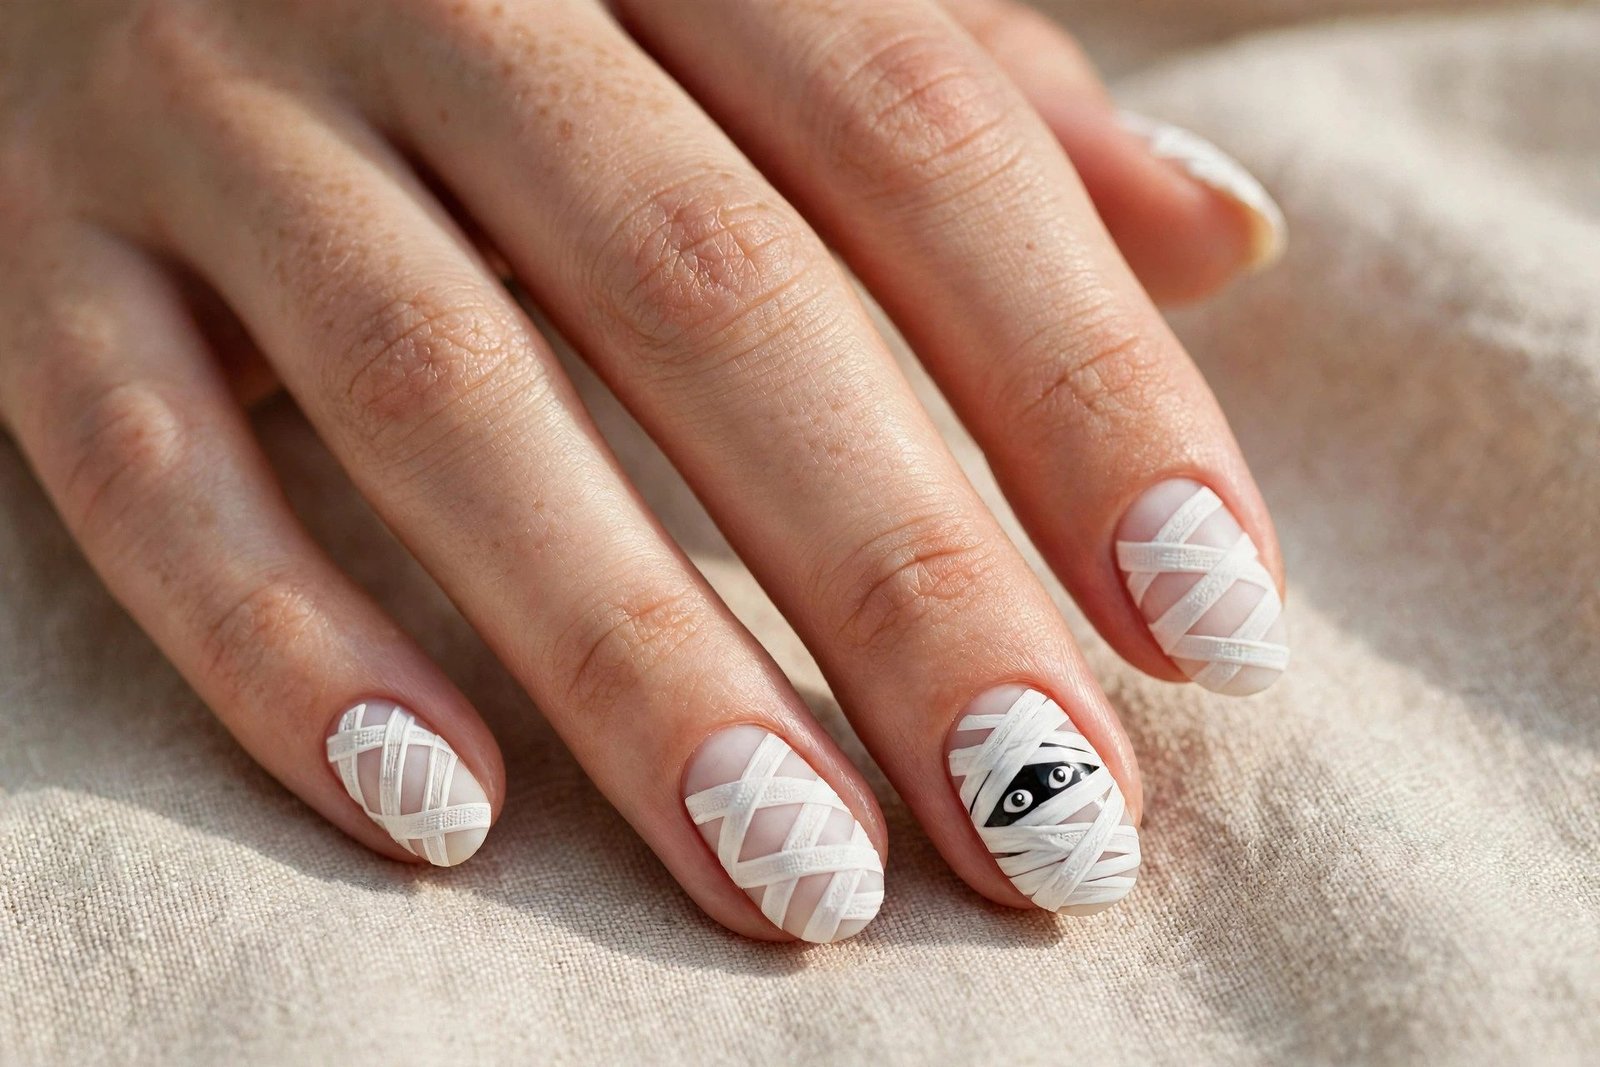
Easy mummy wrap nails look impressive but are secretly simple. I paint a white base, then drag a striping brush with slightly sheer white polish in random horizontal lines across each nail, leaving small gaps. Two black dot eyes peek through the wraps. It suits beginners because messy lines actually look better here. I wear this to Halloween parties where I want something clever. Quick tip: the wraps should be uneven and overlapping, perfect lines would look wrong. Add the eyes last, peeking through a gap in the wraps. This design forgives every mistake.
15. Orange Peel Texture
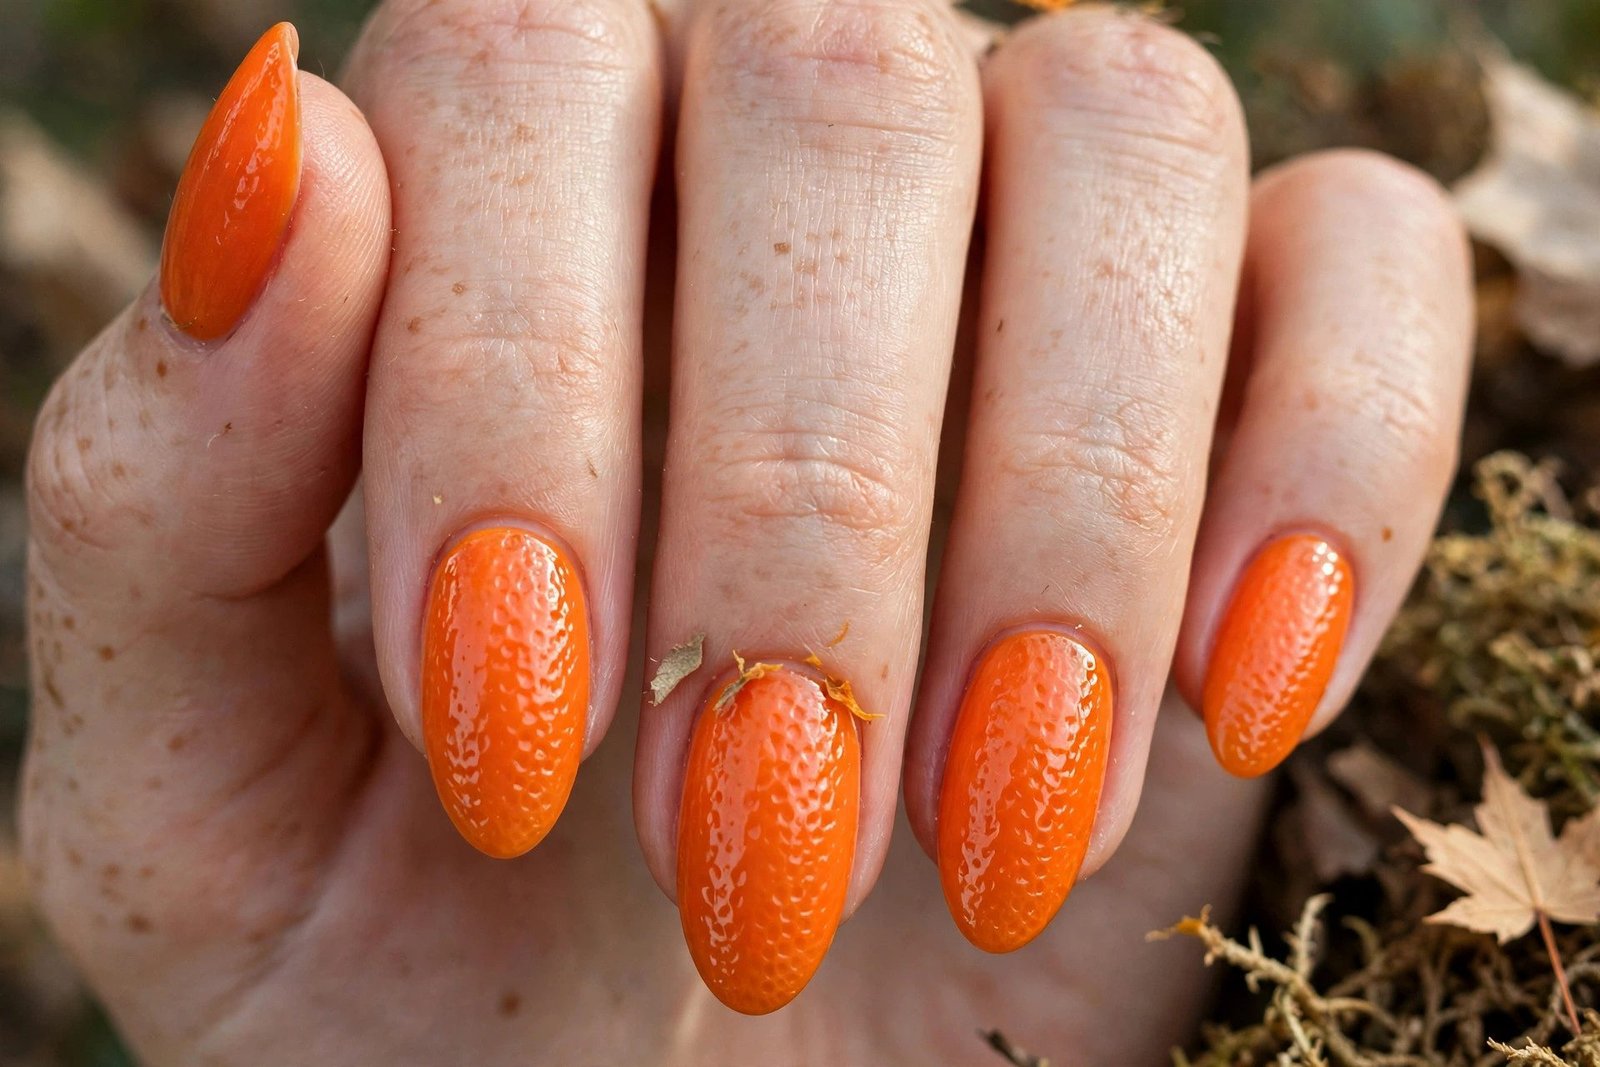
Orange peel texture nails give you a pumpkin feel with zero art. I paint nails pumpkin orange, then dab a slightly darker orange with a sponge for a textured, dimpled effect like real pumpkin skin. No drawing at all. It suits anyone who wants seasonal color with subtle interest. I wear this as my everyday October manicure. My go-to tip: use a cosmetic sponge and a pouncing motion, not strokes. Two shades of orange, one slightly darker, create depth. A matte top coat enhances the pumpkin-skin effect beautifully.
16. Friendly Ghost Outline
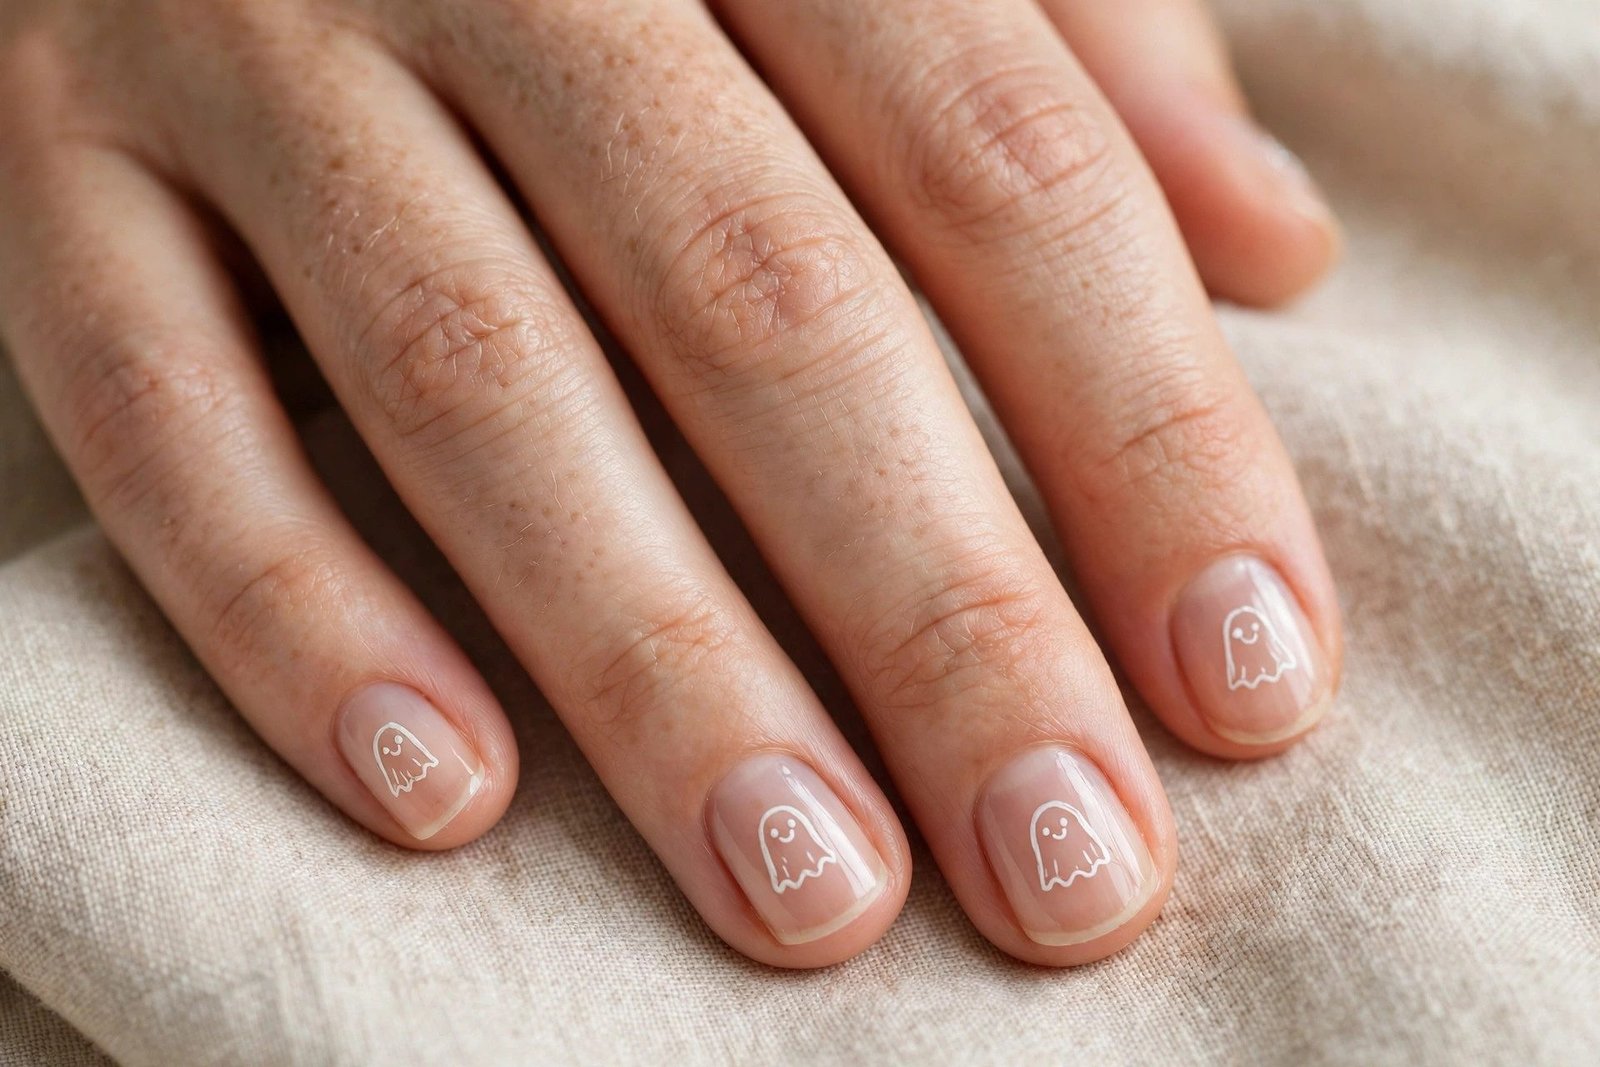
A friendly ghost outline is one continuous line, and that’s the whole design. I paint a nude base and draw a simple ghost shape, rounded top, wavy bottom, in white or black with a thin brush. Add two dot eyes. Minimal, modern, and very easy. It suits minimalists trying Halloween nails for the first time. I love this when my schedule is packed but I want festive nails. Quick tip: practice the ghost shape on paper three times, then commit. One smooth motion works better than lots of little strokes. Keep the ghost small and centered for the cutest result.
17. Mini Pumpkin Patch

A mini pumpkin patch puts a tiny pumpkin on every nail. I paint varied fall bases, cream, sage, rust, then add one small orange pumpkin with a green stem to each nail using a dotting tool. Repetition makes it look intentional and polished. It suits anyone who loves a cohesive themed manicure. I wear this to fall festivals and apple picking. My go-to tip: make all the pumpkins the same size by using the same dotting tool and the same amount of polish. Consistency across nails is what makes this look professional rather than random.
18. Black Cat Dots

Black cat dots reduce the cat to dots and triangles. I paint an orange base, add a large black dot for the head, two tiny triangle ears with a toothpick, and two green dot eyes. Instant cat face, no drawing skills needed. It suits cat lovers and complete beginners. I do this design on my dominant hand since it’s the easiest. Quick tip: the ears are the trickiest part, use the corner of a piece of tape to stamp triangle shapes if freehand feels hard. The green eyes against black are what make it read as a cat immediately.
19. Toothpick Spiderweb
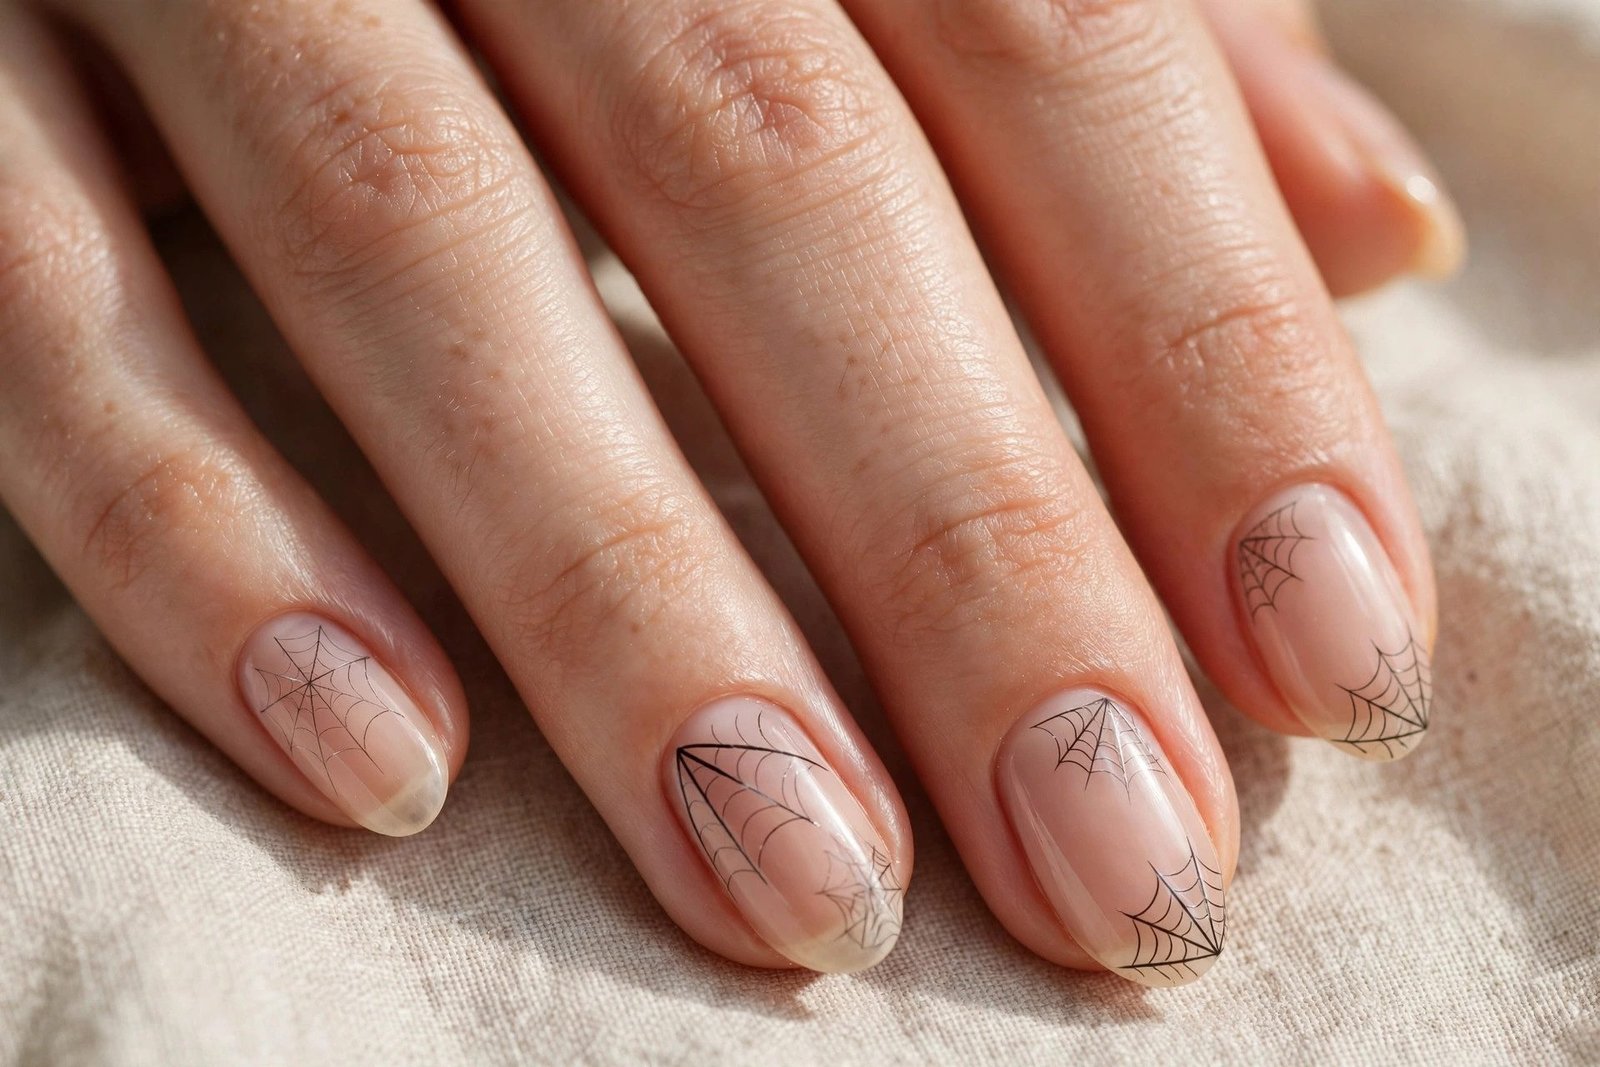
The toothpick spiderweb is my favorite beginner web method. I paint a dark base, place a white dot in the corner, then drag a toothpick from the dot outward in straight lines while wet, then connect with arcs. The toothpick does all the precision work. It suits anyone intimidated by striping brushes. I use this on accent nails with solid dark polish. My go-to tip: keep the toothpick barely touching the nail and move slowly. The lines will be thinner and more even than with a brush. Work one nail at a time so the polish stays wet.
20. Flying Bats Gradient

Flying bats over a gradient sunset is easier than it sounds. I sponge a sunset gradient, orange to purple, on each nail, then add small black bat silhouettes with a toothpick. The gradient does the impressive work, the bats are simple shapes. It suits anyone who wants a dramatic Halloween look with beginner techniques. I wear this to evening Halloween events. Quick tip: the sponge gradient is just two colors dabbed on and blended. Let it dry fully before adding bats. Small bats scattered at different heights look like they’re really flying.
21. Simple Skull Dots
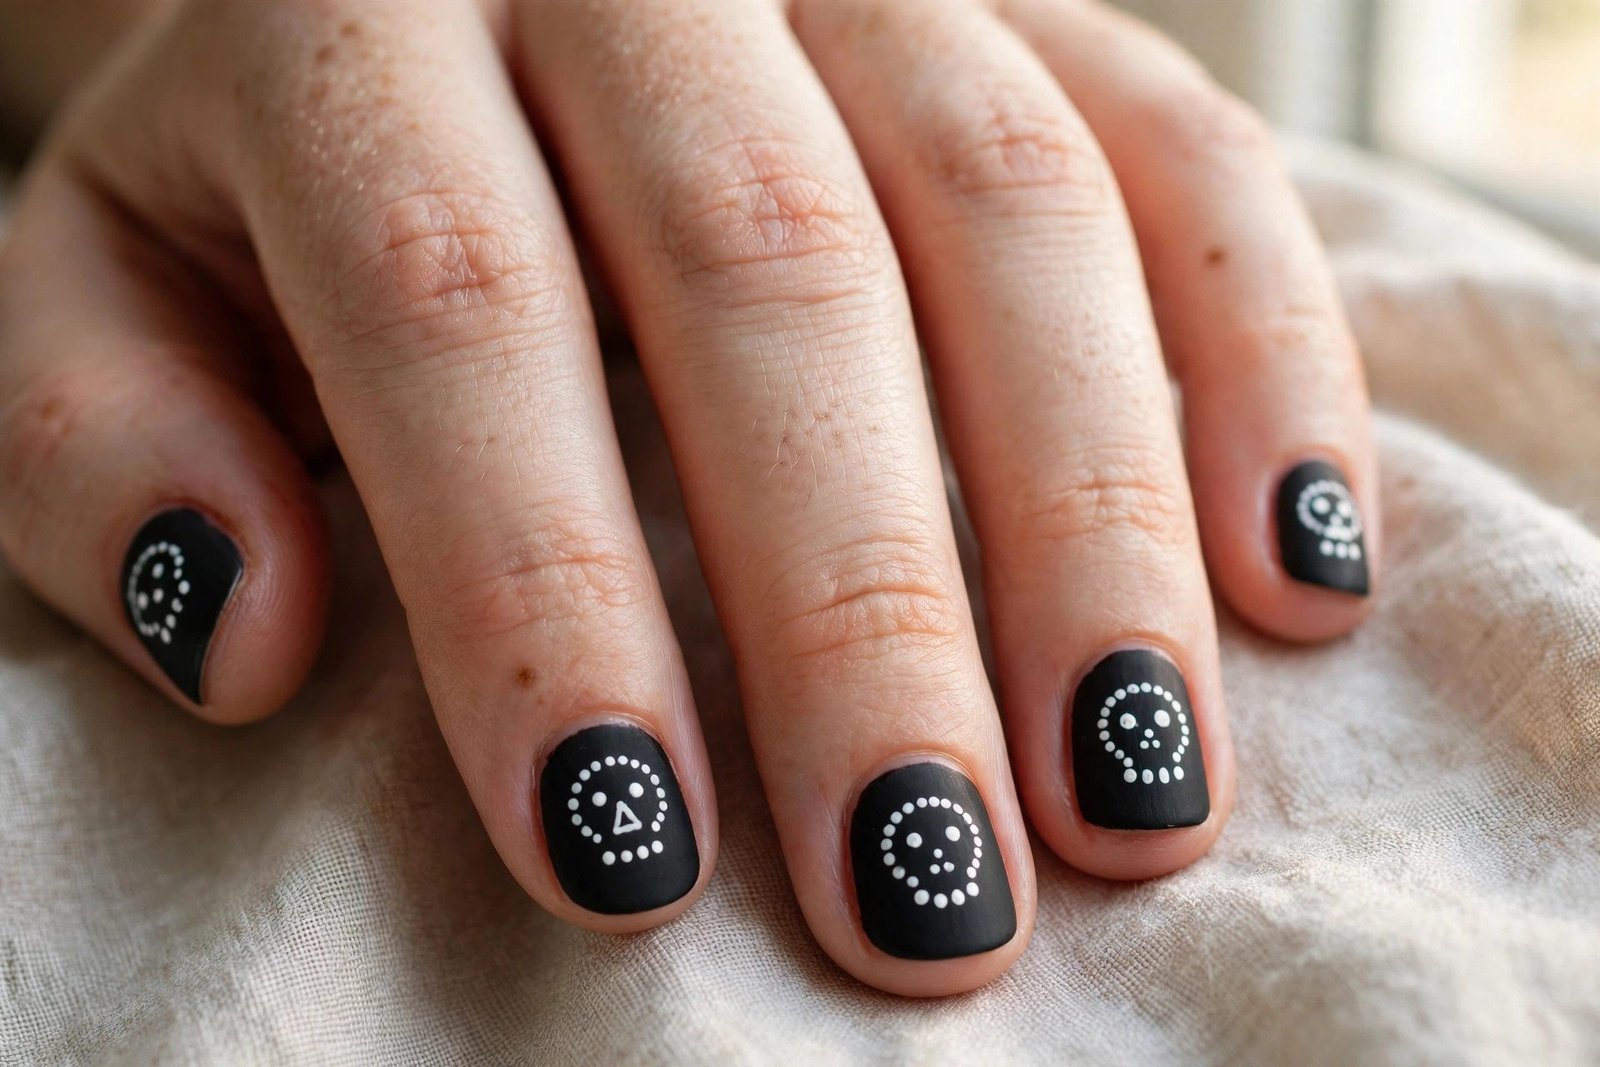
Simple skull dots turn the skull into circles. I paint a black base, add a large white dot for the skull, two small black dots for eyes, and tiny dots for the mouth. Cute skull, zero drawing. It suits anyone who wants edgy-cute Halloween nails. I wear this with all-black outfits for a cohesive look. My go-to tip: the skull is just a circle with a slightly flattened bottom, don’t overthink the shape. Keep the features small and centered. This reads as a skull from across the room, which is all you need.
22. Candy Corn Dots Row
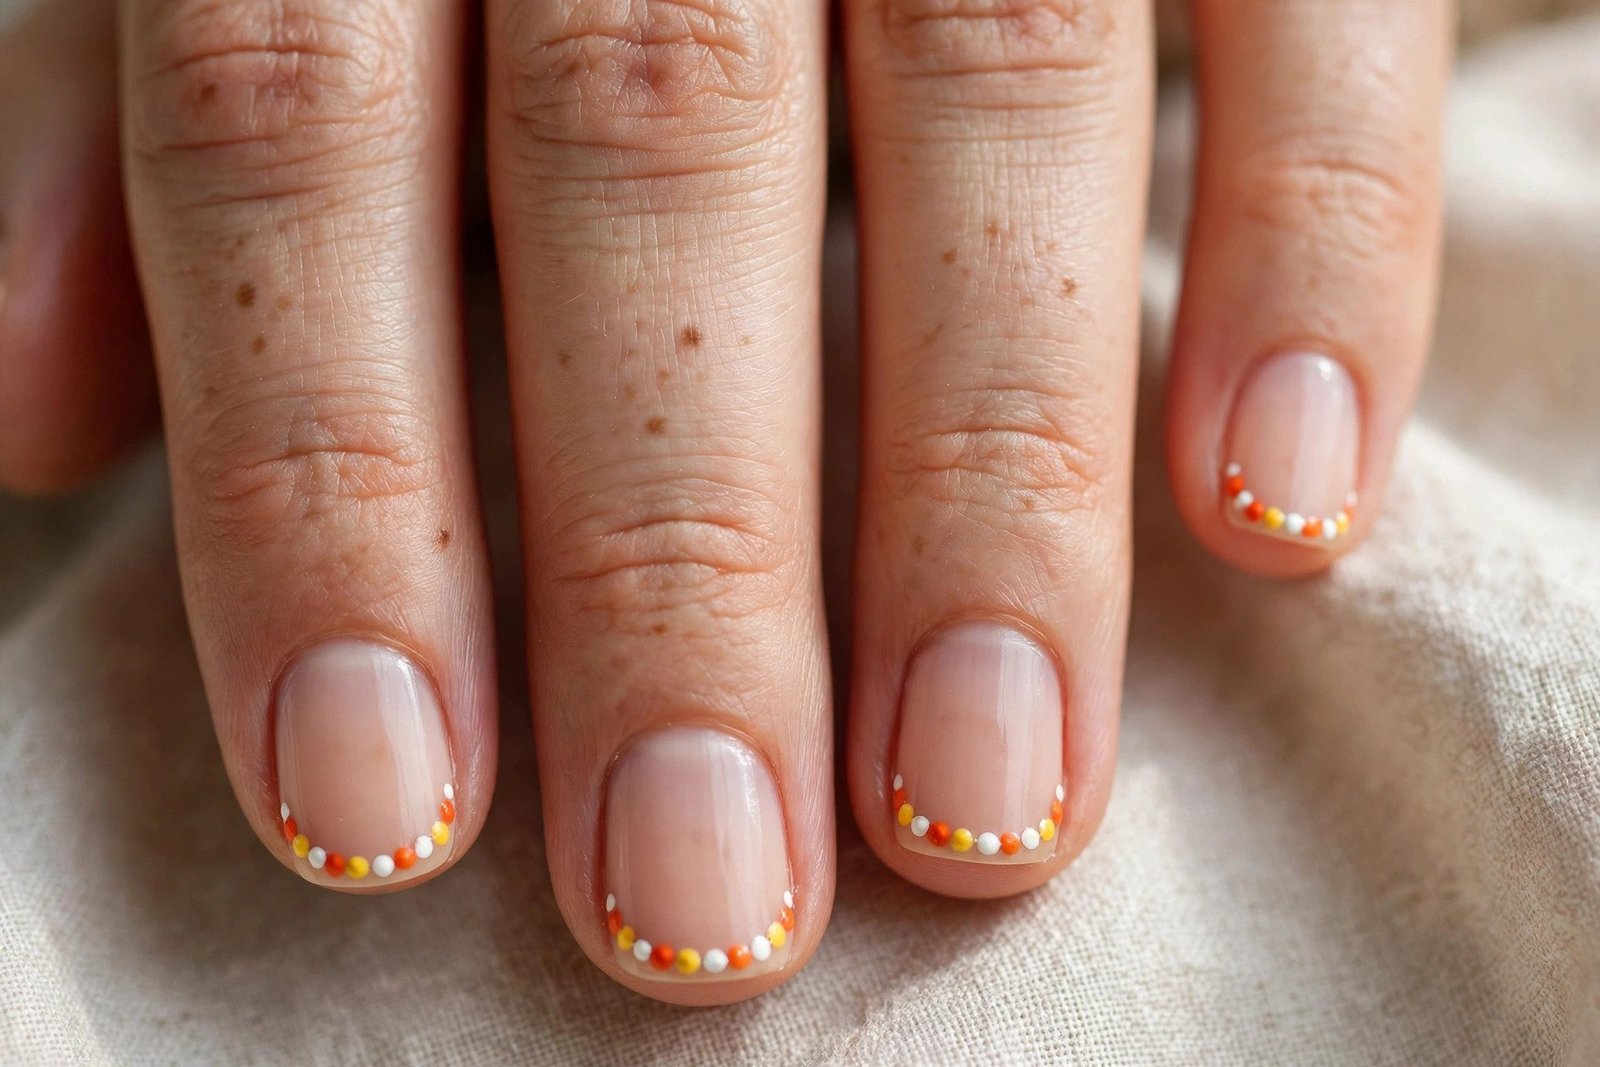
A candy corn dots row lines up the colors vertically. I paint a nude base and add three dots in a column on each nail: yellow at the cuticle, orange in the middle, white at the tip. It suggests candy corn without any blending. It suits anyone who loves the candy corn palette in a minimalist design. I wear this to the office in October. My go-to tip: use the same size dotting tool for all three dots and space them evenly. The column should run straight down the center. This is meditative to paint and looks so clean when done.
23. Ghostly White Tips
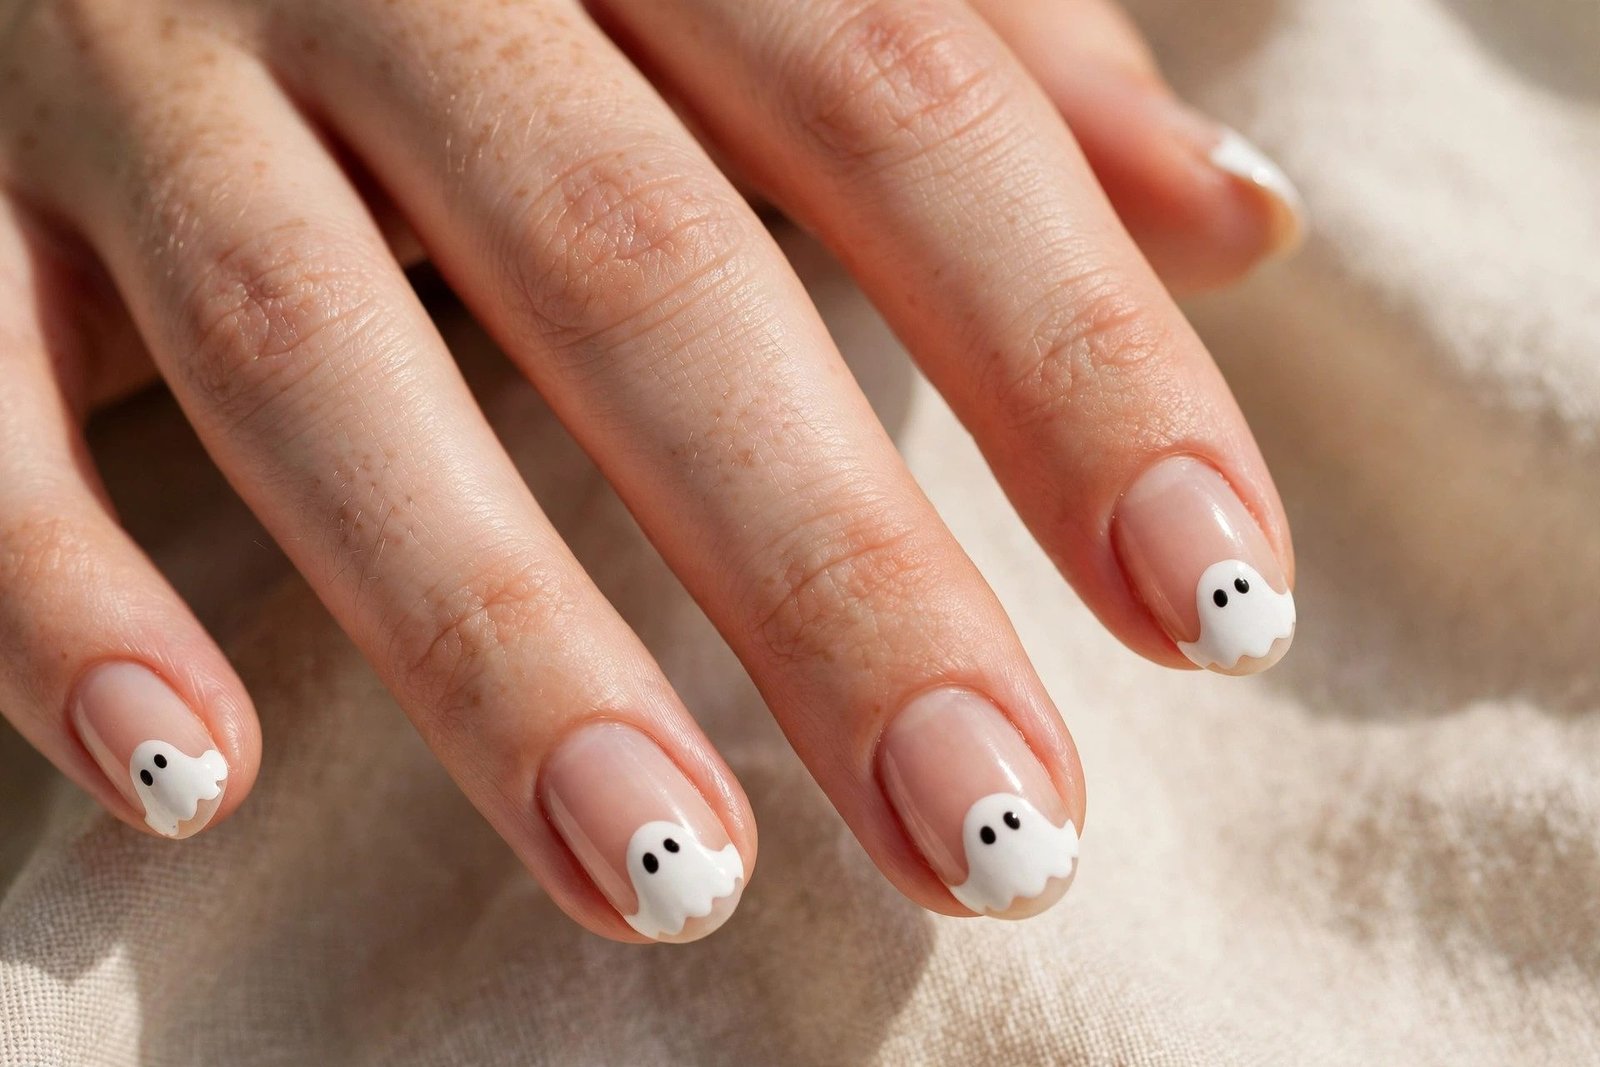
Ghostly white tips are a French manicure gone Halloween. I paint a sheer black or dark base, then add white tips, and turn each tip into a ghost face with two dot eyes. Spooky French, five steps max. It suits anyone who wants Halloween nails with a dark, moody base. I wore these to a haunted house and they were perfect. Quick tip: paint the white tips thicker than a normal French so there’s room for the eyes. Add the eyes with the smallest dotting tool you have. The contrast of white ghosts on dark nails is striking.
24. Pumpkin Stem Accent

The pumpkin stem accent is almost no art at all. I paint all nails pumpkin orange, then add a tiny brown rectangle stem and a small green leaf at the cuticle of each nail with a toothpick. Your whole hand becomes a pumpkin patch. It suits minimalists who want a clever seasonal nod. I wear this when I want Halloween spirit without any characters. My go-to tip: keep the stems tiny, just a short line at the base. The leaf is two small strokes. This looks incredibly chic, like a fashion-week take on Halloween nails.
25. Starry Halloween Night
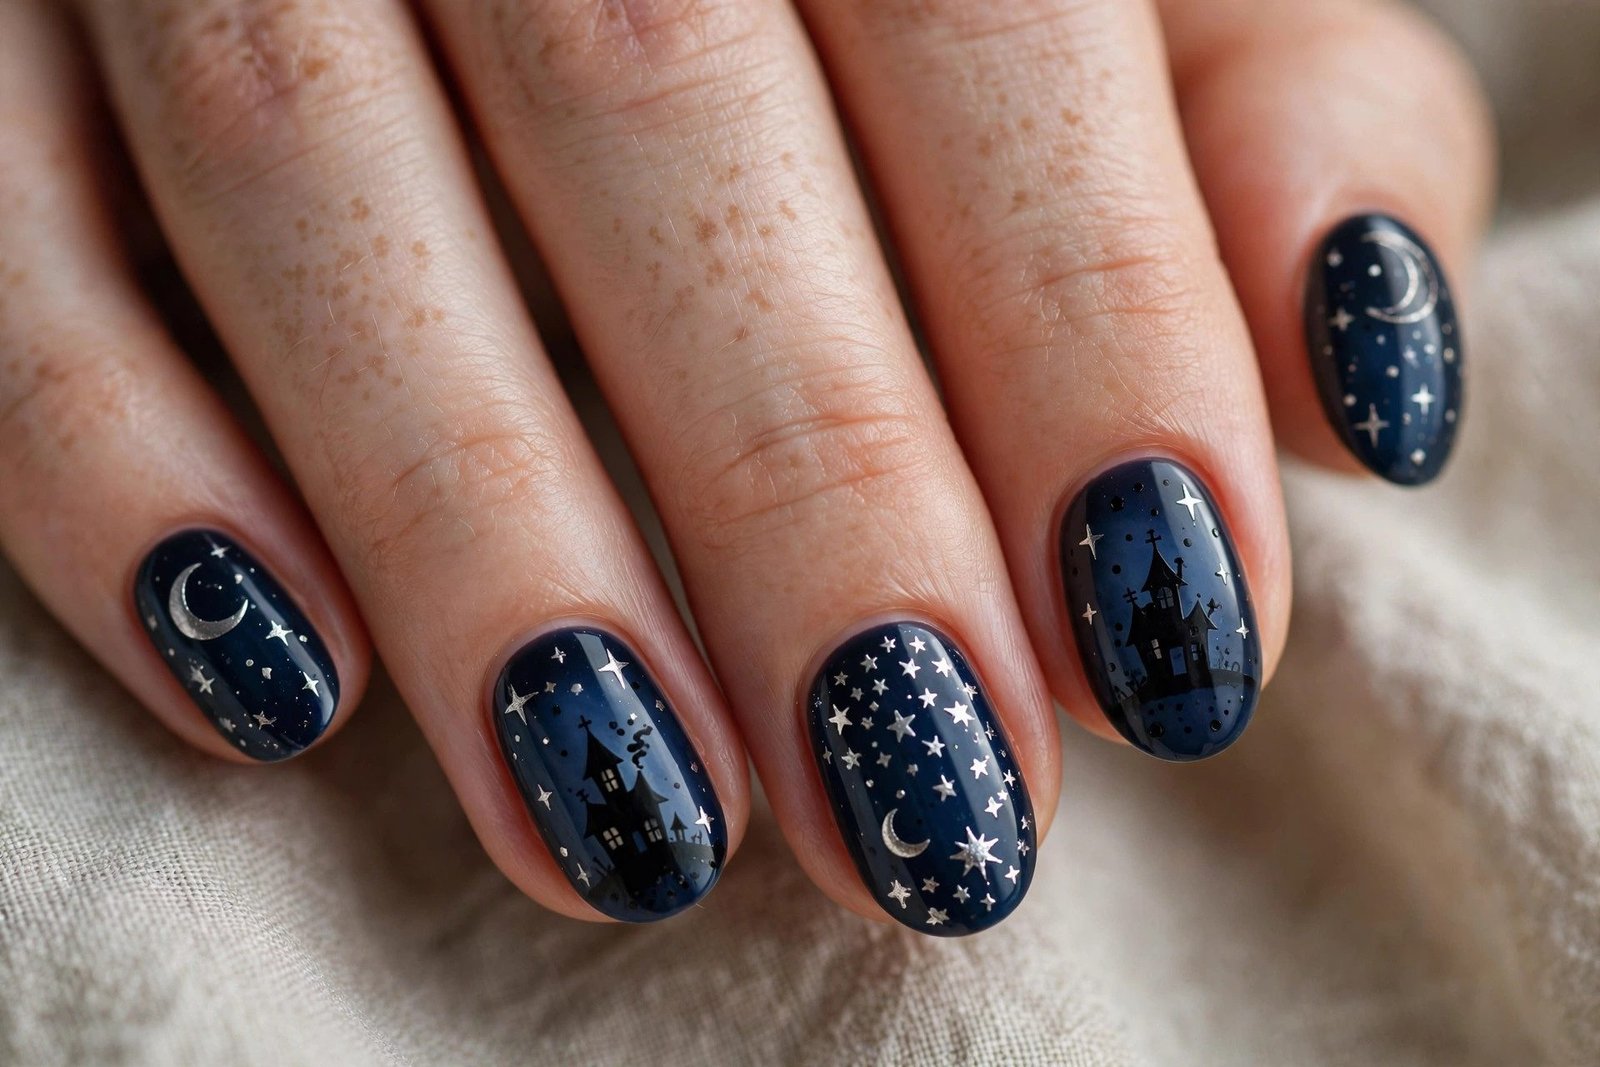
Starry Halloween night is dots on dark polish, and it never fails. I paint a deep purple or black base and scatter dots in white, gold, and orange like stars, then add one tiny crescent moon on an accent nail. Simple, pretty, and very October. It suits anyone who wants Halloween-adjacent nails rather than literal Halloween art. I wear this all fall. My go-to tip: use at least three dot sizes for a realistic star field, and cluster some dots closer together. The moon is just a circle with a bite taken out using the base color. Finish with glossy top coat for depth.
See? Easy Halloween nails for beginners really are easy. I hope this list proved that five steps or less is all you need for festive October nails. My advice is to start with the dotted designs, they’re the most forgiving, and work your way up to the little characters. Save this list, pick your favorite, and give yourself a Halloween manicure tonight. You’ve totally got this.