Orange Halloween nails deserve so much more than basic pumpkin art. I love orange as a Halloween color because it’s warm, bold, and endlessly versatile, from burnt sienna to neon tangerine. These 20+ orange Halloween nails 2026 explore marbling, ombré, tortoiseshell, and abstract designs that use orange in fresh, modern ways. I’ve tested every color story below against real October outfits, and they all deliver. If you think orange nails are boring, this list is about to change your mind completely.
1. Burnt Orange Velvet
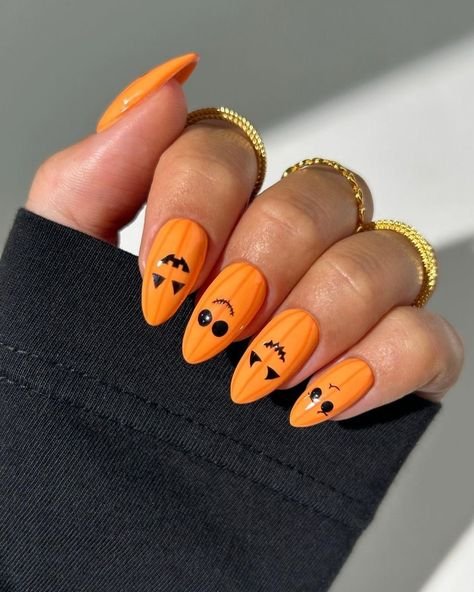
I love how burnt orange velvet nails feel like autumn in a bottle. A deep, smoky orange with a matte top coat creates that soft velvet texture that’s so luxurious. No art needed, the color and finish do everything. It suits anyone who wants Halloween-adjacent nails that work all fall. I wear this from October straight through Thanksgiving. My go-to tip: matte top coat over a rich orange is transformative, but make sure your color coats are flawless first since matte shows everything. This shade pairs beautifully with gold jewelry and camel coats.
2. Abstract Pumpkin Swirls
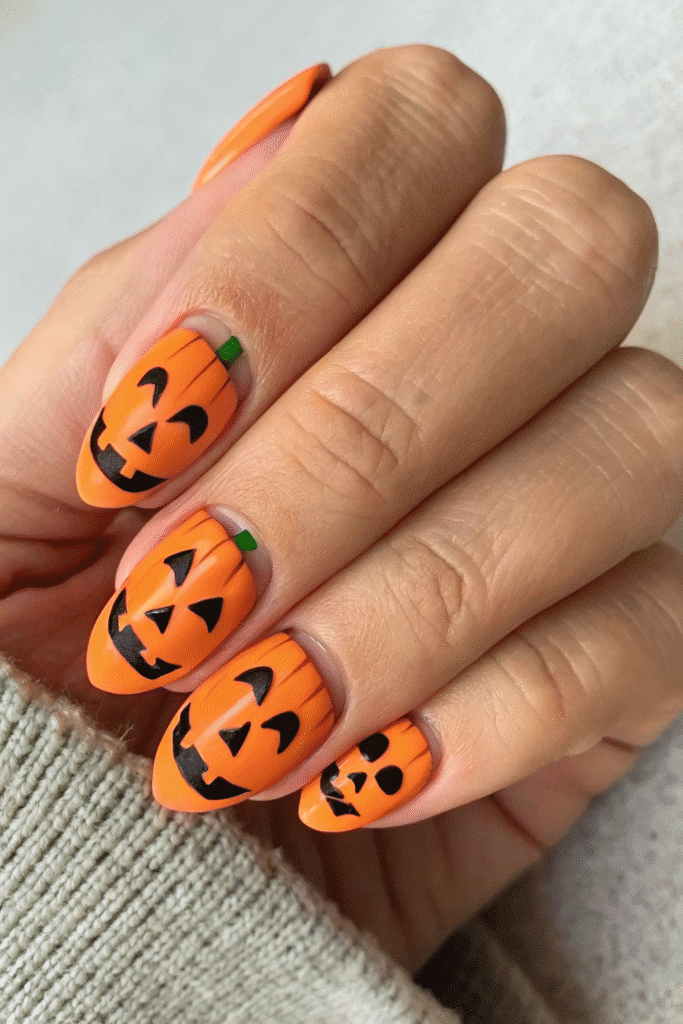
Abstract pumpkin swirls take the pumpkin somewhere artistic. I paint a cream base and add freeform swirls in three shades of orange, from pale apricot to deep rust, with thin gold lines weaving through. It suggests pumpkins without drawing a single one. It suits art lovers who want Halloween color in an editorial style. I wore this to a gallery opening in October. Quick tip: the swirls are just curved lines, don’t plan them, let your hand move freely. The magic is in the color layering, so use at least three oranges for depth.
3. Orange and Black Color Block
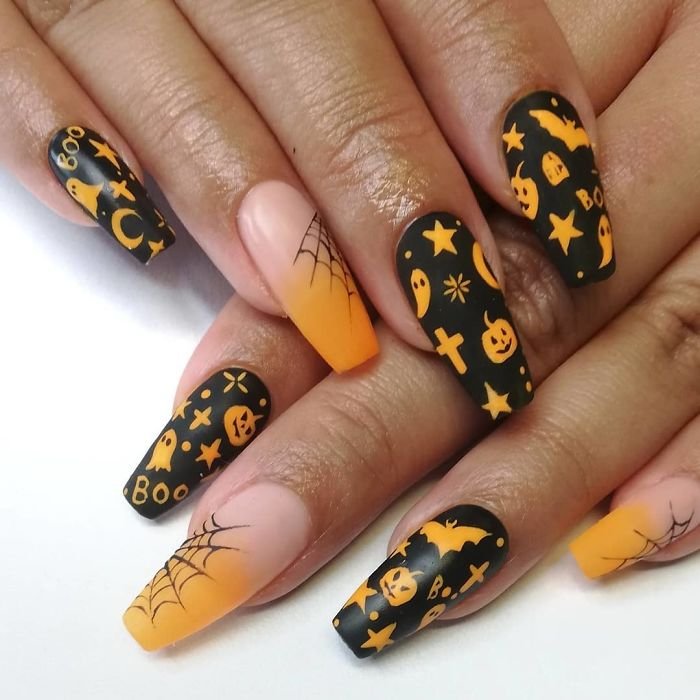
Orange and black color block is graphic and bold. I divide each nail diagonally or horizontally into orange and black sections, varying the pattern per nail. The high contrast is pure Halloween. It suits anyone with a modern, edgy style. I wear this with all-black outfits to let the orange pop. My go-to tip: use striping tape for razor-sharp lines between the colors. Let the first color dry fully before taping. The diagonal division is more dynamic than straight horizontal, try it on at least a few nails.
4. Tortoiseshell Orange

Tortoiseshell in orange tones is my secret luxury Halloween look. I layer translucent amber, caramel, and deep orange in organic blotches over a sheer base, then add dark brown irregular spots. The result looks like expensive tortoiseshell accessories. It suits anyone who loves the tortie trend with a seasonal twist. I wear this to fall weddings and upscale dinners. Quick tip: work with sheer polishes and build in layers, letting each layer dry slightly. The spots should be irregular and organic. A glossy top coat gives that authentic tortoiseshell depth.
5. Orange Marble Magic
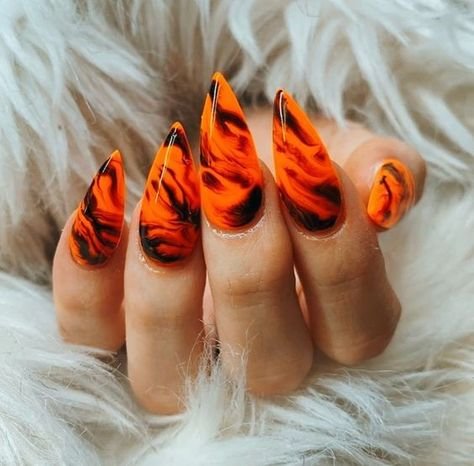
Orange marble magic uses the water-marble or drag-marble technique in Halloween colors. I swirl orange, black, white, and gold into stone-like patterns on each nail. Every nail is unique, like real marble. It suits anyone who loves artistic, one-of-a-kind manicures. I wear this when I want my nails to be a conversation piece. My go-to tip: the drag technique is easier than water marbling, place dots of each color on the nail and drag a toothpick through them in S-curves. Work fast while wet. Seal with glossy top coat for that polished stone look.
6. Harvest Ombré Fade
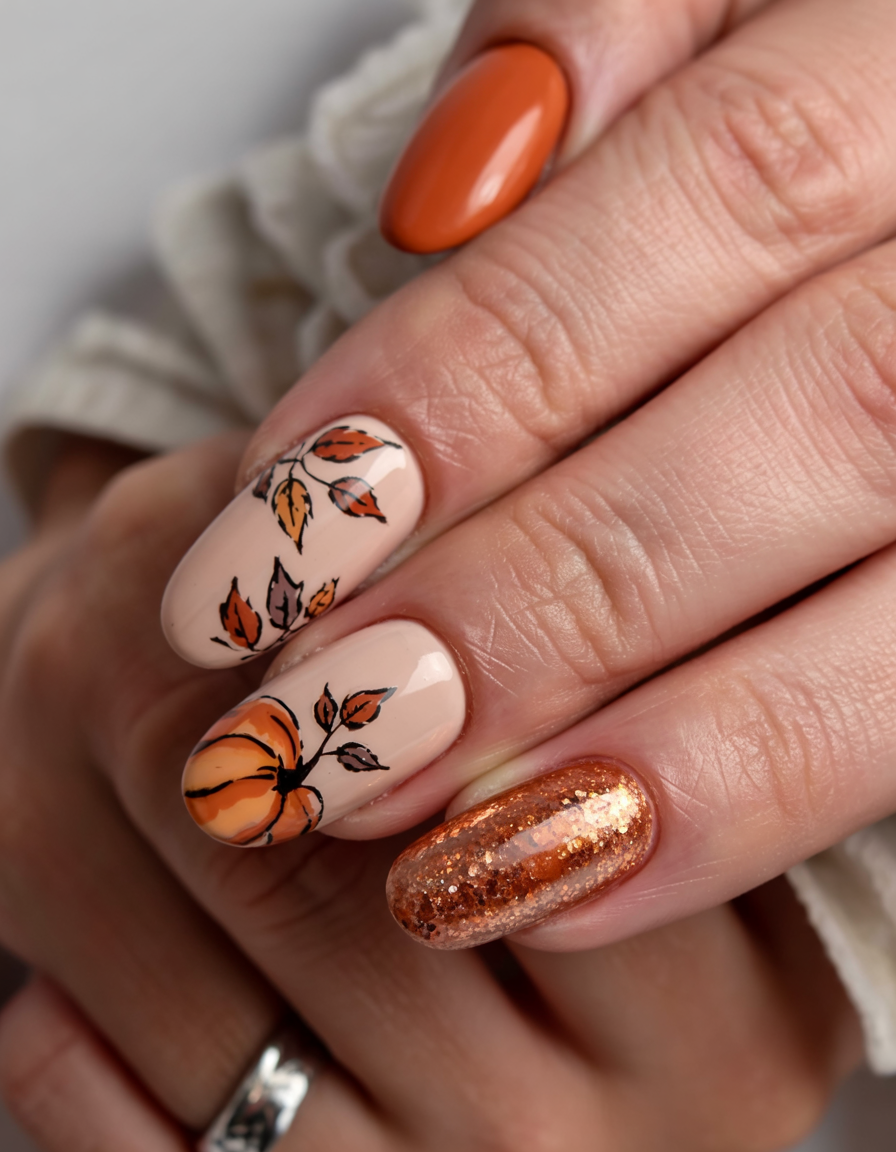
Harvest ombré fades from deep plum through burnt orange to golden yellow, like a sunset over a cornfield. I sponge the gradient across each nail for a seamless blend. It’s autumn in gradient form. It suits anyone who loves fall color stories. I wear this all October as my signature seasonal manicure. Quick tip: apply the three colors in horizontal stripes on a makeup sponge and dab with a rolling motion. Two to three applications build richness. This gradient photographs beautifully, it’s made for golden-hour selfies.
7. Neon Tangerine Pop

Neon tangerine pop is Halloween for the bold. I paint nails a vivid, almost neon orange that glows against October’s muted palette. No art, just unapologetic color. It suits confident dressers who love a statement nail. I wear this with neutral outfits to let the nails be the star. My go-to tip: neons are often sheer, so use a white base coat underneath to make the orange truly pop. Two to three thin coats build the neon intensity. This shade looks incredible on all skin tones, it’s universally flattering.
8. Pumpkin Spice Swirl
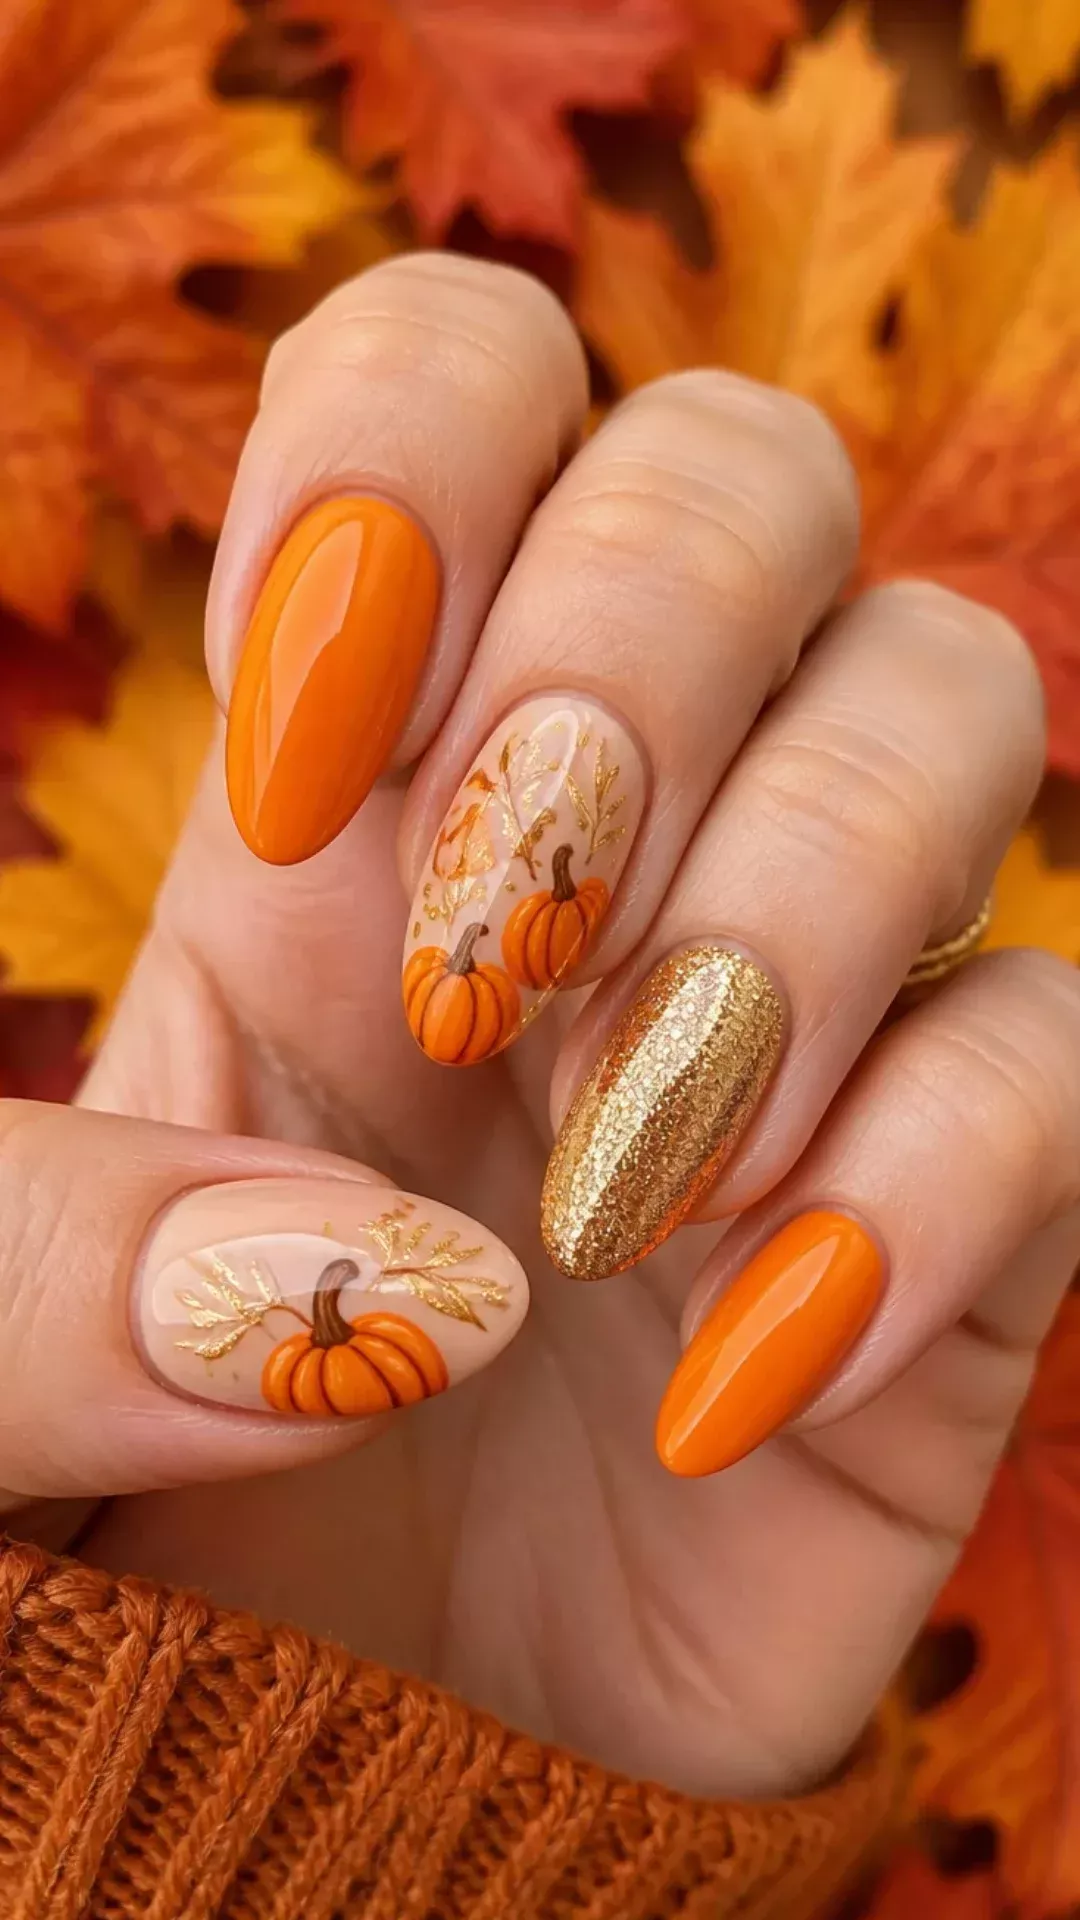
Pumpkin spice swirls mix orange with creamy latte tones in soft, blended swirls. I use a dry-brush technique to swirl pumpkin orange, cinnamon, and cream together on each nail. It looks like the top of a fancy latte. It suits cozy-girl autumn lovers. I wear this with oversized sweaters and boots. Quick tip: the dry brush technique uses almost-dry polish dragged lightly across the nail, creating soft, feathery blends. Don’t overwork it, three or four strokes per nail is enough. A satin top coat gives the perfect latte finish.
9. Orange and Black Plaid
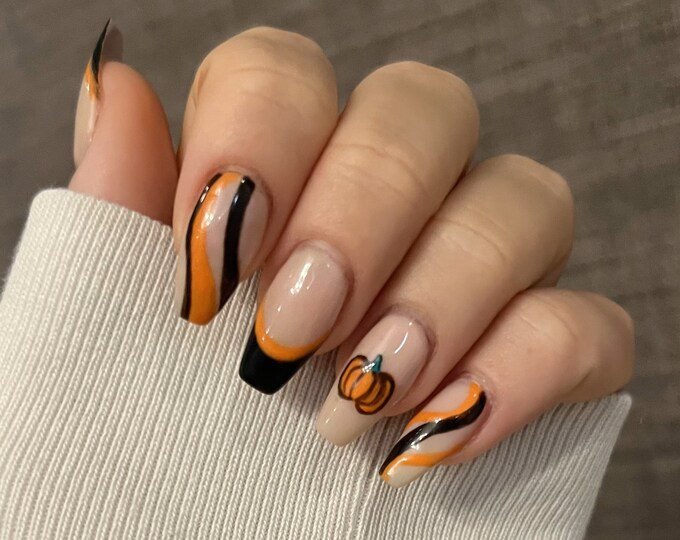
Orange and black plaid brings flannel-season to your fingertips. I paint an orange base and add black plaid lines, vertical, horizontal, and diagonal, with a striping brush. The pattern is preppy-Halloween perfection. It suits anyone who lives in flannel and boots all fall. I wear this to apple orchards and bonfires. My go-to tip: keep the lines thin and consistent, and vary the spacing for an authentic plaid look. Let each direction dry before adding the next. This pattern looks complicated but it’s just straight lines.
10. Molten Copper Foil

Molten copper foil nails look like liquid metal. I paint a deep orange-brown base and press copper foil flakes onto tacky polish, then seal with glossy top coat. The metallic shimmer is mesmerizing. It suits anyone who loves luxe, eye-catching nails. I wore this to an October wedding and felt so glamorous. Quick tip: apply foil to polish that’s tacky but not wet, press gently and lift. The random placement is the beauty of it. Don’t aim for full coverage, partial foil with base showing through looks more expensive.
11. Sunset Stripes

Sunset stripes layer horizontal bands of yellow, orange, coral, and deep red across each nail like a desert sunset. I love how the warm gradient feels like golden hour, permanently on your nails. It suits anyone who loves warm, glowy color. I wear this in early October when the light is still golden. My go-to tip: paint the lightest color first as a base, then add the stripes from light to dark. Clean lines matter here, so use striping tape or a steady hand. This design glows in sunlight.
12. Autumn Leaf Negative Space
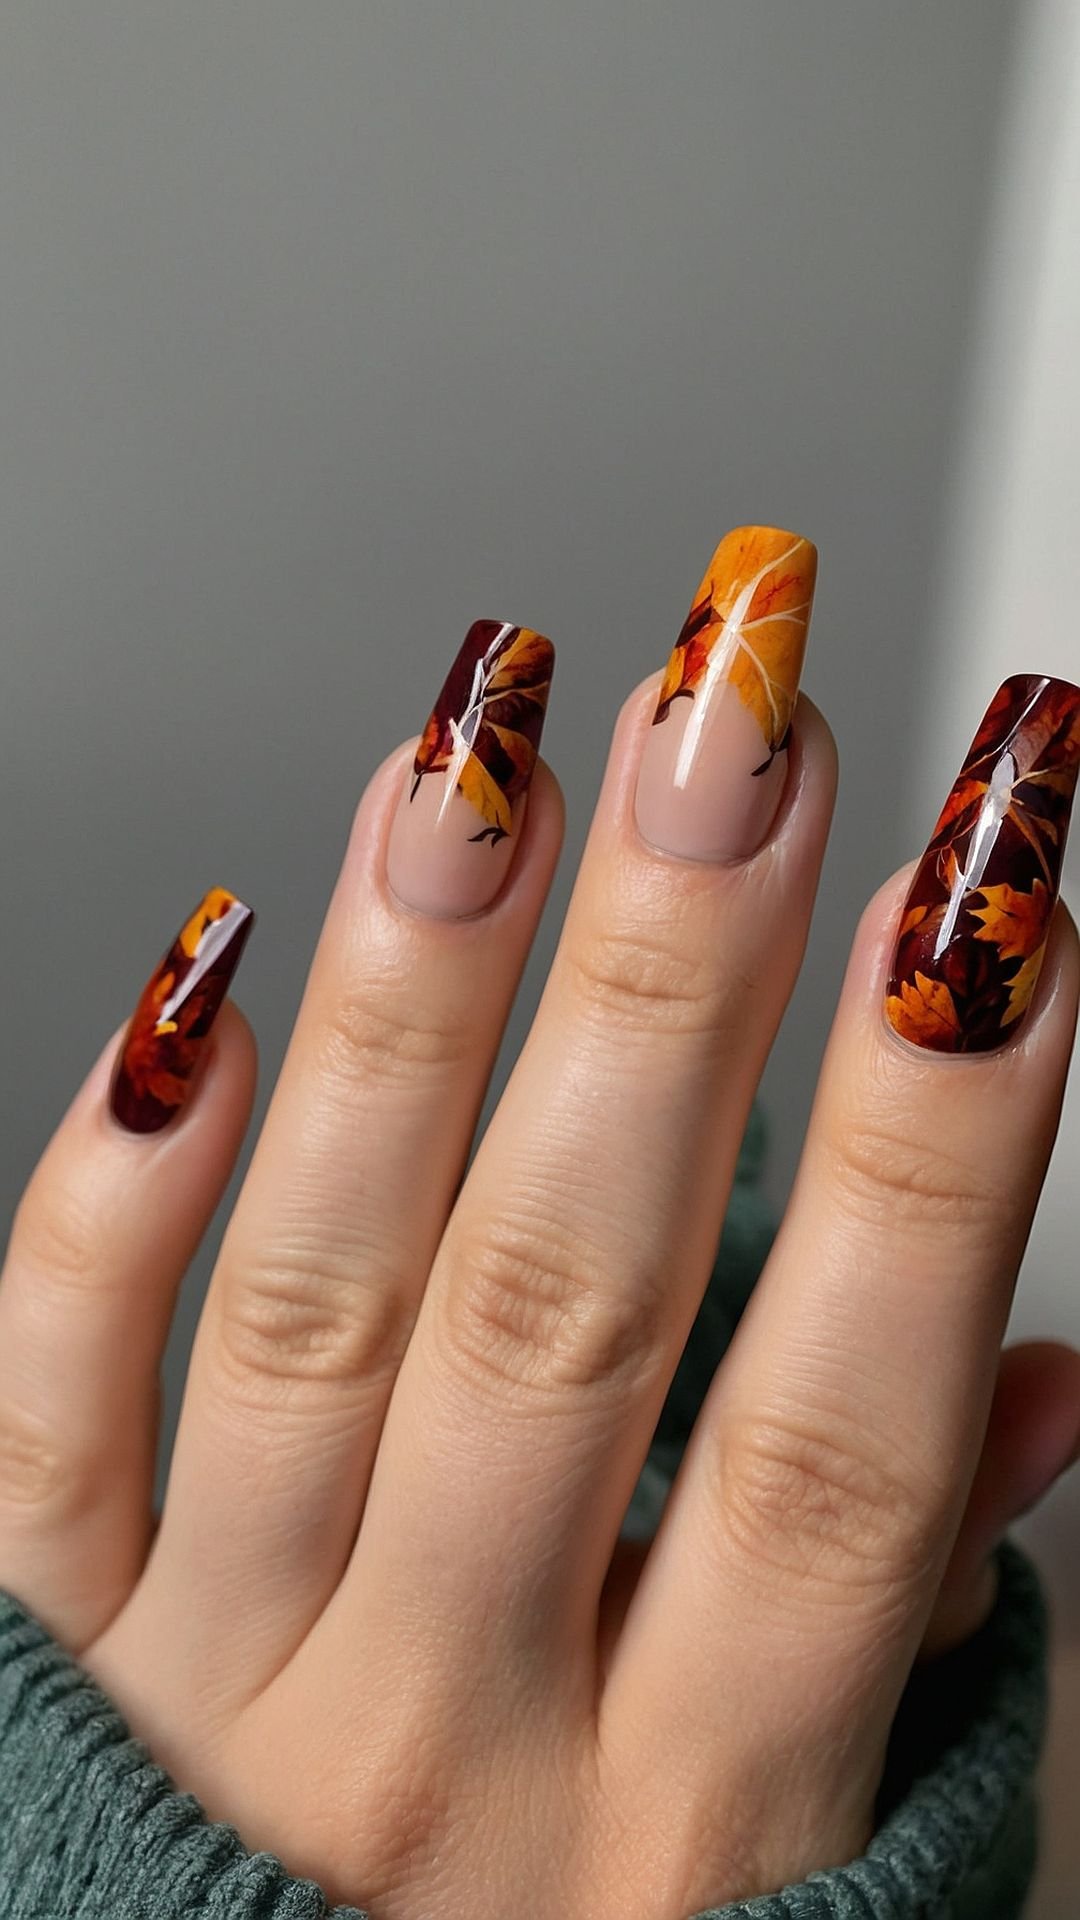
Autumn leaf negative space is elegant and seasonal. I leave parts of the nail bare or nude and paint stylized leaves in orange, rust, and gold around the edges. The negative space keeps it modern and breathable. It suits minimalists who still want fall on their nails. I wear this to Thanksgiving-adjacent events in late October. Quick tip: the leaves are simple shapes, an oval with a center vein line. Cluster them at the corners and leave the center bare. This looks far more advanced than it is, I promise.
13. Orange Jelly Sandwich

Orange jelly sandwich nails layer sheer orange jelly polish over glitter or foil for a candied effect. I paint a glitter base, then float two coats of orange jelly on top. The depth is incredible, like looking into amber. It suits anyone who loves the jelly trend. I wear this when I want something juicy and fun. My go-to tip: jelly polishes are sheer, so the base layer shows through, that’s the point. Try gold glitter underneath for warmth or holographic glitter for dimension. The sandwich technique works with any jelly color.
14. Charred Ember Tips
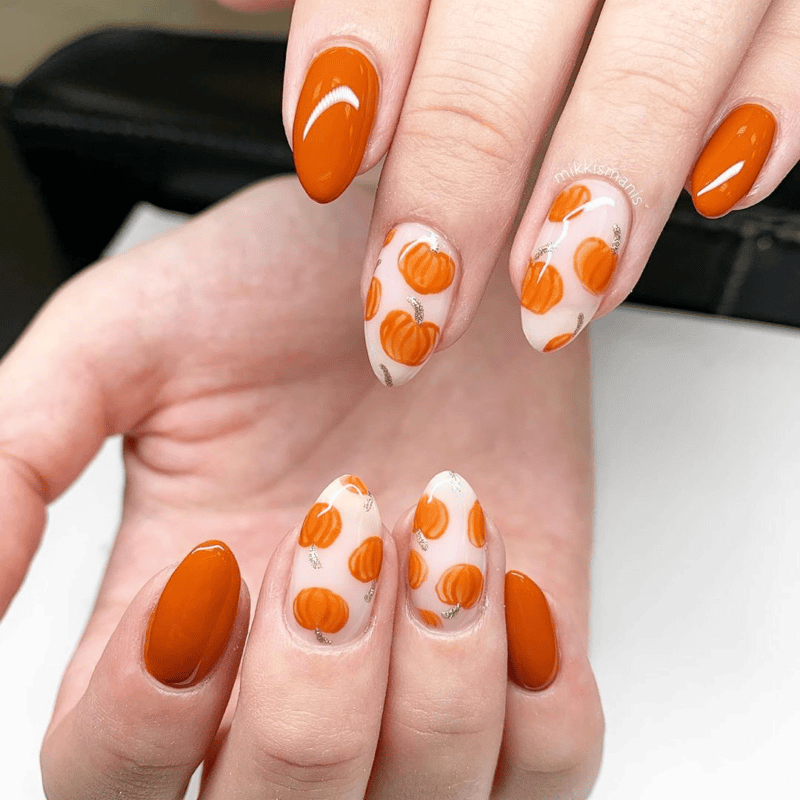
Charred ember tips fade from black at the base to glowing orange at the tips, like coals in a fire. I sponge the gradient then add tiny bright orange dots as sparks. It’s Halloween bonfire on your nails. It suits anyone who loves bonfires, camping, and cozy October nights. I wear this to outdoor fall events. Quick tip: the gradient is black sponged at the cuticle fading to orange tips. Add the spark dots while the orange is slightly tacky so they sit on top. A glossy finish makes the embers look like they’re actually glowing.
15. Persimmon Cream Duo

Persimmon cream duos pair soft persimmon orange with creamy off-white in simple, chic patterns. I alternate solid nails with French tips or half-moons in the two colors. The palette is sophisticated and very 2026. It suits anyone who wants orange nails that feel fashion-forward, not costumey. I wear this to the office all October. My go-to tip: the limited two-color palette is what makes this chic, resist adding more colors. Clean application matters most here. This is proof that orange can be elegant.
16. Spiced Cider Shimmer
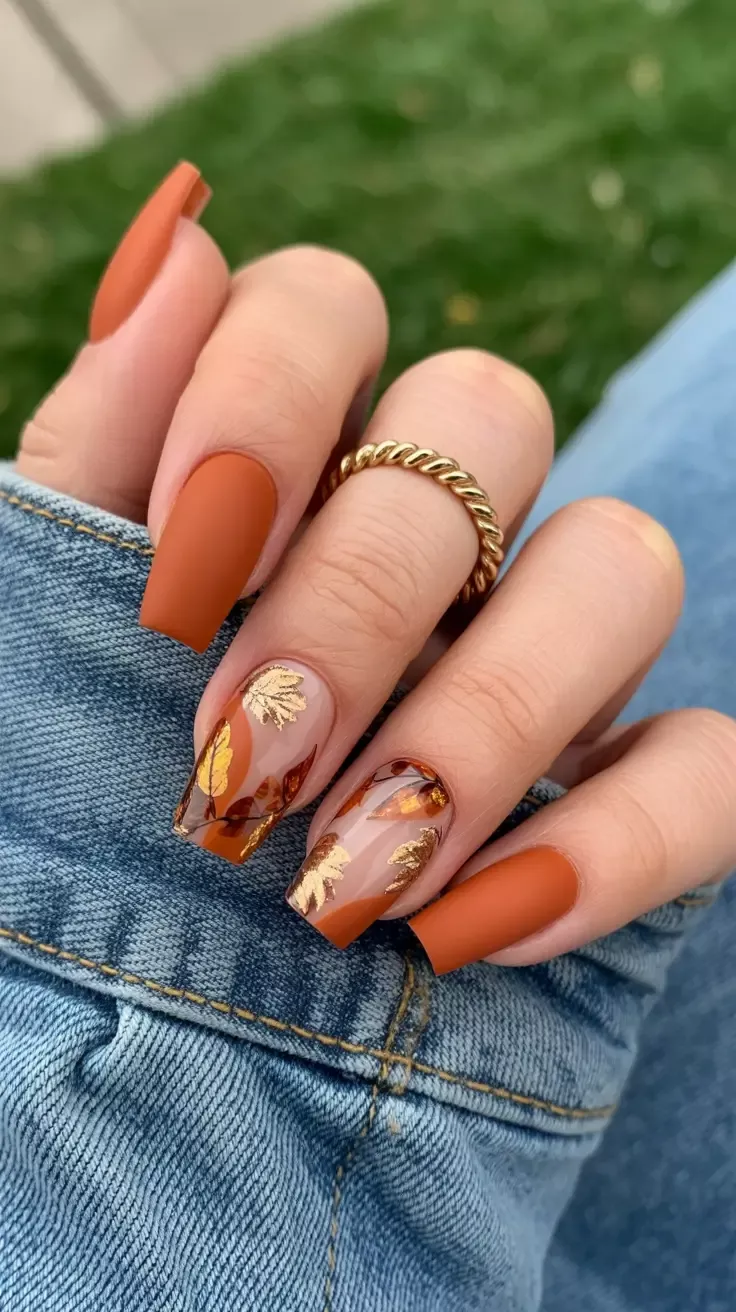
Spiced cider shimmer is orange with a golden shimmer running through it. I use a shimmery copper-orange polish that shifts in the light, sometimes layering it over a deeper base for dimension. It’s warm and inviting. It suits anyone who loves subtle sparkle. I wear this as my everyday October polish. Quick tip: shimmer polishes look best in two to three thin coats, thick coats can look streaky. The shimmer does the work, so no art needed. This shade flatters every skin tone I’ve seen it on.
17. Orange Geo Facets

Orange geo facets break the nail into geometric triangles in different orange tones, like a faceted gemstone. I map the triangles with striping tape and fill each with a different shade. The result is modern art on your nails. It suits anyone with an architectural, minimalist style. I wore this to a design event in October. My go-to tip: plan the facets on paper first, then use thin striping tape on the nail. Fill each section with a different orange, from pale to deep. Remove the tape while the polish is slightly wet for crisp lines.
18. Golden Hour Chrome

Golden hour chrome nails capture that perfect sunset light in metallic form. I apply copper-orange chrome powder over a matching base for a mirror-like finish. The reflective glow is stunning. It suits anyone who loves chrome nails with a seasonal twist. I wear this to evening events where the light catches the metallic finish. Quick tip: chrome needs a smooth, tacky base, follow your powder’s instructions carefully. The copper tone is more wearable than silver or gold for fall. This is a salon-level finish that’s surprisingly DIY-able.
19. Candy Apple Orange
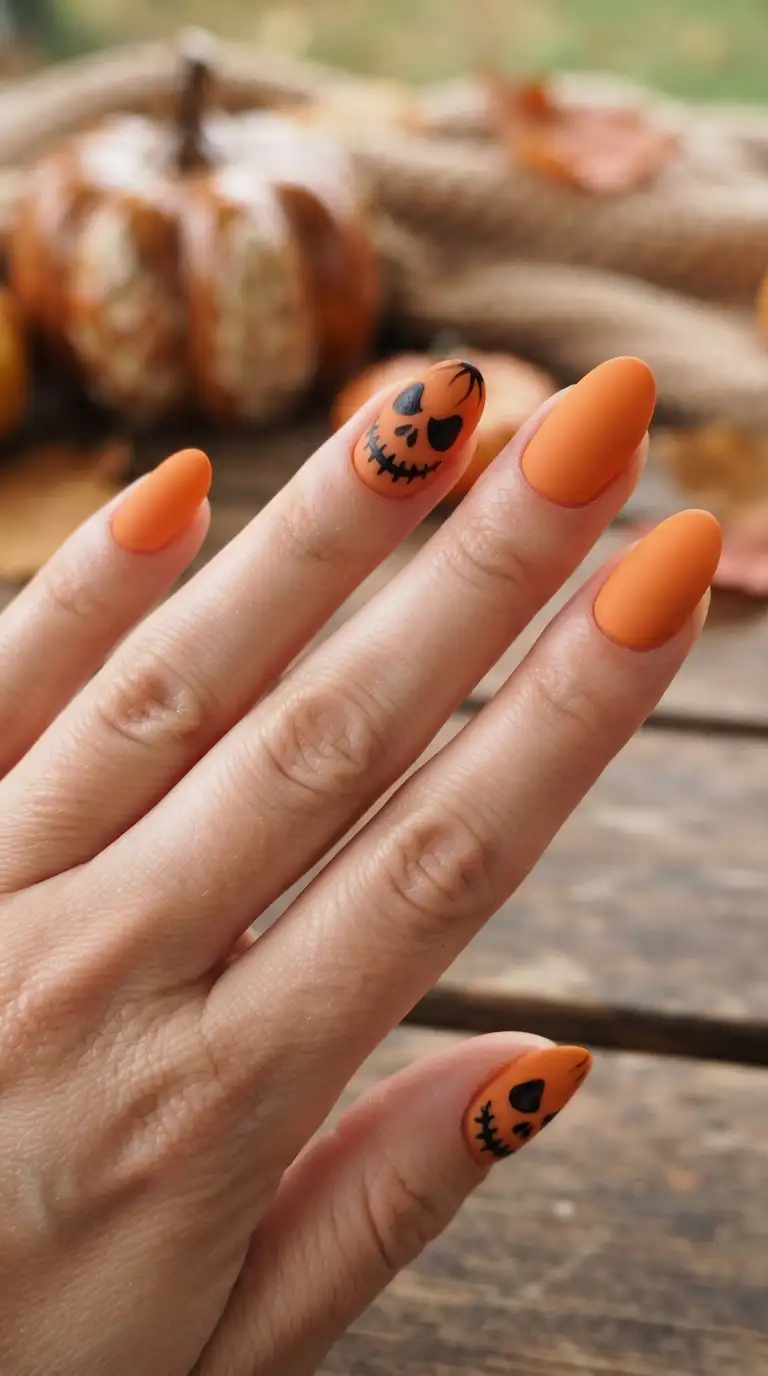
Candy apple orange is glossy, juicy, and nostalgic. I use a bright orange-red with an ultra-glossy top coat for that candy coating look, like biting into a carnival candy apple. It’s playful and delicious. It suits anyone who loves a fun, retro vibe. I wear this to fall carnivals and Halloween parties. My go-to tip: the candy effect is all in the top coat, use a thick, plumping glossy top coat. The color underneath should be vibrant and opaque. This look is pure joy, and it photographs incredibly well.
20. Smoky Topaz Fade

Smoky topaz fades from deep smoky brown through amber to golden topaz, like looking into a gemstone. I sponge the gradient and add a glossy top coat for that jewel-like depth. It’s mysterious and rich. It suits anyone who loves deep, complex color. I wear this in late October when the mood turns moodier. Quick tip: build the gradient in thin sponged layers, letting each dry slightly. The smoky base should be nearly black-brown. This gradient looks expensive and works beautifully on almond-shaped nails.
These 20+ orange Halloween nails prove that orange is so much more than basic pumpkin art. I hope this list opened your eyes to marbling, chrome, tortoiseshell, and all the other ways orange can shine. My challenge to you: pick the technique that intimidated you most and try it this weekend. Orange is forgiving, festive, and fabulous. Go get glowing.