I taught myself nail art with a bottle of drugstore polish and a toothpick, so believe me when I say: you do not need salon skills for gorgeous October nails. The secret beginners miss is that the best fall nail art isn’t about precision — it’s about the right colors and forgiving techniques. Dots, sponging, and stickers look professional even when your hand shakes, and autumn’s palette of burnt orange, chocolate, and gold is flattering even in imperfect application. These October nail art ideas for beginners use only basic polish and tools you already own (toothpicks, bobby pins, makeup sponges, tape). No striping brushes, no stamping plates, no gel lamp. Each design below includes the exact beginner technique, so pick one, pour some polish, and prove to yourself that salon nails are optional.
1. Dotted Fall Confetti Nails (Toothpick Technique)
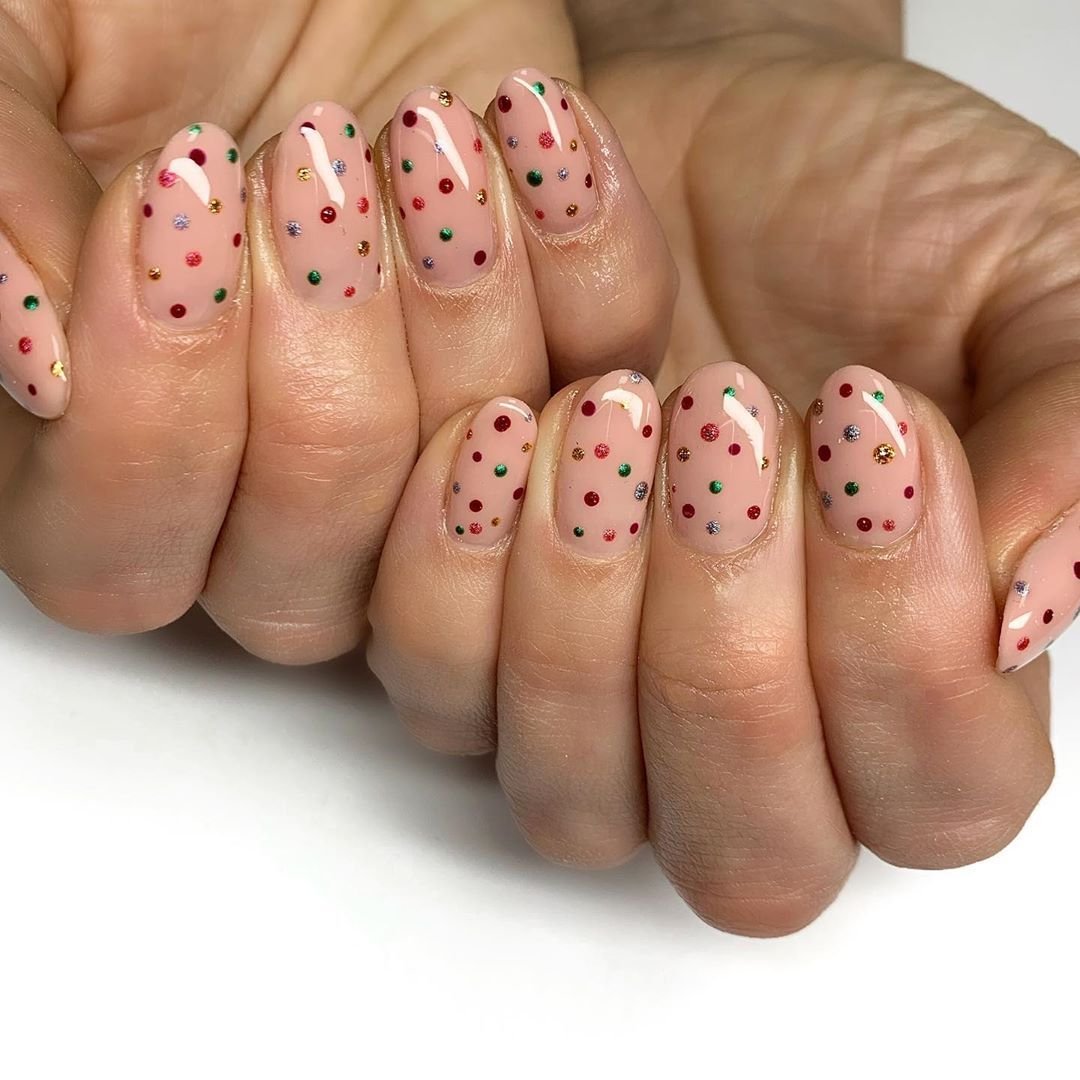
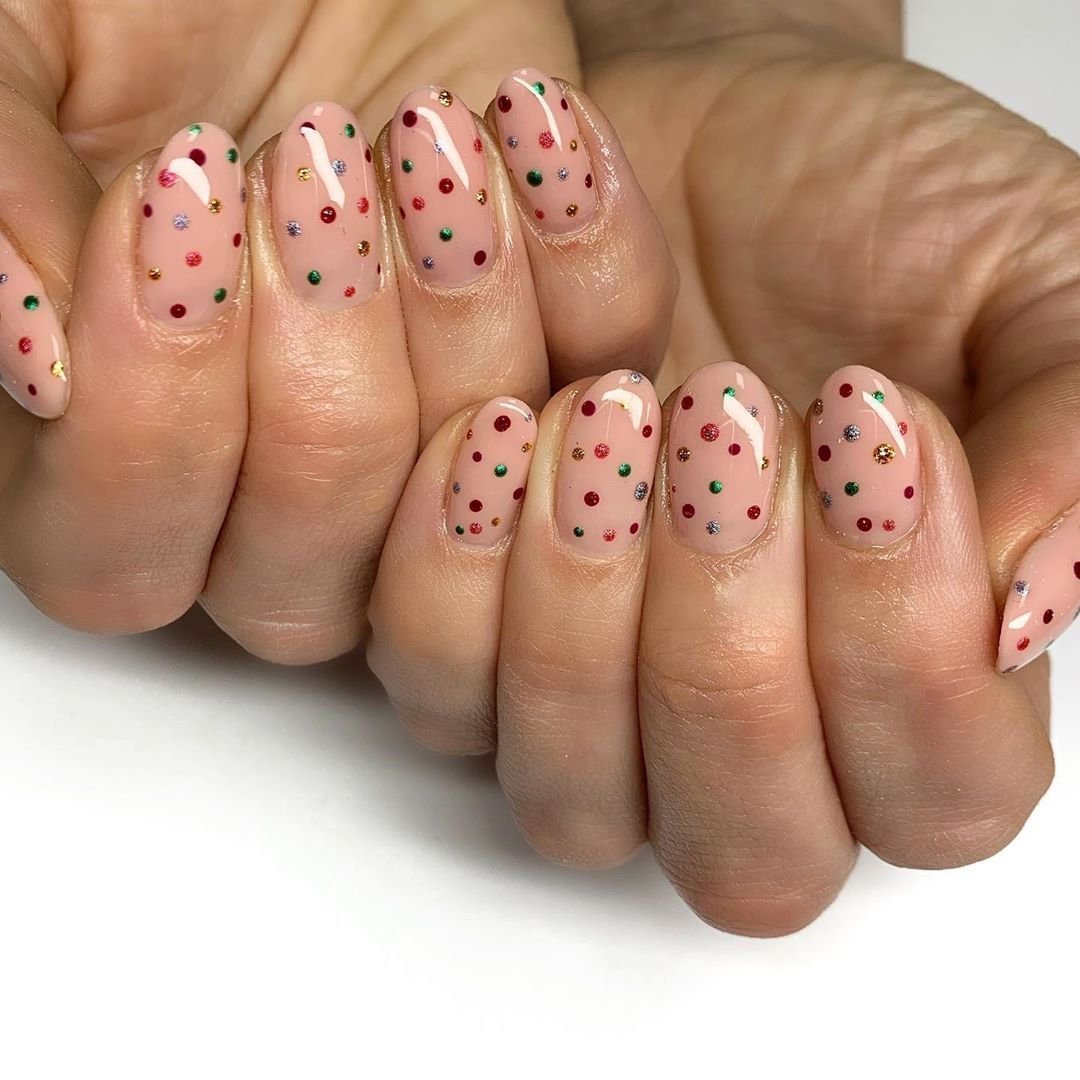
If you can dot a toothpick, you can do this manicure — it’s the first nail art I ever learned. I paint a neutral base (cream or nude), then dip a toothpick in burnt orange, mustard, burgundy, and olive polish and dot random confetti across each nail. The randomness is the point: there’s no pattern to mess up, and every nail looks intentionally playful. This suits absolute beginners because dots are the most forgiving nail art shape — wobbly dots still look like confetti. I wear it to casual fall outings, and it’s great on short nails where the dots fill the space nicely. My application tip: wipe the toothpick between colors, dot with a light touch (pressing hard makes blobs), and vary the dot sizes by using both ends of the toothpick. Seal with glossy top coat to smooth everything together.
2. Sponged Autumn Ombre (Makeup Sponge Method)
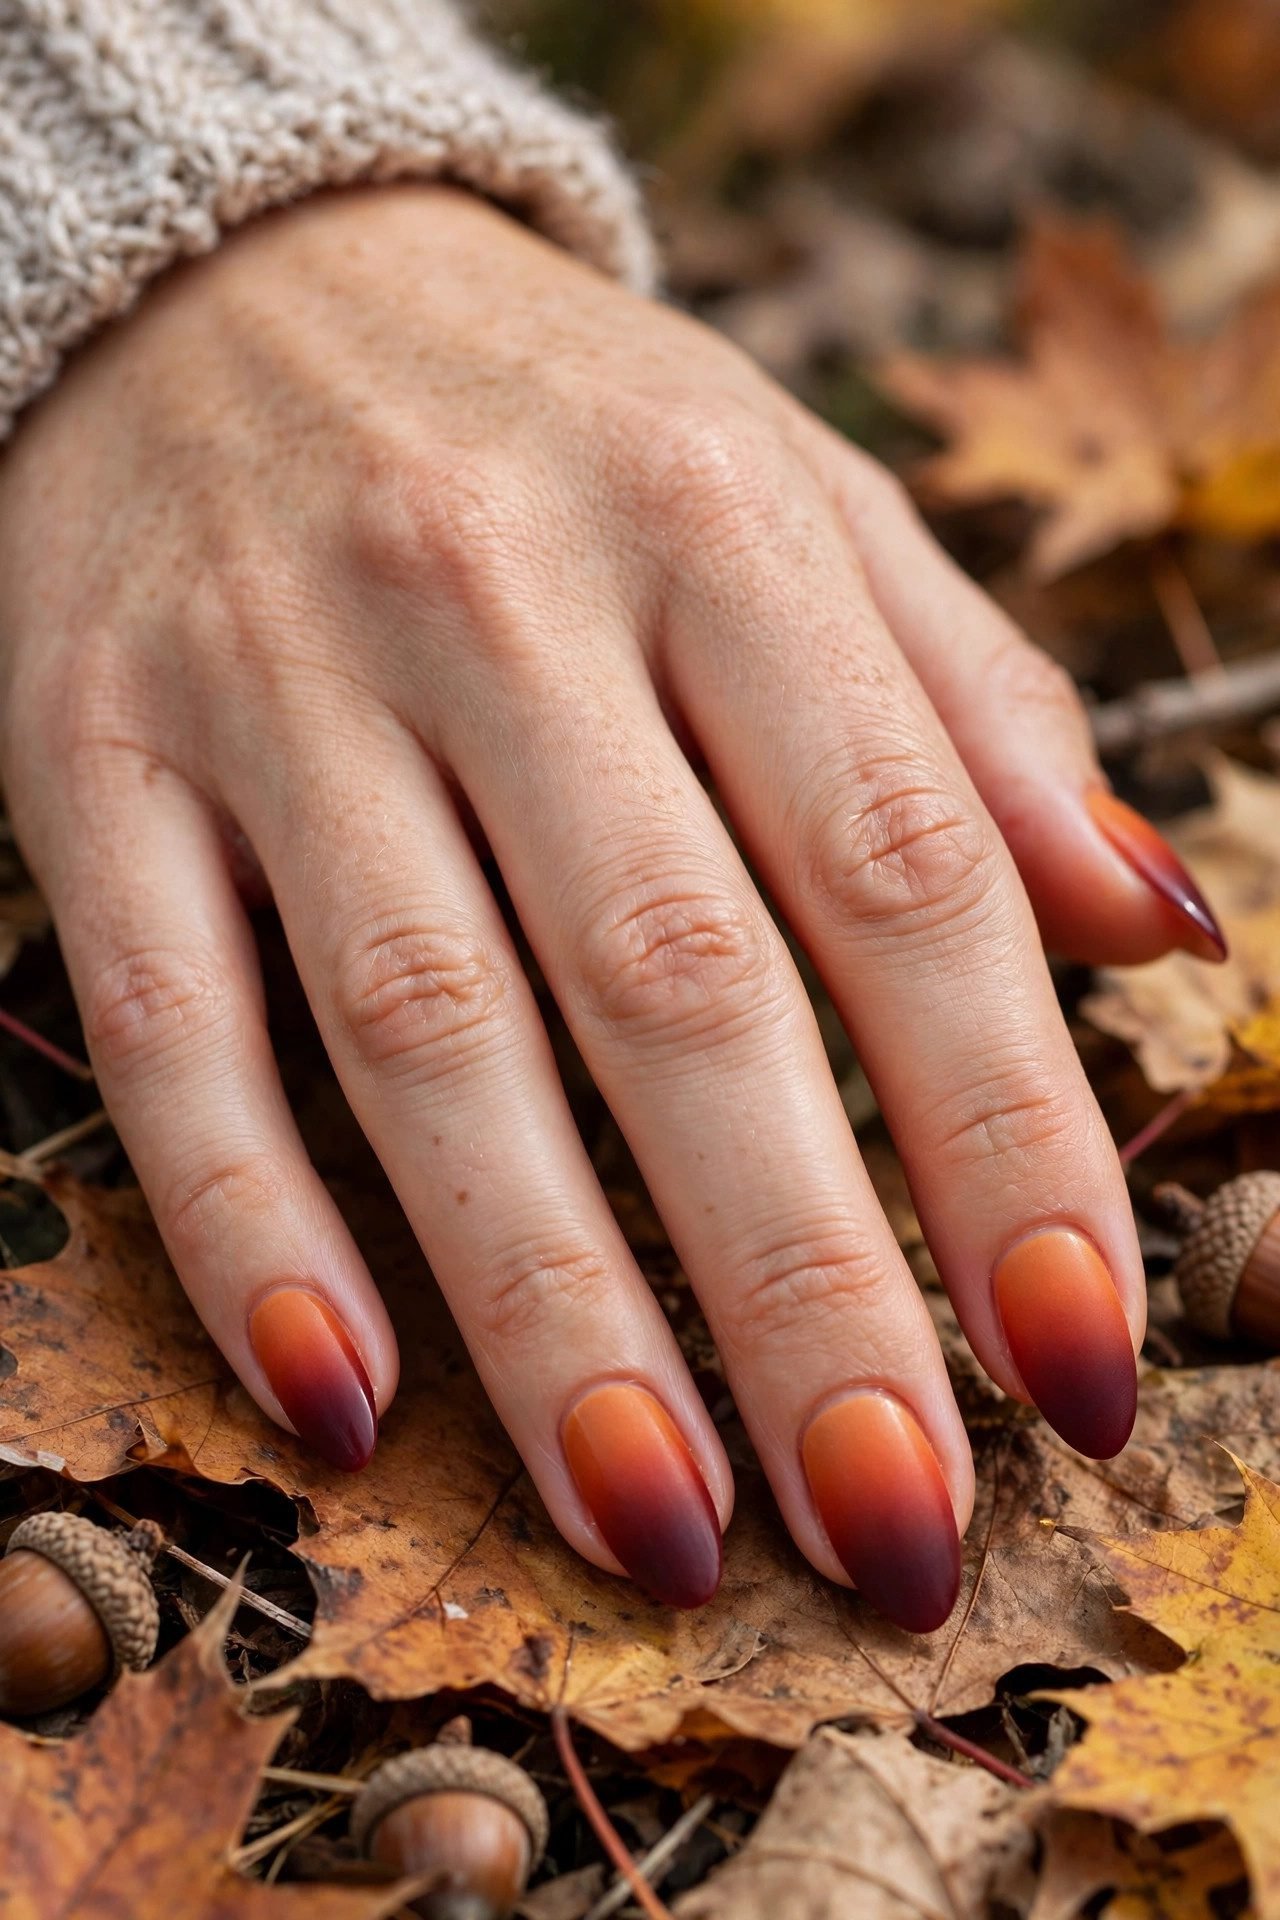
Sponged ombré looks like advanced nail art but it’s secretly the easiest gradient technique in existence. I paint my nails a base coat of the lightest color (cream), then dab a makeup sponge loaded with burnt orange and burgundy stripes directly onto the nail, building the gradient in thin layers. The sponge does the blending for you — no brush skills required. This suits beginners who want a “wow” result with zero technique; the worst that happens is a slightly uneven blend, which still looks like a sunset. I wear this all October; the warm gradient matches every fall outfit. It works on any nail length and shape. My application tip: apply liquid latex or tape around your cuticles first (sponging is messy), use a damp (not wet) sponge, and do 2-3 light dabs rather than one heavy press. Clean up with acetone while still tacky.
3. Single-Stripe Accent Nails (Striping Tape Shortcut)

Striping tape is the beginner’s secret weapon for geometric nail art that looks impossibly precise. I paint my nails in a fall solid (chocolate brown is my favorite), let it dry completely, then lay thin strips of nail striping tape in a simple pattern — one vertical stripe, a chevron, or a diagonal — and seal with top coat. The tape does all the precision work; you just place and seal. This suits anyone whose freehand lines look like seismograph readings (mine did too). I wear striped accents to work because they look modern and intentional. It works on any nail length — shorter nails suit a single stripe, longer nails can handle patterns. My application tip: the base color must be 100% dry before taping or the tape will lift it. Press the tape ends down firmly, trim with small scissors, and use two coats of top coat to seal the tape edges so they don’t peel.
4. Pumpkin Dots (Bobby Pin Pumpkins)

Here’s the trick that changed my beginner nail art life: pumpkins are just orange dots. I paint a nude or cream base, then use the round end of a bobby pin to stamp perfect orange circles, add a tiny brown stem with a toothpick, and suddenly I have pumpkin nail art. No drawing, no shaping — the bobby pin’s round head makes a flawless pumpkin body every time. This suits Halloween beginners who want festive nails without freehand drawing. I do one pumpkin per hand as an accent, or a pumpkin on every nail for full festive mode. It works on short nails beautifully. My application tip: dip the bobby pin head in polish, wipe the excess on the bottle rim, then press straight down without wiggling — lift straight up for a clean circle. Add the stem after the orange dries, and a tiny green leaf dot if you’re feeling fancy.
5. Gold Foil Fleck Nails (No Skill Required)

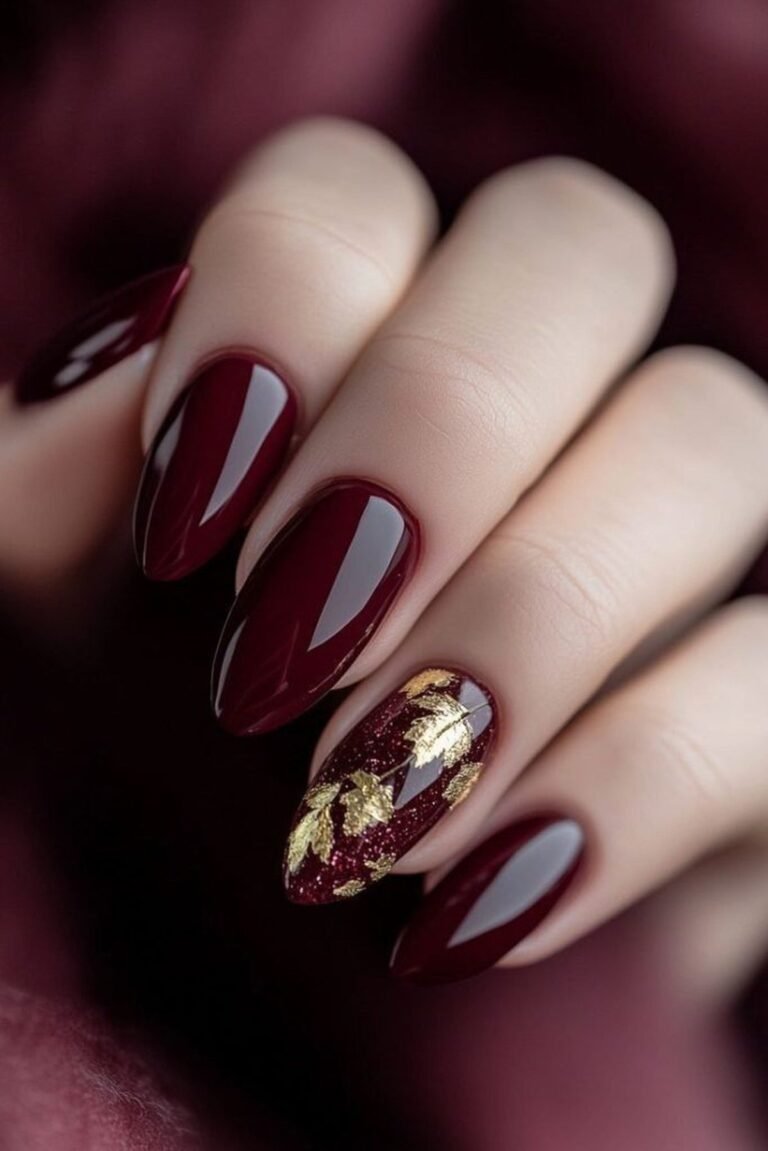
Gold foil flakes are the ultimate beginner cheat: they look like expensive salon art and require literally zero skill. I paint my nails in a fall base color (oxblood, forest green, or chocolate), then press tiny gold foil pieces onto the tacky second coat with tweezers and seal with top coat. There’s no technique to learn — random placement looks intentional and luxurious. This suits anyone who wants maximum impact with minimum effort; I call it my “ten-minute luxury manicure.” It works for fall events, dinners, and everyday wear, and suits all nail lengths. My application tip: work one nail at a time while the polish is tacky (not wet, not dry — about 60 seconds after the second coat). Use tweezers, not fingers, and press each flake flat. Two coats of glossy top coat are non-negotiable to seal the foil edges and prevent lifting.
6. Matte Top Coat Over Any Fall Color

The single easiest “nail art” upgrade for beginners is a matte top coat — it transforms any ordinary fall polish into something that looks deliberate and trendy. I paint my nails in any autumn shade (burnt orange, olive, burgundy), then apply one coat of matte top coat instead of glossy. Instantly, the manicure looks modern, velvety, and salon-intentional with zero additional skill. This suits beginners who aren’t ready for any art at all but want their nails to look like more than plain polish. I wear matte fall solids to work all October. It works on every nail length and shape. My application tip: matte top coat shows texture, so apply your color coats smoothly and let them dry fully first. Apply the matte coat in one even pass — going back over spots creates uneven shine. Keep hand lotion away from nails until fully dry.
7. Polka Dot Ghost Nails for Halloween
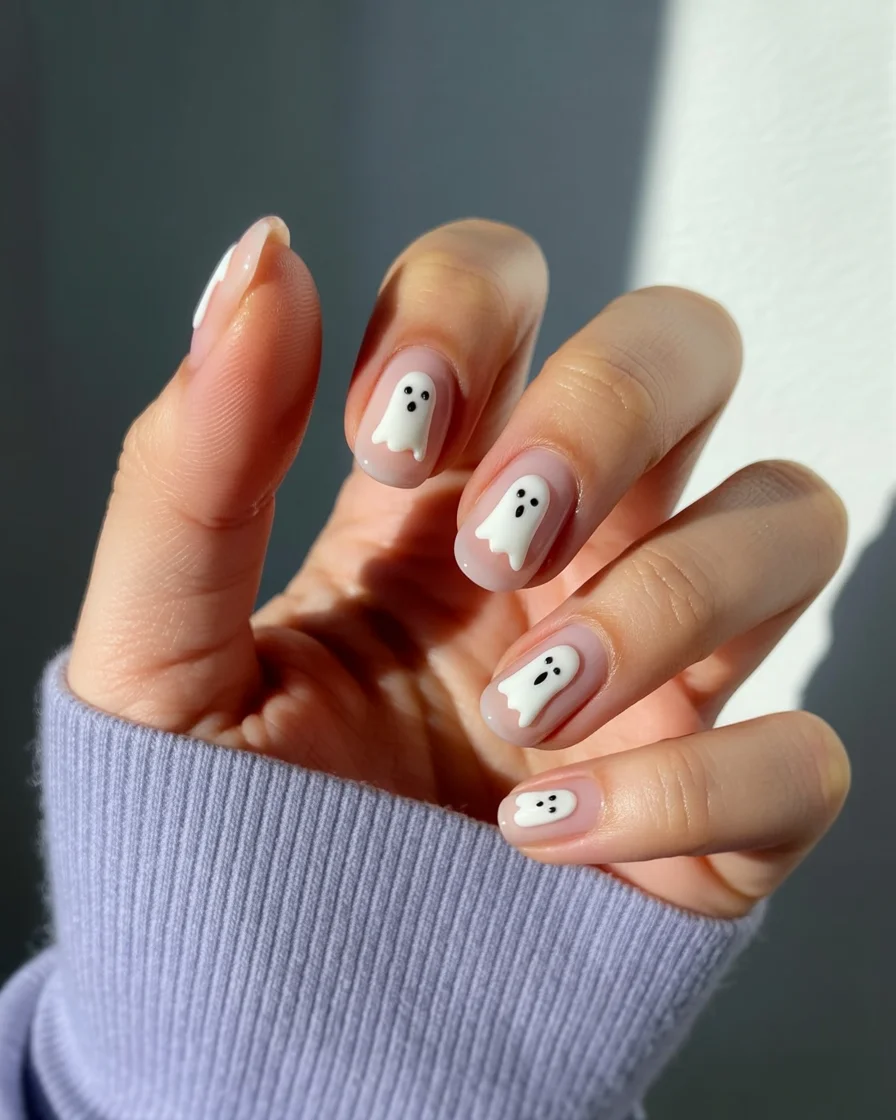
Ghosts are just white dots with faces, which makes them perfect beginner Halloween nail art. I paint a dark base (black or deep purple), then stamp white dots with a bobby pin head, elongate them slightly by dragging downward, and add two black dot eyes with a toothpick. The result is an adorable ghost that took three minutes. This suits Halloween beginners who want spooky-cute nails without any drawing skill. I do one ghost per hand on the ring finger, or a whole ghost party across all nails. It works on short nails especially well. My application tip: make the white ghost body with the bobby pin, then immediately (while wet) drag the pin tip downward to create the wavy ghost bottom — the wet polish stretches into a perfect ghost tail. Let it dry, then add eyes with a toothpick dipped in black. Glossy top coat to finish.
8. French Tips With a Fall Twist (Silicone Stamper Hack)
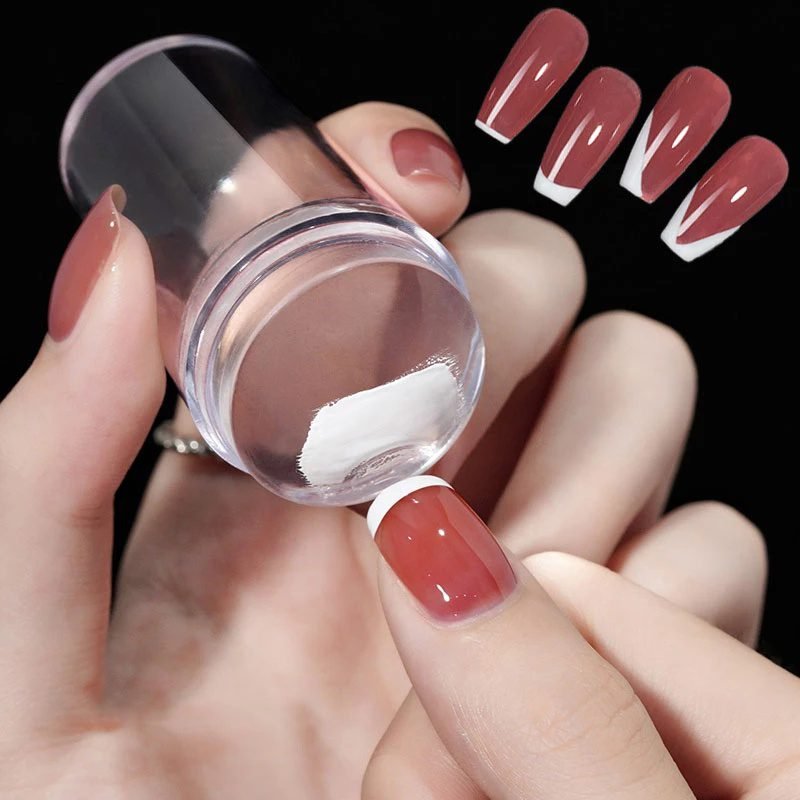
Freehand French tips frustrated me for years until I discovered the silicone stamper hack. I paint the tip color (chocolate brown or burgundy for fall) onto a squishy silicone stamper, then press my nail into it at an angle — the stamper deposits a perfect curved tip line with zero brush control needed. Then I fill in with sheer nude base. It’s genuinely foolproof. This suits beginners who love the French look but can’t paint a straight smile line (I couldn’t either). I wear fall French tips to work and events all October. It flatters every nail shape and length. My application tip: the tip polish on the stamper should be slightly tacky, not wet — wait about 30 seconds after painting it on. Press the nail in with a gentle rocking motion, and clean up the edges with an angled brush dipped in acetone. Two thin tip coats beat one thick one.
9. Taped-Off Half-Moon Nails in Fall Colors

Half-moon nails look vintage and elegant, and hole-punch reinforcement stickers make them beginner-proof. I paint my nails in a fall color (mustard or terracotta), let it dry completely, place a round reinforcement sticker at the base of each nail, paint the exposed tip area in a second color (cream or gold), then peel the sticker off to reveal a perfect half-moon. The sticker does the hard part. This suits anyone who loves retro nail art but lacks a steady hand. I wear half-moons to fall parties and dinners — they look incredibly polished. It works best on medium to long nails where the moon shape is visible. My application tip: make sure the base color is bone-dry before placing stickers (at least 30 minutes), press the sticker edges down firmly to prevent bleeding, and peel the sticker while the second color is still slightly wet for the sharpest line.
10. Autumn Leaf Stickers Over Cream Polish
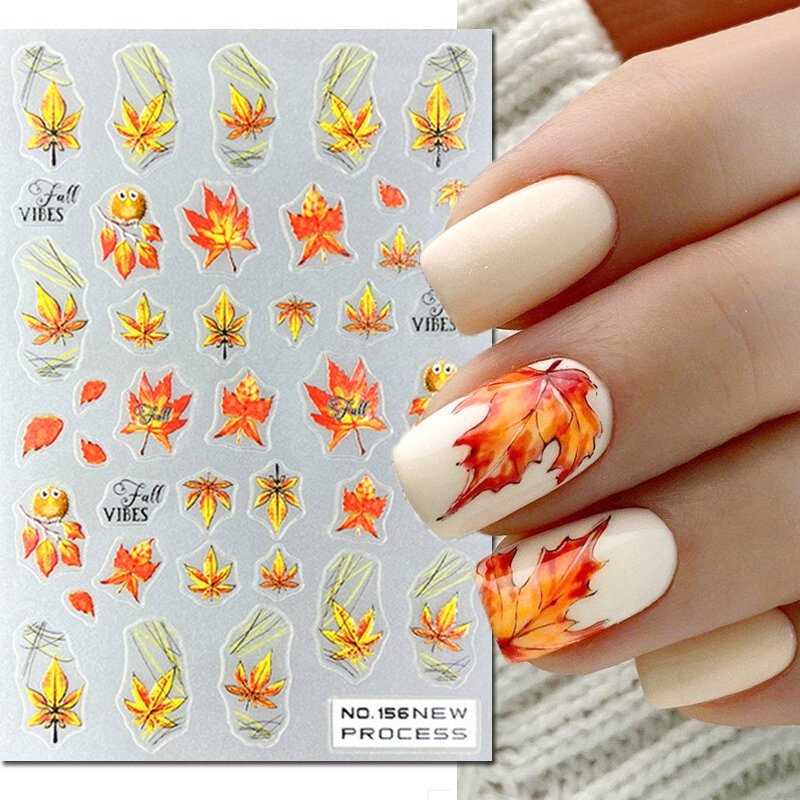
Nail stickers are not cheating — they’re the smartest beginner tool in existence. I paint my nails in warm cream, let them dry, then apply autumn leaf nail stickers (water decals or adhesive) on two accent nails per hand and seal with top coat. The result looks hand-painted to anyone who isn’t inspecting with a magnifying glass. This suits beginners who want detailed fall art without any painting skill whatsoever. I wear leaf stickers for Thanksgiving week every year. They work on any nail length. My application tip: for water decals, soak 10 seconds, slide off the backing, and position with tweezers — you get about 30 seconds to reposition before it sets. For adhesive stickers, press from center outward to avoid air bubbles. Always seal with two top coats, capping the free edge, or stickers will peel within days.
11. Two-Tone Diagonal Nails (Tape Method)

Two-tone diagonal nails look like geometric salon art but they’re just tape and two polishes. I paint the whole nail in the lighter fall color (cream), let it dry completely, place striping tape diagonally across each nail, paint the exposed half in the darker color (burnt orange or oxblood), and peel the tape for a razor-sharp diagonal. The contrast is striking and modern. This suits beginners who want bold nail art with a foolproof method — the tape guarantees clean lines. I wear two-tone diagonals to creative workplaces and fall outings. It works on medium to long nails where the diagonal has visual impact. My application tip: regular Scotch tape works in a pinch, but nail striping tape is thinner and gives cleaner lines. Peel the tape while the second color is still wet, pulling at a sharp angle away from the painted area. Glossy top coat unifies the two halves.
12. Glitter Gradient Tips (Sponge the Glitter)
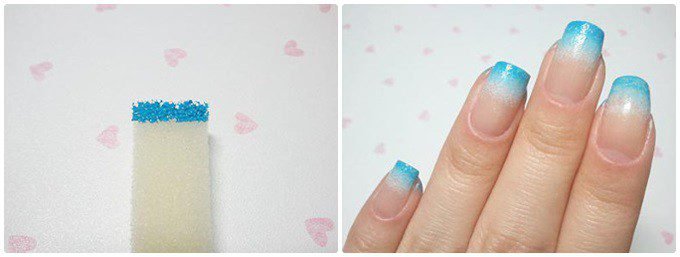
Glitter gradient tips are the party-ready beginner design that hides every imperfection under sparkle. I paint a fall base color (deep plum or chocolate), then dab glitter polish onto just the tips with a makeup sponge, building density at the very tip and fading toward the middle. The sponge creates the gradient automatically, and glitter is famously forgiving — uneven application just looks like more sparkle. This suits beginners who want glamorous fall nails for events without precision work. I wear glitter tips to October weddings and parties. It works on all nail lengths. My application tip: use a chunky glitter polish rather than fine glitter for the most dramatic gradient. Dab, don’t drag, with the sponge, and do 2-3 light layers. Seal with two coats of glossy top coat — glitter eats top coat, so be generous to get a smooth finish.
13. Candy Corn Tips (Three Easy Stripes)
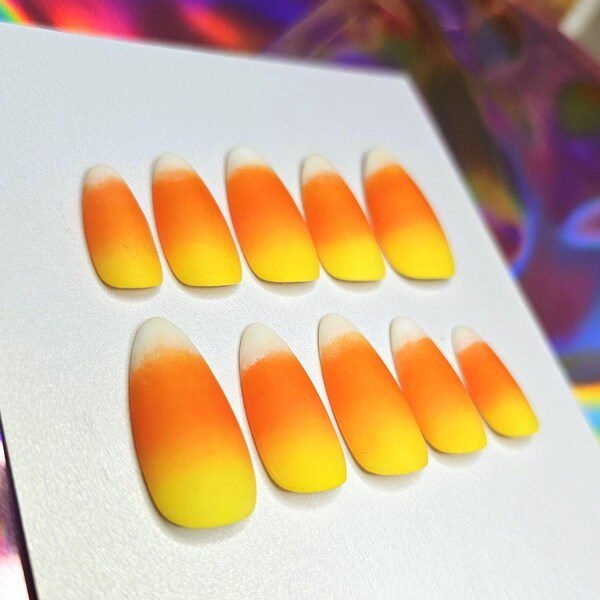
Candy corn tips are just three horizontal stripes, which makes them ideal beginner Halloween nail art. I paint the whole nail orange, then add a white stripe near the cuticle and a yellow stripe at the very tip using the flat edge of the polish brush — no detail tools needed. The stripes don’t need to be perfect; candy corn is a rustic candy, and slightly organic lines look authentic. This suits Halloween beginners who want festive nails with the simplest possible technique. I wear candy corn tips to fall festivals and school Halloween events. It works on short to medium nails. My application tip: paint the stripes in order from tip to cuticle — yellow tip first, then white band, leaving orange in the middle — so each new stripe overlaps cleanly. Use the brush’s flat edge and rest your hand on a table for stability. Glossy top coat makes the colors pop like real candy.
14. Dried Flower Nails (Pressed Flower Decals)

Pressed dried flowers on nails look like botanical art but they’re just tiny decals you place with tweezers. I paint a sheer nude or milky white base, arrange 1-2 tiny dried flower decals per nail while the base is tacky, and seal with thick glossy top coat. The result is delicate, romantic fall nail art that looks like it took hours. This suits beginners who love the cottagecore aesthetic but can’t paint a petal. I wear dried flower nails to fall weddings and brunch dates. It works best on medium to long nails where the flowers have room. My application tip: real dried flowers are thicker than decals and need extra top coat to seal — use at least three coats, or embed them in a layer of clear builder gel if you have it. Press flowers flat with tweezers and work quickly while the base is tacky. Keep nails away from water for a few hours after.
15. Tortoise Shell With Jelly Polish (Beginner Layering)

Tortoise shell looks advanced but it’s just layered blobs of sheer polish — the most forgiving technique there is. I start with a sheer amber base, then add irregular blobs of sheer brown and tiny flecks of black, letting each layer dry before adding the next. The irregularity is the entire point of tortoise; there’s no wrong way to place a blob. This suits beginners who want the season’s trendiest nail art without any drawing. I wear tortoise nails all fall — they go with everything. It works on any nail length and shape. My application tip: you must use sheer or jelly polishes — opaque browns will look muddy instead of translucent. If you don’t own jellies, mix a drop of brown crème with clear top coat to make your own sheer. Build in thin layers (3-4 total) and seal with glossy top coat for that deep, lacquered tortoise shine.
16. Solid Fall Colors With Perfect Application (The Foundation)

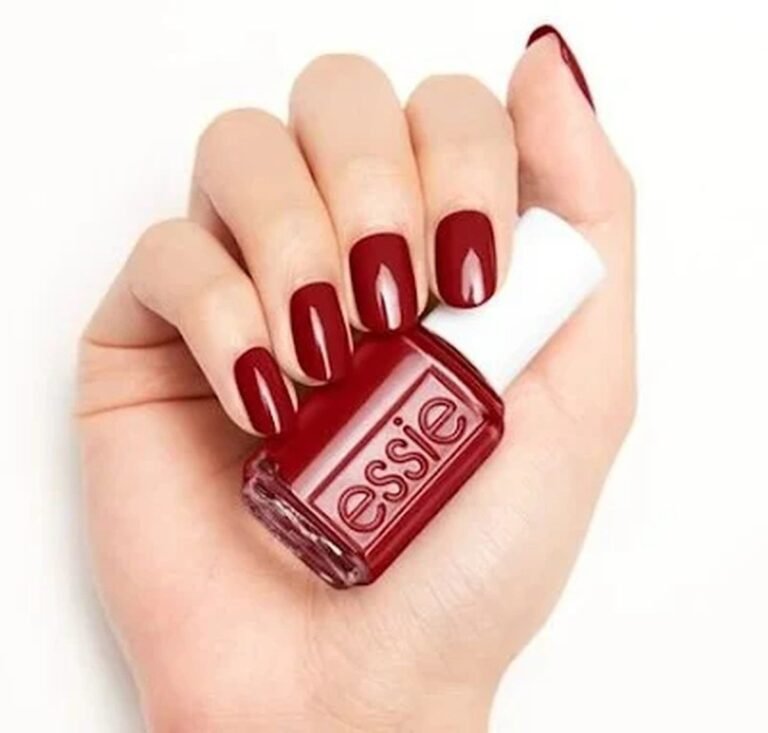
My final beginner “design” is honestly the most important one: a flawless solid-color manicure in a gorgeous fall shade. Perfect application — neat cuticles, even coats, no flooding — makes a simple burnt orange or oxblood look more expensive than sloppy nail art ever will. I consider this the foundation skill every beginner should master first. This suits everyone, every occasion, every nail length — a perfect solid manicure never goes out of style. I wear flawless solids to job interviews, weddings, and everywhere in between. My application tip: the secret is in the prep — push back cuticles, buff lightly, and apply a ridge-filling base coat. Use three thin coats instead of two thick ones, leave a tiny gap at the cuticle (don’t flood it), cap the free edge with each coat, and clean up mistakes with an angled brush dipped in acetone before applying top coat. Master this and every design above gets easier.
See? No salon required. Every design on this list uses tools you already own and techniques that forgive shaky hands — dots, sponges, tape, stickers, and foil. My advice for beginners: start with the solid manicure (number 16), then try the dotted confetti. Once you realize how easy dots are, the rest of October’s nail art is yours.