Last-minute Halloween nails are my specialty, because every single year I swear I’ll do my manicure early and every single year I’m painting them at 11pm on October 30th. If you’re in the same boat, this list is your lifeline. I’ve gathered 20 Halloween nail designs you can genuinely do the night before — no salon appointment, no advanced skills, no obscure supplies. Every design here takes under 30 minutes for both hands, uses polish you probably already own (black, orange, white, nude), and looks intentional rather than rushed. I’ve personally worn most of these to actual parties after painting them half-asleep, and I’ve noted the realistic time each one takes plus the one trick that makes it look pro. Grab your polish, put on a horror movie, and let’s get your nails party-ready tonight.
Solid Black with One Ghost Accent
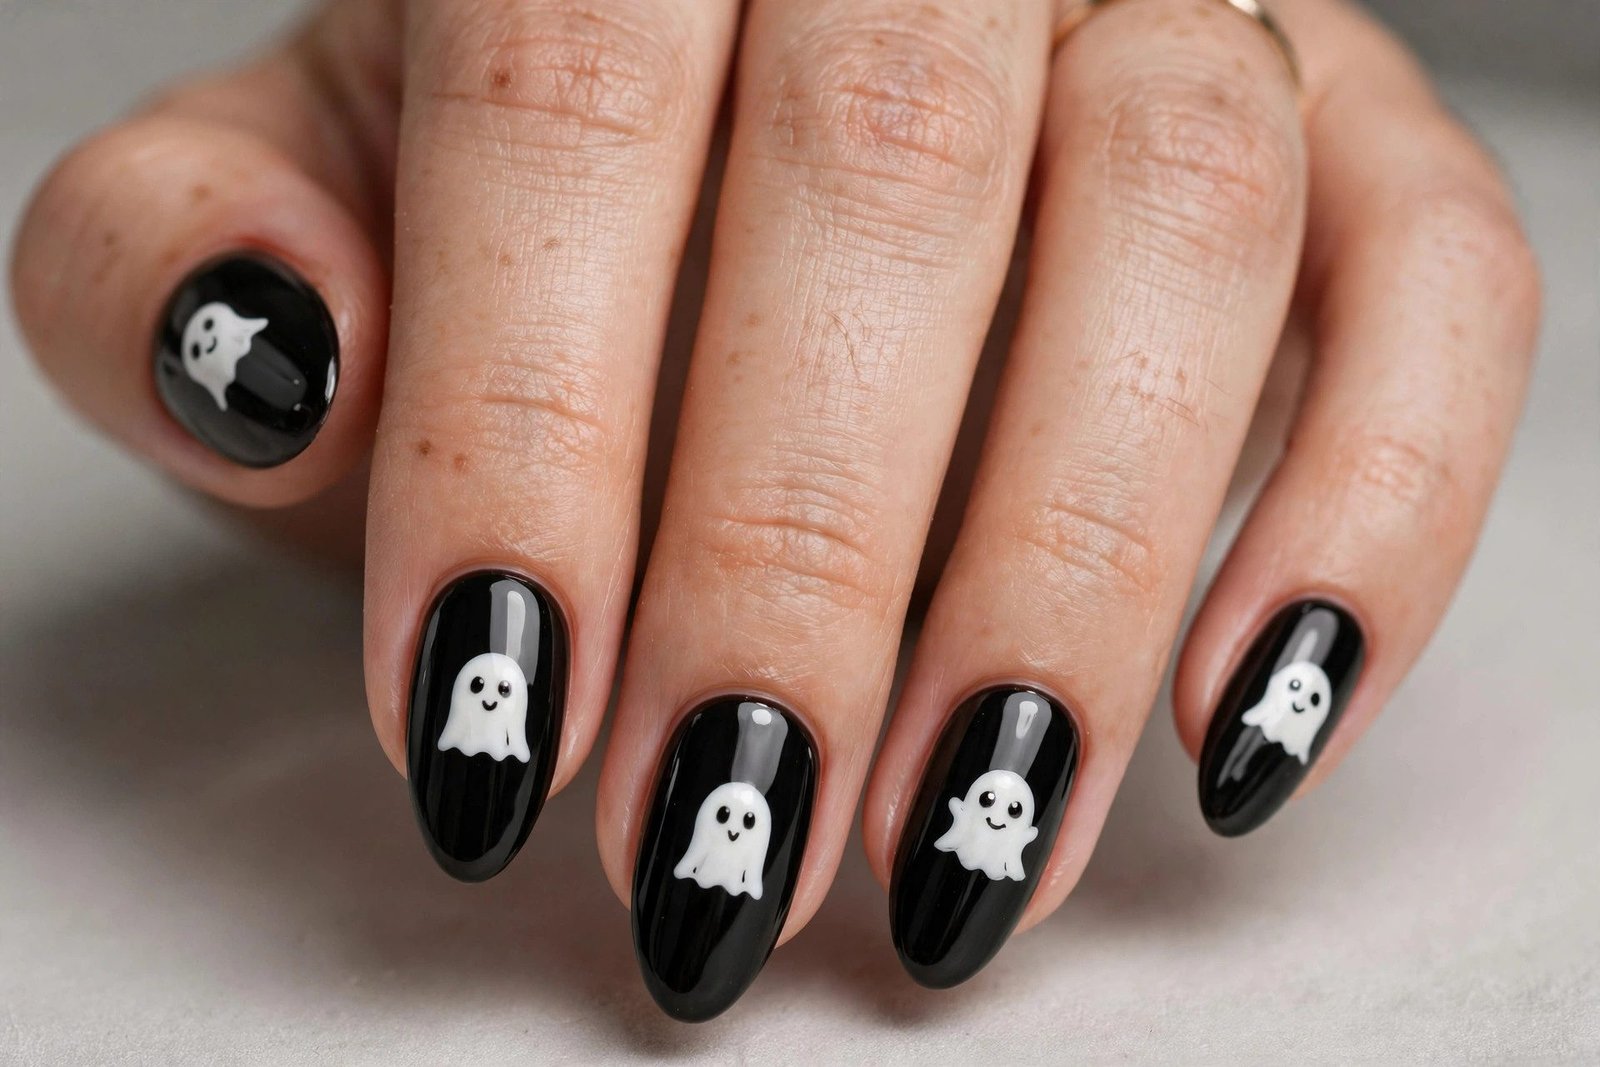
When time is truly gone, paint nine nails solid black and one accent nail white with a simple ghost face. It takes me about 15 minutes total including dry time, and it reads instantly as Halloween. The ghost is just a white oval-ish blob with two black dot eyes — imperfection actually makes it cuter. I love this for anyone whose costume is already doing the heavy lifting, since the nails just need to nod at the theme. It suits all nail lengths and looks best on short to medium nails where the ghost fits comfortably. My night-before tip: paint the ghost with the polish brush itself rather than fiddling with dotting tools you can’t find; two quick strokes make the body, and the eyes are dots from a bobby pin.

Bloody French Tips
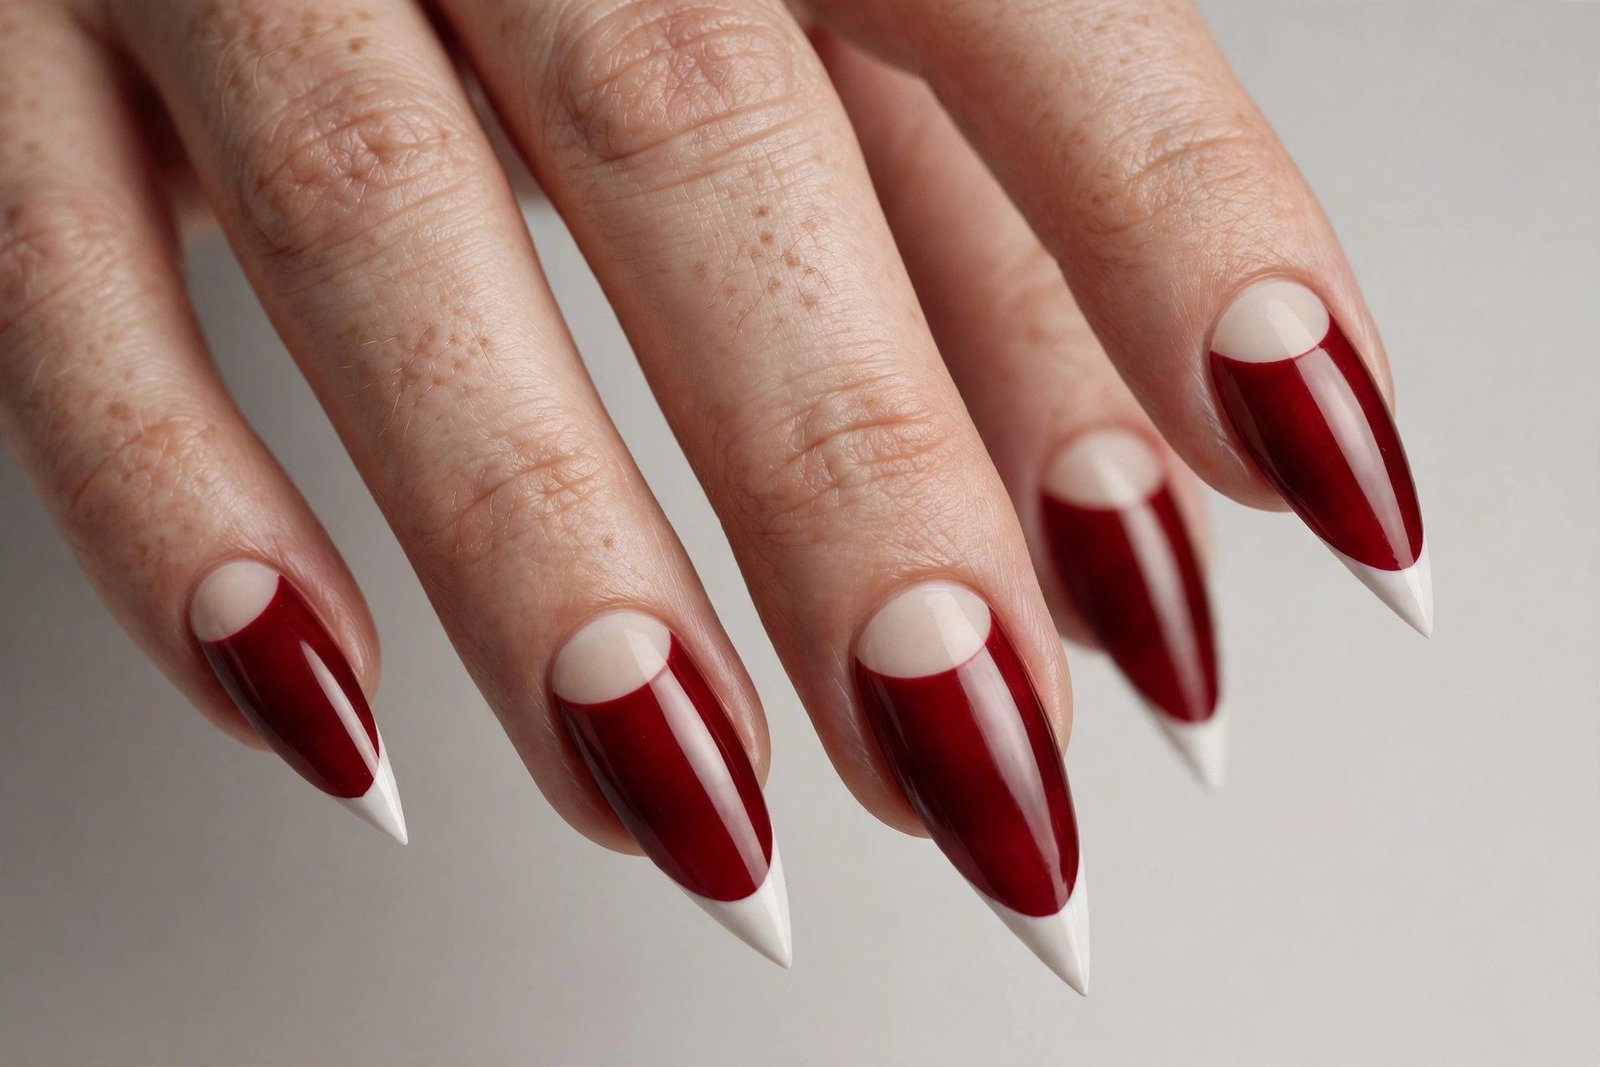
Bloody French tips are the fastest scary manicure I know: nude base, red tips, then drag the red down in drips. The whole thing takes 20 minutes and looks like you planned it for weeks. I use a deep blood red rather than bright cherry — it’s more convincing and more chic. This suits anyone doing a vampire, nurse, or horror costume, and it works on every nail shape since drips scale to any length. Wear it to any Halloween party; it’s gory enough for horror fans but polished enough that it doesn’t look messy. Tip: create drips by placing a dot of red at the tip edge and pulling downward with a toothpick while it’s still wet — three drips per nail max, or it starts looking like a crime scene instead of a manicure.

Orange and Black Color Block
No art skills? No problem. Paint each nail half orange, half black with a straight diagonal line and you have Halloween nails in 15 minutes flat. I do the diagonal split freehand with the polish brush — tape is more precise but doubles the time, and honestly the slightly wobbly line has charm at midnight. Alternate which color goes on top for visual interest. This suits everyone, especially beginners who’ve never done nail art, and it’s perfect when your costume is orange-and-black themed (pumpkin, witch, tiger). Tip: paint the lighter color (orange) first, let it dry five minutes, then do the black half — dark over light covers cleanly, while light over dark needs three coats you don’t have time for.

Spiderweb on One Nail
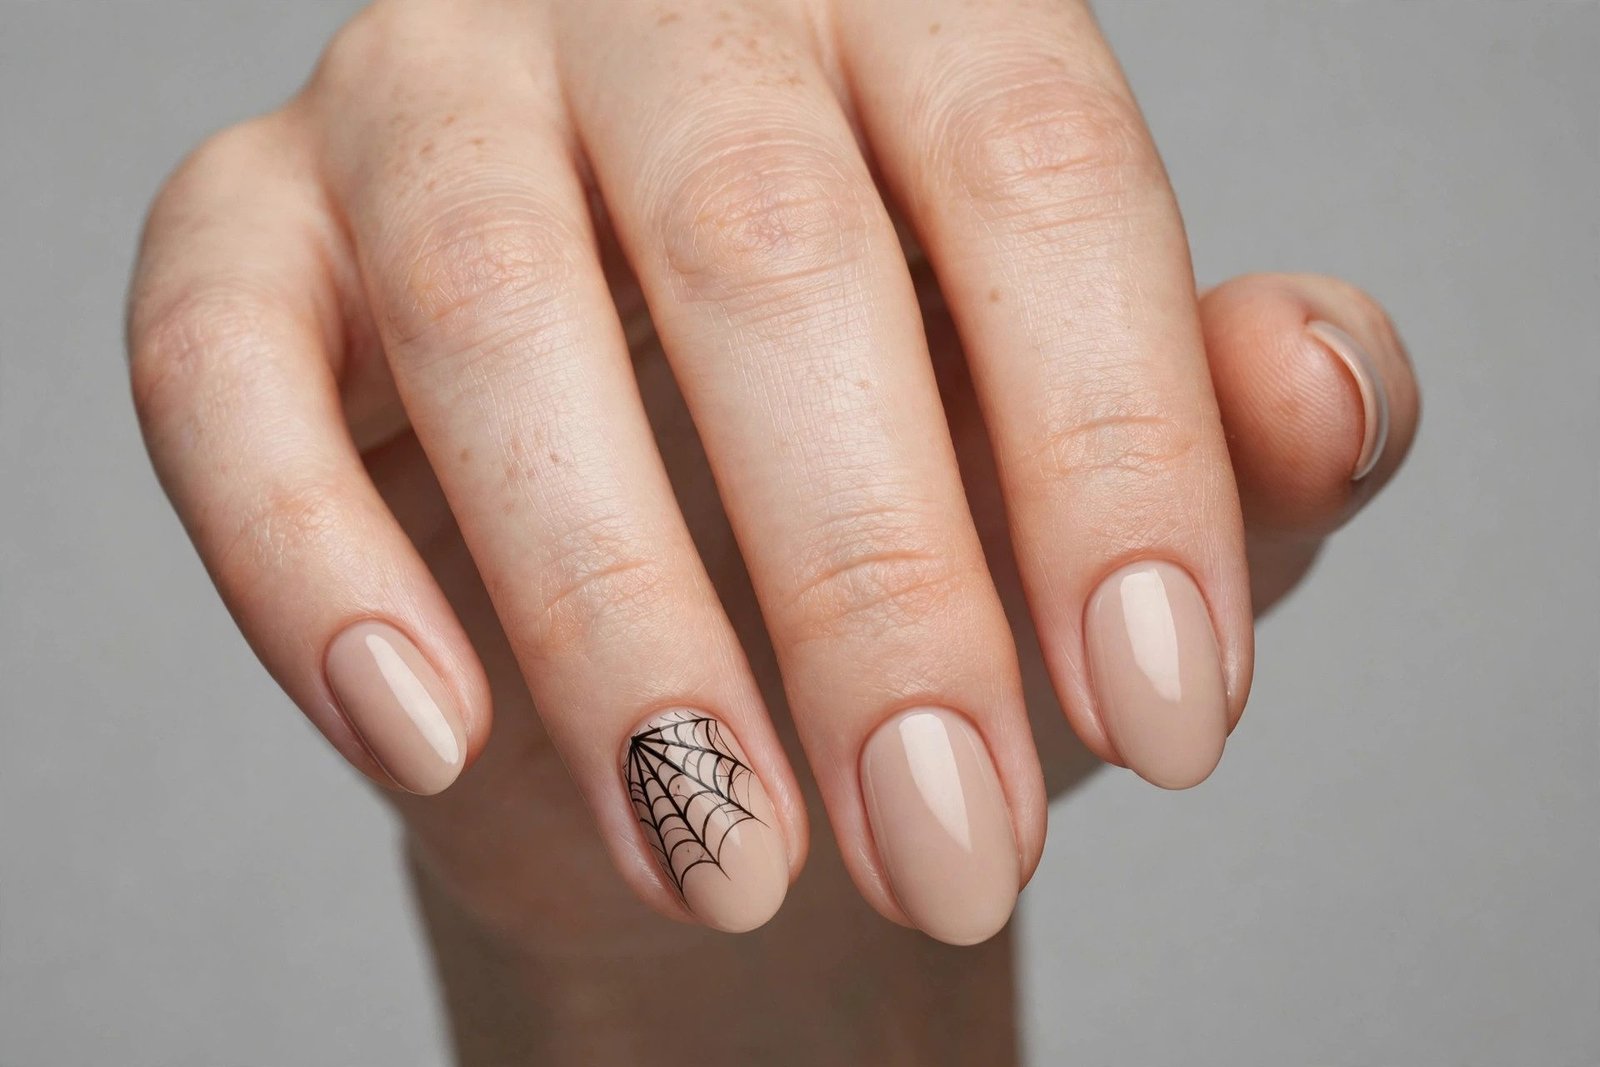
A single spiderweb accent nail over an otherwise plain manicure is my favorite low-effort Halloween move. Paint all nails deep purple or black, then on one ring finger draw a white web: three lines radiating from the corner, connected with little arcs. It takes 25 minutes total and looks genuinely impressive. I wear this when I want Halloween nails that still look elegant — the web reads as delicate lace from a distance. It suits medium to long nails where the web has room, and anyone heading to a work Halloween event. Tip: use a white nail art pen if you have one; if not, a toothpick dipped in white polish works. Keep lines thin — chunky webs look like nets.
Candy Corn Tips
Candy corn tips are just a three-stripe French manicure in Halloween colors, and they take 20 minutes. I paint the nail white at the base, orange in the middle, and yellow at the tip — the classic candy corn order — using the polish brush in horizontal bands. It doesn’t need to be precise; candy corn is a rustic candy. This suits short nails beautifully (the bands are compact) and anyone whose Halloween vibe is cute rather than creepy. Kids love this one. Tip: let each band dry two minutes before the next to avoid dragging colors into each other, and don’t stress about straight lines — slightly wavy bands look more like actual candy corn anyway.

Matte Black Stiletto Rush
If your nails are already long, the fastest Halloween upgrade is a single coat of matte top coat over black polish. The velvety finish makes even a rushed manicure look deliberate and expensive — I swear matte covers a multitude of sins. Ten minutes, zero art, maximum attitude. This suits long almond or stiletto nails best (matte black on short nails can look a bit flat) and anyone with a witch, vampire, or cat costume. It’s also my pick when the party is formal-ish and gory nails would clash. Tip: matte top coat shows every ridge, so do a quick buff first if you have a buffer; if not, two thin coats of black underneath self-level better than one thick gloopy one.

Googly-Eye Monsters
Stick-on googly eyes on green or purple polish are the silliest, fastest Halloween nails on this list — and I mean that lovingly. Paint nails a monster green, let dry, then press a tiny googly eye sticker on each nail. Fifteen minutes, zero skill, and everyone at the party will laugh. This is perfect for parents doing Halloween with kids, classroom parties, or anyone whose costume is funny rather than scary. It suits short nails best since the eyes are small. Tip: seal each eye with a dot of clear top coat around the edges (not over the dome, which clouds the plastic) so they survive the night; without sealing, expect to lose one eye per hour of partying.

Black Cats Silhouette Shortcut
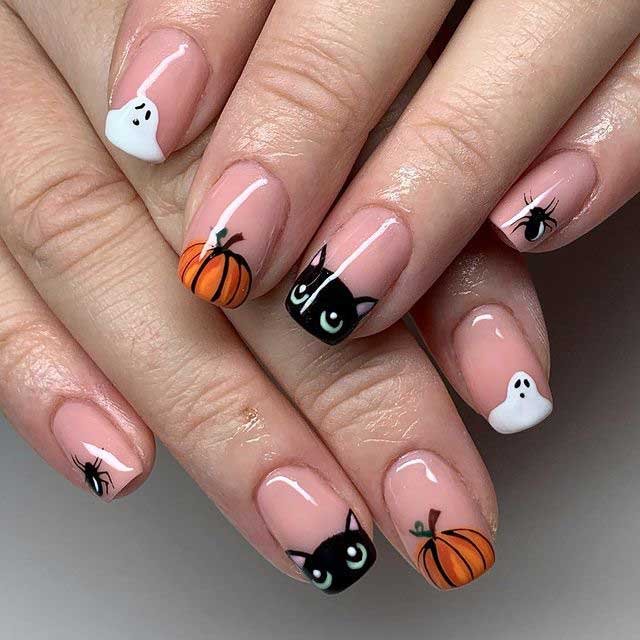
A black cat silhouette on a nude base is easier than it looks when you simplify: paint the cat as a single black blob with two triangle ears and a curled tail line. From normal viewing distance it reads perfectly as a cat. I do this on two accent nails over nude, leaving the rest solid black — 25 minutes total. It suits anyone who loves the black cat trend but ran out of prep time, and medium nails where the blob has presence. Tip: the ears make or break it — two sharp triangles on top of the blob instantly say “cat” to the human brain, so prioritize ear sharpness over body perfection. A striper brush or even a toothpick gives you the control you need.
Pumpkin Faces, Minimal Effort
Tiny jack-o’-lantern faces on orange nails take me 20 minutes and never fail to delight. I paint all nails orange, then on two accent nails add triangle eyes and a jagged mouth in black using a toothpick. The faces don’t need symmetry — crooked pumpkins have more personality. This suits short nails (the faces are compact) and anyone whose Halloween is more festive than frightening: school events, office parties, trick-or-treating with little ones. Tip: keep the black details small relative to the nail; oversized faces look clownish while small ones look chic. And do the faces last, after the orange is fully dry, so the black doesn’t bleed.

Mummy Wrap Nails
Mummy nails are genius for procrastinators: paint nails white, then drag thin black or grey lines horizontally across for the wrap effect, and add two tiny dot eyes peeking through on one nail. Twenty minutes, and the “messy” lines are the entire point — you literally cannot mess this up. I love this for anyone who wants cute-spooky without gore, and it suits all lengths. It’s my go-to recommendation for teens doing their own Halloween nails. Tip: use a striper brush or the edge of the polish brush for the wrap lines, varying the spacing; uniform lines look like a barcode, while irregular spacing looks like actual mummy wrappings.

Galaxy Witch Nails
Sponge on a galaxy background and you’ve got witchy Halloween nails in 25 minutes with zero drawing. I dab dark purple, navy, and black polish with a makeup sponge, then flick white polish off a toothbrush for stars. That’s it — the sponge does all the artistry. This suits anyone with a witch or sorceress costume and medium to long nails where the galaxy has depth. It’s also gorgeous for people who hate “cutesy” Halloween. Tip: protect your cuticles with a thin layer of petroleum jelly or liquid latex before sponging; galaxy nails are the messiest technique here, and cleanup is what eats your time. Peel or wipe the barrier after and you’re done.

Bat Silhouettes at Dusk
An orange-to-purple gradient with black bat silhouettes is my most atmospheric quick design. Sponge the gradient (orange at cuticle fading to deep purple at the tip), then stamp or paint simple bat shapes — basically the letter “m” with pointed wings. Twenty-five minutes, and it looks like a Halloween movie poster. This suits medium to long nails and anyone whose costume has drama: vampire, witch, dark fairy. Tip: bats are the easiest Halloween silhouette — if you can write a wobbly “m,” you can paint a bat. Keep them small and scattered at different heights; a flock of tiny bats looks more professional than one giant bat.

Blood Drip Tips on Nude
Nude nails with red drips from the tips are faster than full bloody French tips and somehow scarier. I paint a sheer nude base, then place red dots along the free edge and drag them down with a toothpick in varying lengths. Fifteen minutes, deeply unsettling, weirdly elegant. This suits short nails especially — long drips on short nails look proportionally dramatic — and horror costumes of all kinds. It’s also office-survivable the day after if your Halloween falls midweek. Tip: vary the drip lengths deliberately; uniform drips look stamped, while mixed lengths look like actual liquid. Work while the red is wet — you have about 90 seconds before it sets.

White Ghost Faces on Black
All-black nails with simple white ghost faces are the inverse of design #1 and just as fast. I paint black, then add white blob ghosts with black dot eyes on two or three nails — the ghosts pop beautifully against the dark base. Twenty minutes total. This suits anyone who already wears black polish (just add ghosts!) and all nail lengths. It’s my recommendation for goths doing Halloween because it enhances rather than changes their aesthetic. Tip: make the ghost bodies with the white polish brush in two strokes (down, then curve), and add the eyes with a dotting tool or bobby pin once dry. Slightly lopsided ghosts are cuter — don’t overthink it.
Sparkly Purple Witch Nails
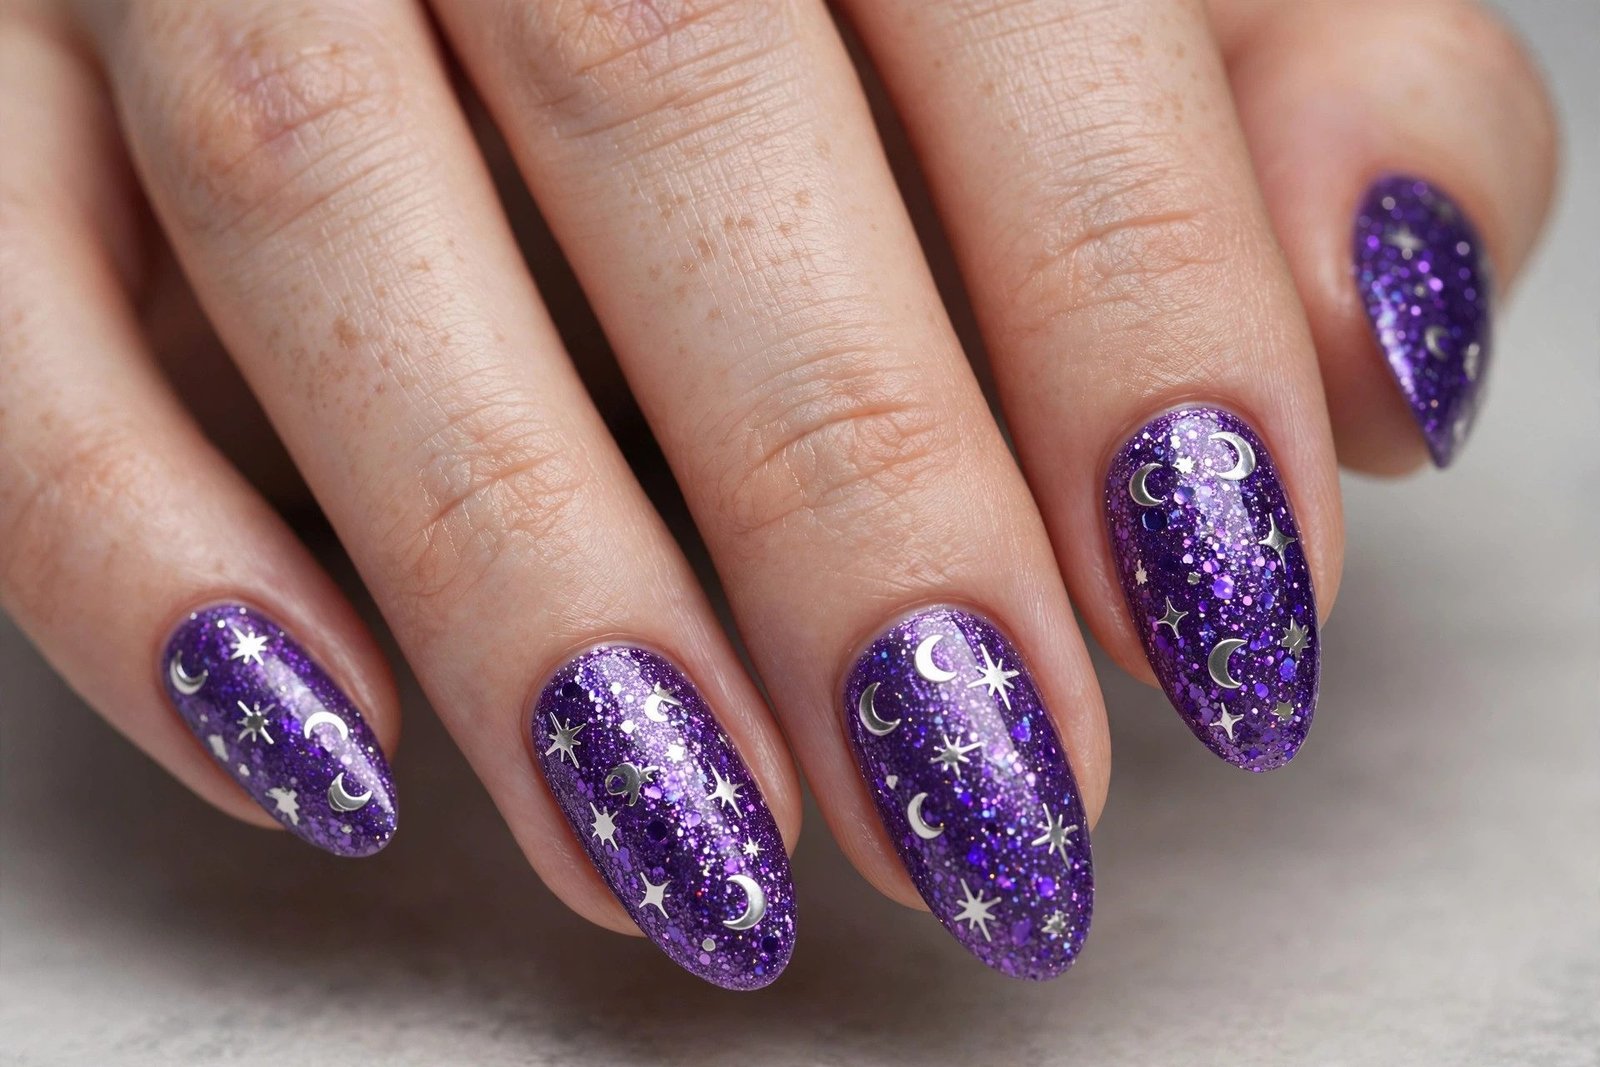
When in doubt, glitter. A deep purple glitter polish on all ten nails is Halloween-appropriate with zero art and takes 15 minutes. I choose a purple with holographic or duochrome glitter — it shifts color in the light and looks magical rather than crafty. This suits absolutely everyone and every costume, which is why it’s my emergency fallback. It’s also the easiest design to remove the morning after (well, relatively — glitter is glitter). Tip: apply glitter over a matching purple cream base so you get full coverage in one glitter coat instead of three; and seal with two coats of top coat, because unsealed glitter feels like sandpaper and snags your costume.
Half-Moon Vampire Nails
Reverse half-moons in blood red over black are my chic-vampire shortcut. Paint nails black, then paint a red half-moon at the cuticle using the natural curve of the brush — no guides needed if you follow the cuticle line. Twenty minutes, very Anne Rice. This suits medium to long nails where the half-moon has presence, and vampire, gothic, or dark-romance costumes. It’s elegant enough for a Halloween wedding. Tip: the trick is loading the brush lightly and using the cuticle’s own curve as your guide; press the brush flat at the base and pull slightly upward. Clean up the edges with an angled brush dipped in acetone for that sharp editorial line.
Frankenstein Stitches
Green nails with black stitch lines are instantly recognizable as Frankenstein and take 20 minutes. I paint a bright monster green, then draw short vertical black lines crossed with tiny horizontal ticks — the classic stitch pattern — across two accent nails. The stitches don’t need to be straight; hand-drawn wobble sells the handmade-monster vibe. This suits short nails and anyone with a mad-scientist, monster, or Halloween-party-casual costume. Tip: draw stitches with a striper brush or toothpick using very little polish; the lines should be thin and sketchy. Place the stitches diagonally across the nail rather than straight — diagonal reads more dynamic and hides imperfections.

Eyeball Accent Nails
Creepy eyeballs on a blood-red base are maximum scare for 25 minutes of work. I paint all nails deep red, then on two accent nails paint a white circle, a colored iris (green or blue), a black pupil, and tiny red veins radiating outward with a toothpick. The veins are what make it horrifying. This suits horror-movie costumes and haunted house nights — it’s genuinely unsettling up close. Medium nails give the eyeball room. Tip: paint the white of the eye slightly off-center on the nail for a deranged look, and keep the veins thin and sparse; too many veins look like a road map, while five or six thin ones look like a real bloodshot eye.

Black Glitter Ombre
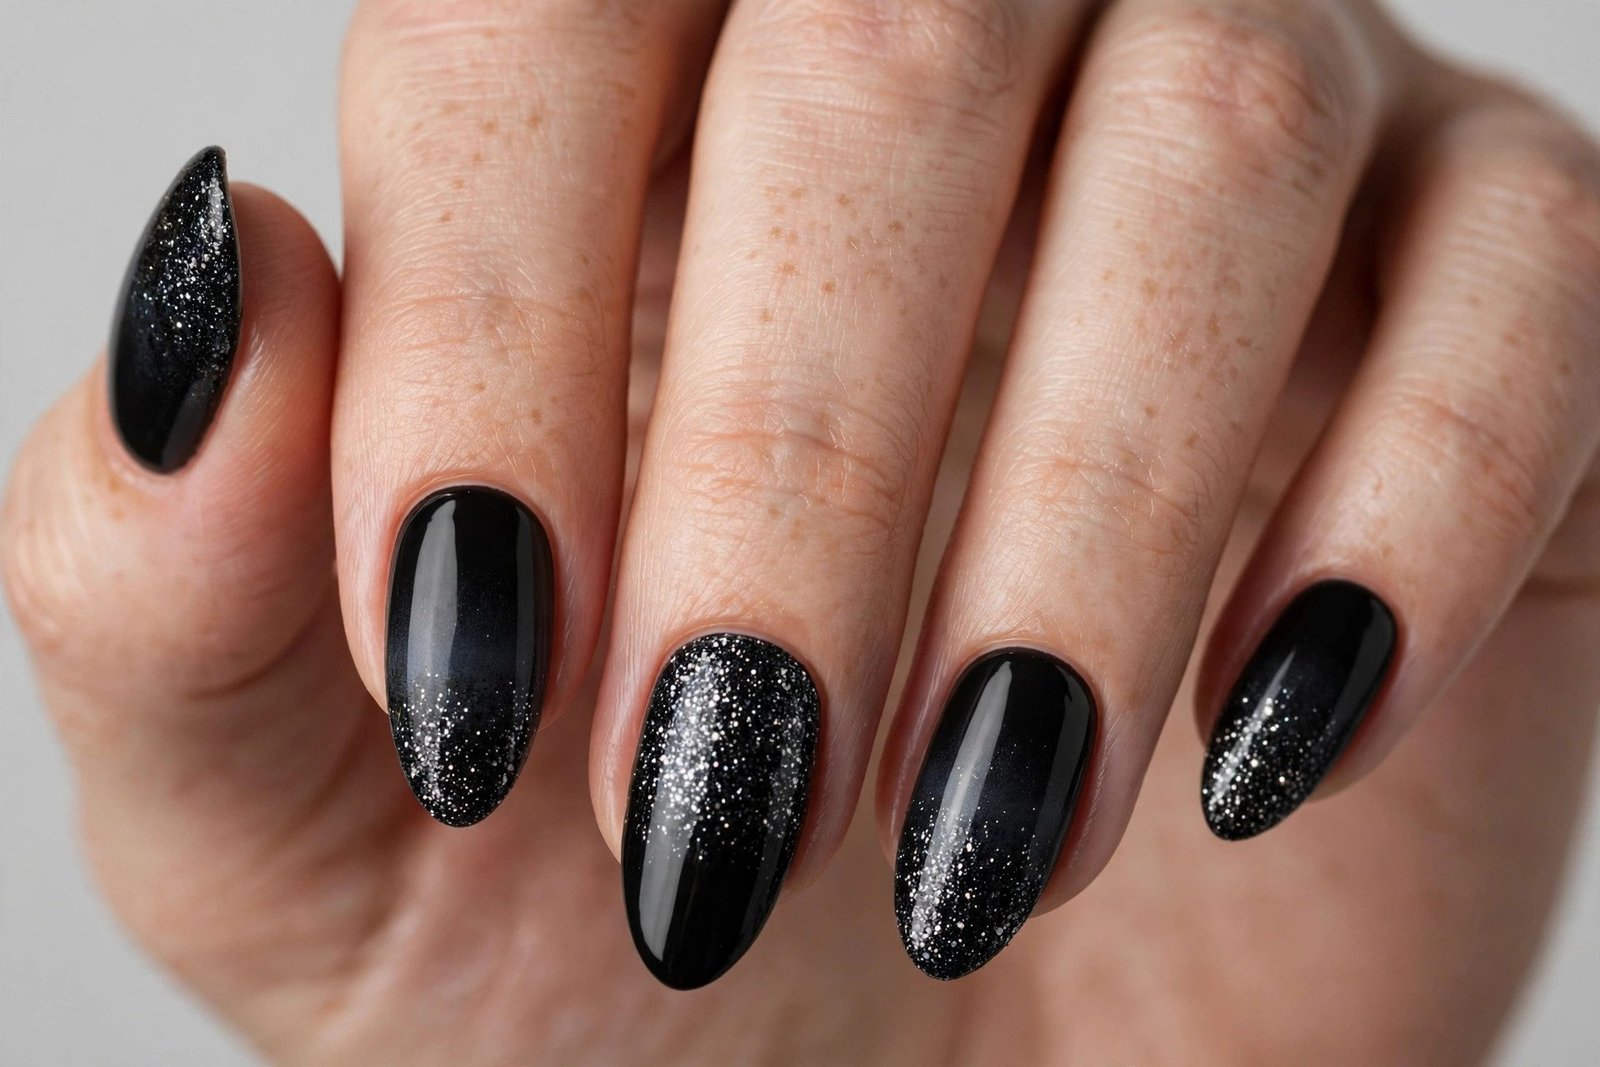
A black glitter ombre — dense glitter at the tips fading to bare nude at the cuticle — takes 20 minutes and looks like you spent an hour. I paint a nude base, then sponge black glitter polish starting at the tip, fading upward with a light touch. The gradient hides the fact that it’s just sponged glitter. This suits all nail lengths and anyone who wants Halloween glam rather than gore: it’s my pick for parties where the dress code is “spooky chic.” Tip: use a small piece of makeup sponge and dab, don’t swipe — dabbing builds the fade naturally. Two light passes beat one heavy one, and clean the cuticles with a brush before top coat.
Midnight French with Star Dots
Ending with the prettiest quick design: a midnight-blue French tip with tiny silver star dots. Paint a nude base, add dark navy tips, then dot silver stars (a dot with four tiny lines, or just dots) along the smile line. Twenty-five minutes, and it looks like the night sky on your fingertips. This suits everyone — it’s the most wearable design here — and any costume from witch to angel. I wear this when I want Halloween nails that I’ll still love on November 1st. Tip: the stars are just dots with intention; place one larger silver dot and four microscopic dots around it, and the human eye reads “star.” Seal everything with glossy top coat for a celestial shine.

Here’s my honest night-before advice: pick the design that matches the polish you already own, not the one that needs a shopping trip. Every manicure on this list was chosen because I’ve actually done it in a time crunch, and they all photograph well even when painted at midnight. Do your dominant hand first while your patience is fresh, keep the designs simple, and remember that top coat forgives almost everything. Happy Halloween — now go enjoy the party instead of stressing over your nails.