Ghost nails are my favorite kind of Halloween nail art because they’re spooky-cute, not scary — the perfect balance for October. I’ve been painting little ghost faces on my nails every Halloween since I started doing nail art, and they never fail to make me smile. The best part? Ghosts are genuinely easy to draw: a white blob with two eyes is already adorable. Whether you want classic white ghosts on black, pastel cuties, or glow-in-the-dark spookiness, I’ve rounded up my 20 favorite cute ghost nail designs for Halloween 2026. Grab a dotting tool and let’s make some friendly spirits.
1. Classic White Ghost Faces on Black
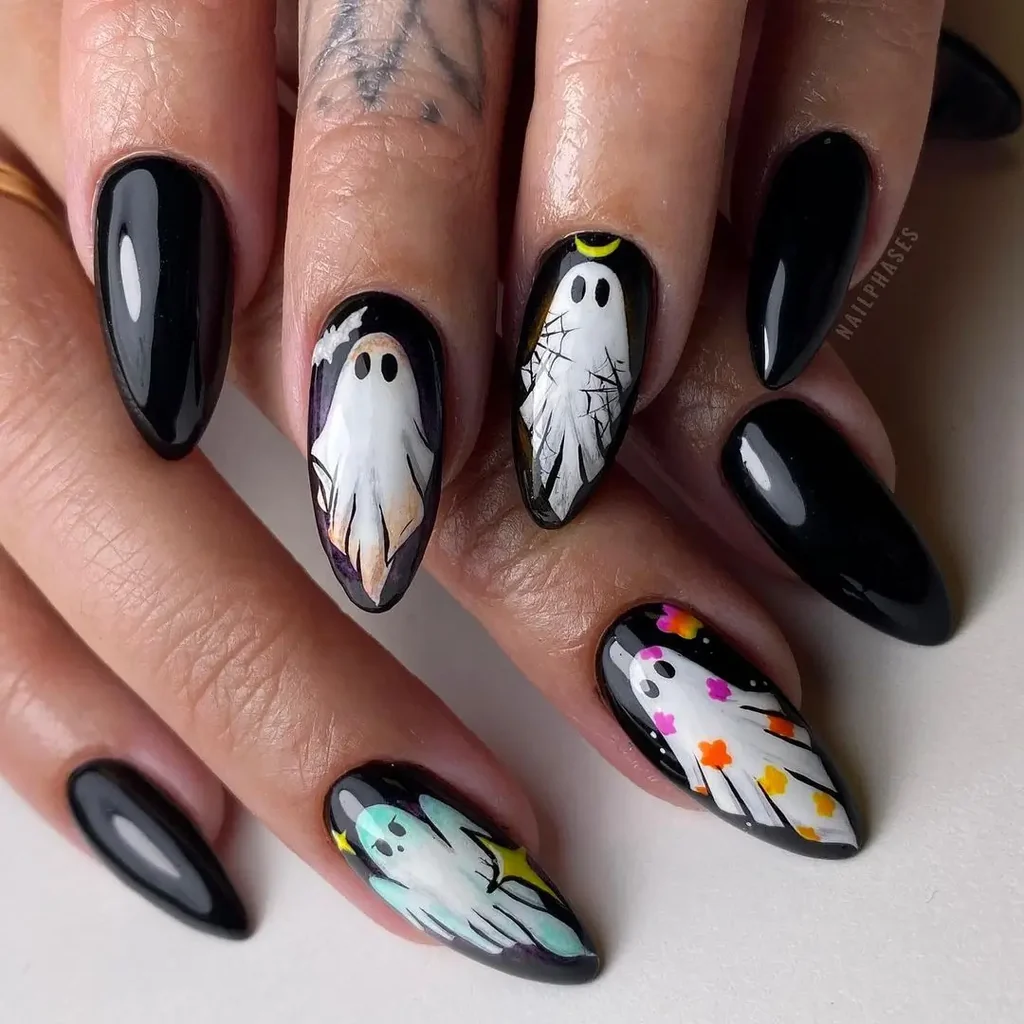
The classic white ghost on a black background is my Halloween staple — high contrast, instantly recognizable, and so easy. I paint my nails black, then use white polish to paint little ghost shapes: a rounded top with a wavy bottom edge. Two black dots for eyes and I’m done. The ghosts look like they’re floating in the night sky. On short nails, one ghost per nail is the perfect scale. This is the ghost nail design I recommend to absolute beginners. Application tip: use a small flat brush or the polish brush wiped clean for the ghost body; make the eyes with a dotting tool while the white is still slightly tacky. When I wear it: Halloween week, costume parties, spooky movie nights. Who it suits: beginners — this is the easiest character nail art; if you can paint a blob, you can paint a ghost.
2. Friendly Ghosts on Nude
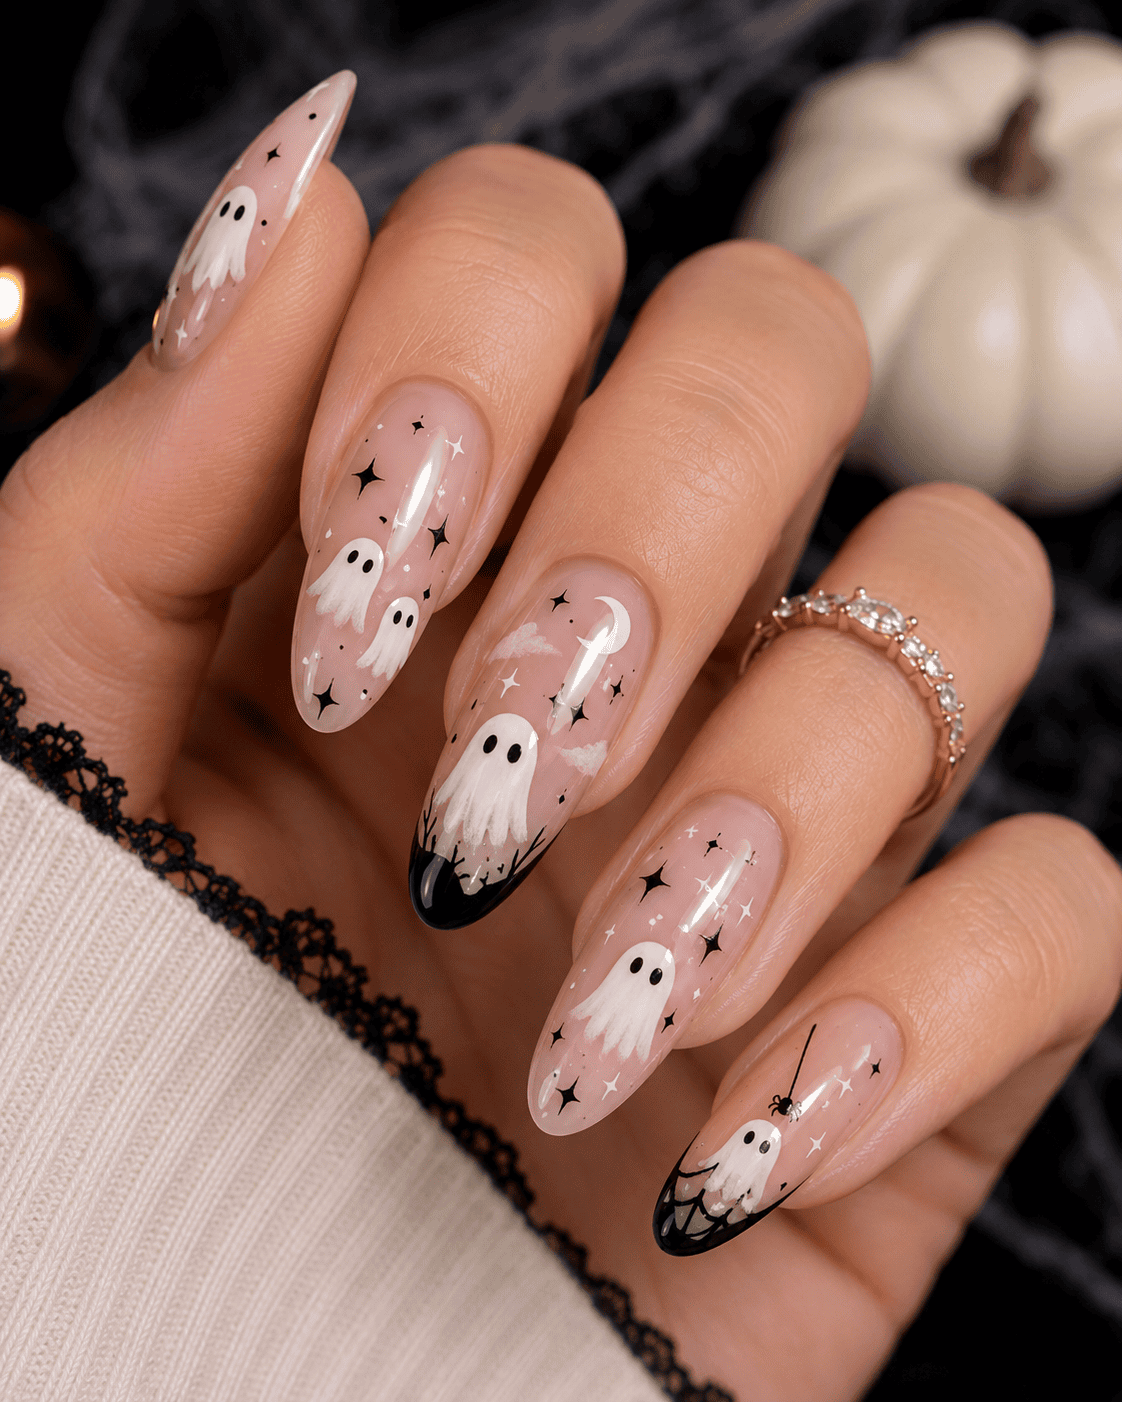
White ghosts on a nude base are my wearable, office-friendly ghost nail — spooky but subtle. The nude background keeps it neutral while the little white ghosts add the Halloween spirit. I love this for the weeks leading up to Halloween when I want festive nails that won’t raise eyebrows at work. The ghosts are small and scattered, almost like a pattern. On short nails, this looks delicate and cute. Application tip: keep the ghosts tiny — use a detail brush or toothpick for precision on the small scale; two thin coats of nude for a clean base. When I wear it: early-to-mid October, workdays, low-key Halloween vibes. Who it suits: anyone who wants Halloween nails without the drama; the nude base makes ghosts feel sophisticated.
3. Ghost French Tips
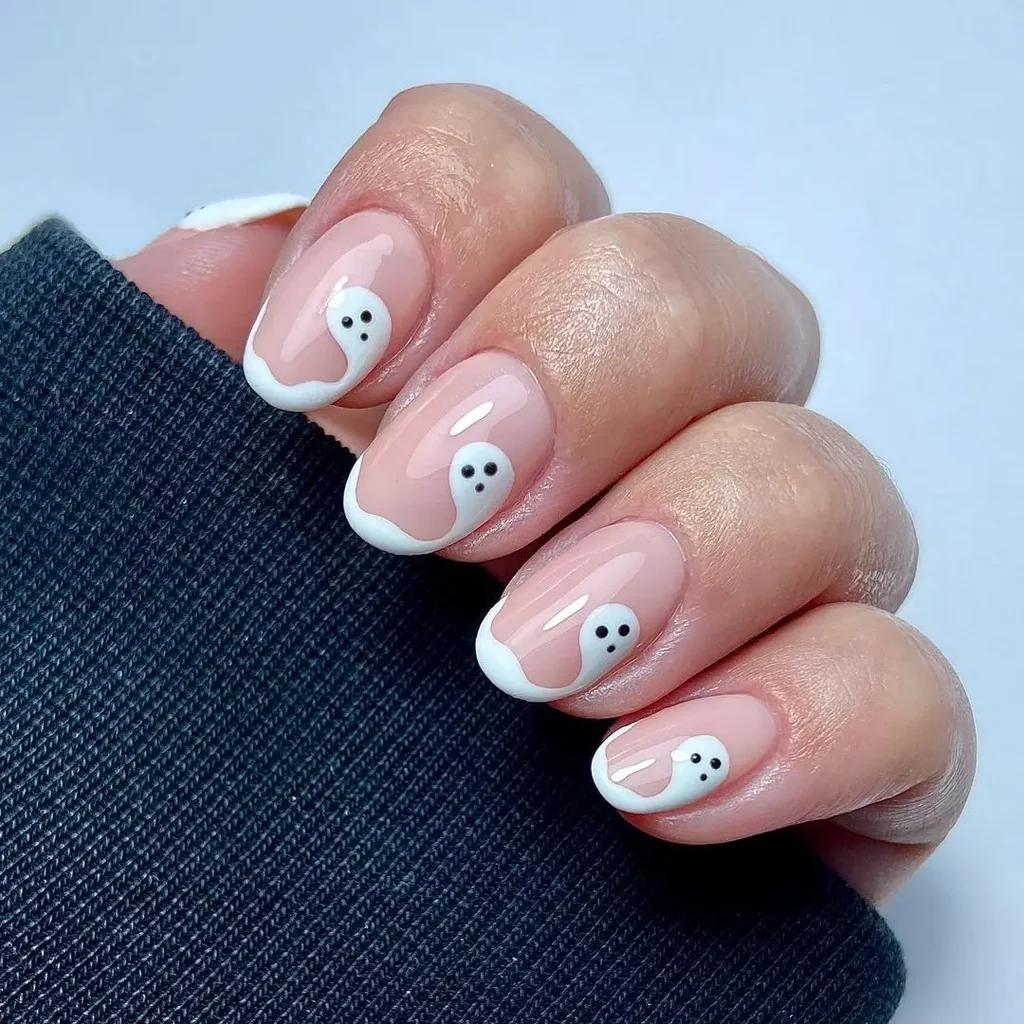
Ghost French tips are my clever twist on the classic — instead of white tips, I paint little ghost faces along the smile line. I do a sheer nude base, then paint white tips shaped like tiny ghosts with faces. It’s a French manicure gone Halloween, and I adore it. From a distance it reads as a white French; up close, the ghosts reveal themselves. On short nails, the ghost tips are the perfect playful detail. Application tip: paint the ghost tip shape first, then add faces with a dotting tool; keep the ghosts small so the French structure stays elegant. When I wear it: Halloween parties, date nights, when I want subtle spookiness. Who it suits: French manicure lovers; this is the perfect Halloween upgrade that still feels classy.
4. Pastel Ghost Nails
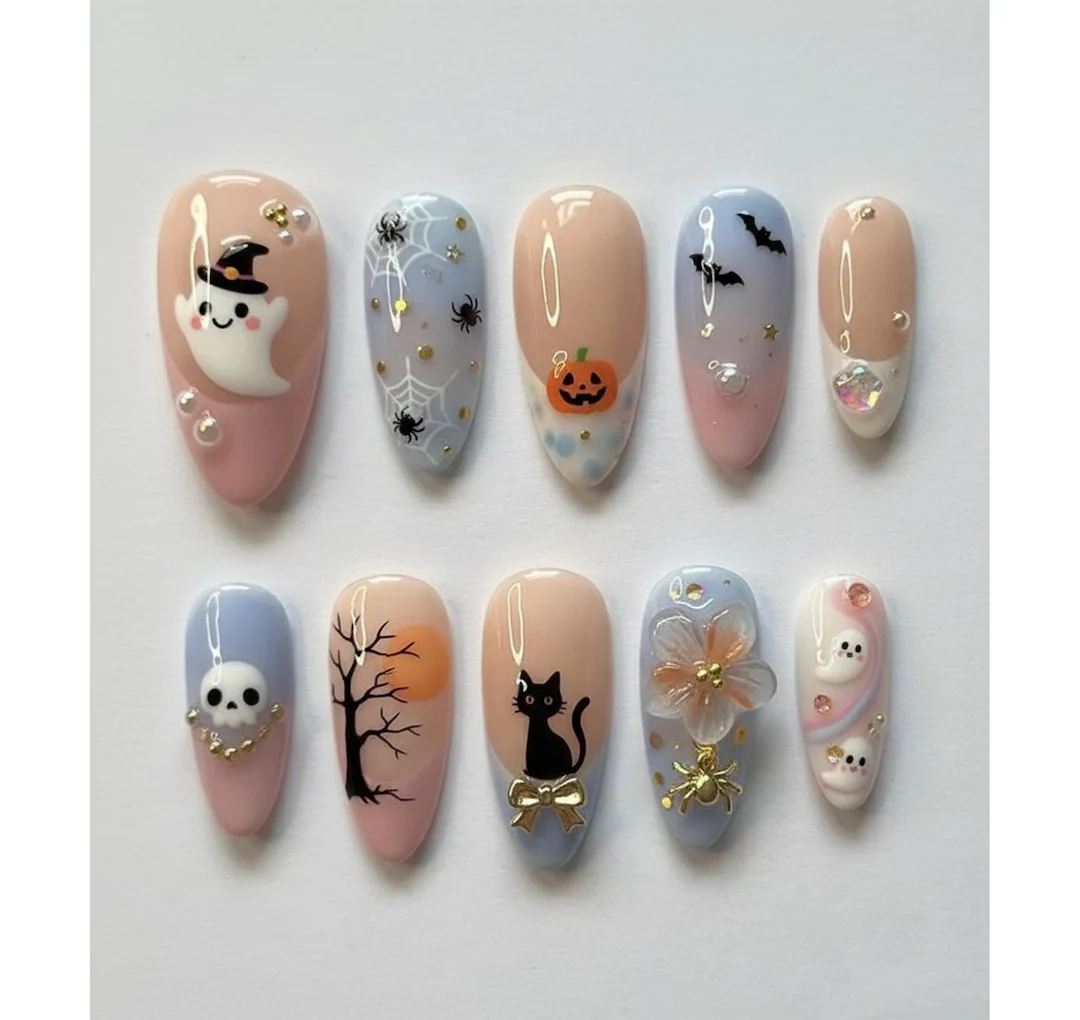
Pastel ghost nails are my kawaii Halloween dream — soft lavender, baby pink, and mint backgrounds with white ghosts. The pastels make the ghosts extra cute and the whole manicure feels sweet rather than spooky. I love this for anyone who finds traditional Halloween colors too dark. The pastel base also makes the white ghosts pop beautifully. On short nails, pastels look fresh and youthful. Application tip: use opaque pastel crèmes — sheers won’t give the contrast; paint ghosts slightly larger on pastels since the soft background needs a bolder ghost. When I wear it: cute Halloween outfits, pastel-goth looks, daytime Halloween events. Who it suits: pastel lovers and anyone who wants Halloween nails that are cute, not creepy; perfect for younger nail art fans.
5. Glow-in-the-Dark Ghost Eyes
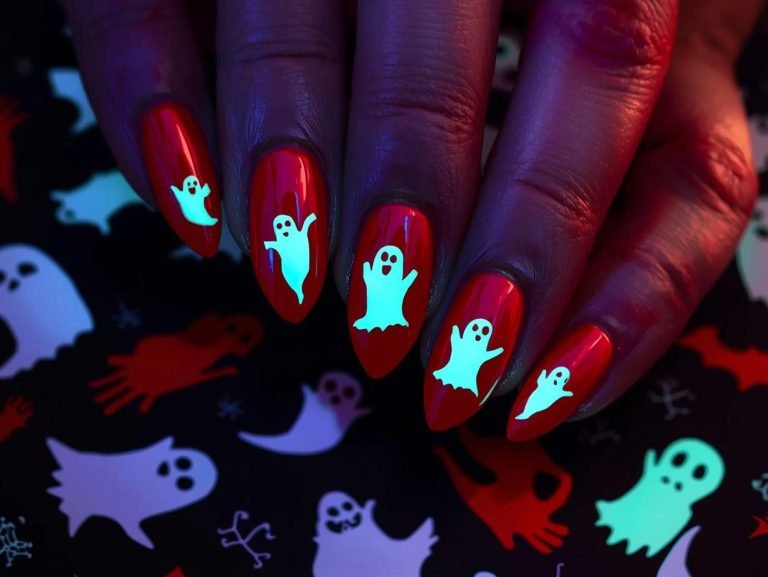
Glow-in-the-dark ghost nails are my party trick — by day they’re cute white ghosts, by night their eyes glow. I paint the ghost design normally, then add glow-in-the-dark polish just on the eyes. When the lights go down, the glowing eyes are the coolest thing. I’ve worn these to Halloween parties and people lose their minds. The glow polish needs “charging” under light, so I sit near a lamp before heading out. Application tip: apply glow polish in two coats over the dried eye dots; charge under bright light for 30 minutes before the event; it fades after a few hours, so re-charge if needed. When I wear it: Halloween night, glow parties, haunted houses. Who it suits: party people who want maximum Halloween impact; the glow effect is pure fun.
6. Ghosts With Pumpkin Accents
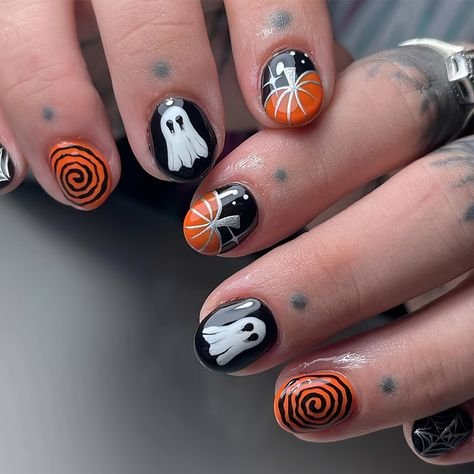
Ghosts paired with tiny pumpkins are my quintessential Halloween combination — the two icons of October together on my nails. I alternate ghost nails and pumpkin nails, or put a mini pumpkin next to each ghost. The orange and white contrast is so festive. On short nails, I keep both designs small and simple: ghost faces and pumpkin circles with tiny stems. It’s like a Halloween pattern that never gets old. Application tip: paint pumpkins as simple orange ovals with a brown stem line and a darker orange curve; alternate with ghost nails for balance. When I wear it: pumpkin patches, fall festivals, all of October. Who it suits: Halloween traditionalists; ghosts plus pumpkins is the most classic October nail combination.
7. Minimalist Ghost Outlines
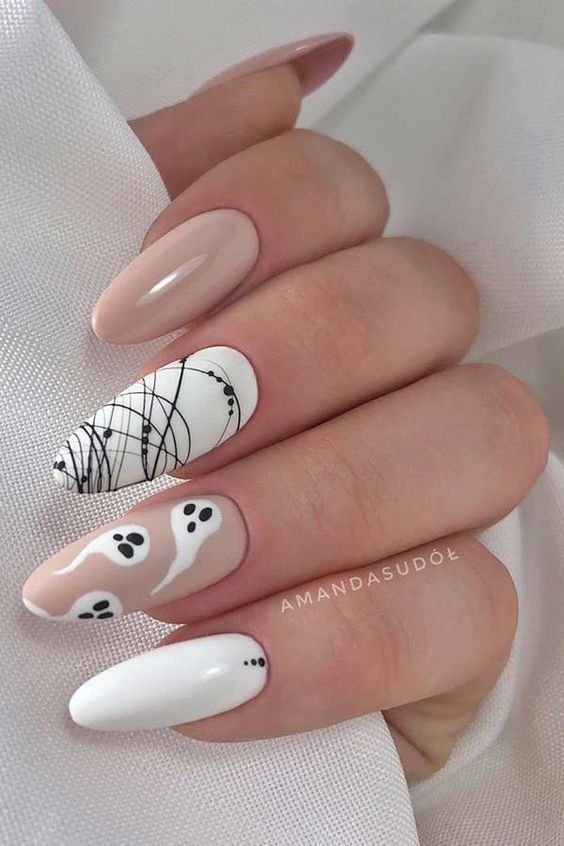
Minimalist ghost outlines are my chic take on ghost nails — just a thin white or black line drawing of a ghost, no fill. I paint a solid background (usually black or nude) and draw a simple ghost silhouette in outline. It looks modern, artistic, and surprisingly elegant. The line-art style feels very current, like the minimalist nail art trending everywhere. On short nails, a single outline ghost per nail is perfect. Application tip: use a long striping brush or nail art pen for smooth outlines; practice the ghost shape on paper first — rounded top, wavy bottom. When I wear it: art events, minimalist outfits, when I want Halloween with sophistication. Who it suits: minimalists and line-art lovers; this is ghost nails for the design-conscious.
8. Ghosts in a Night Sky
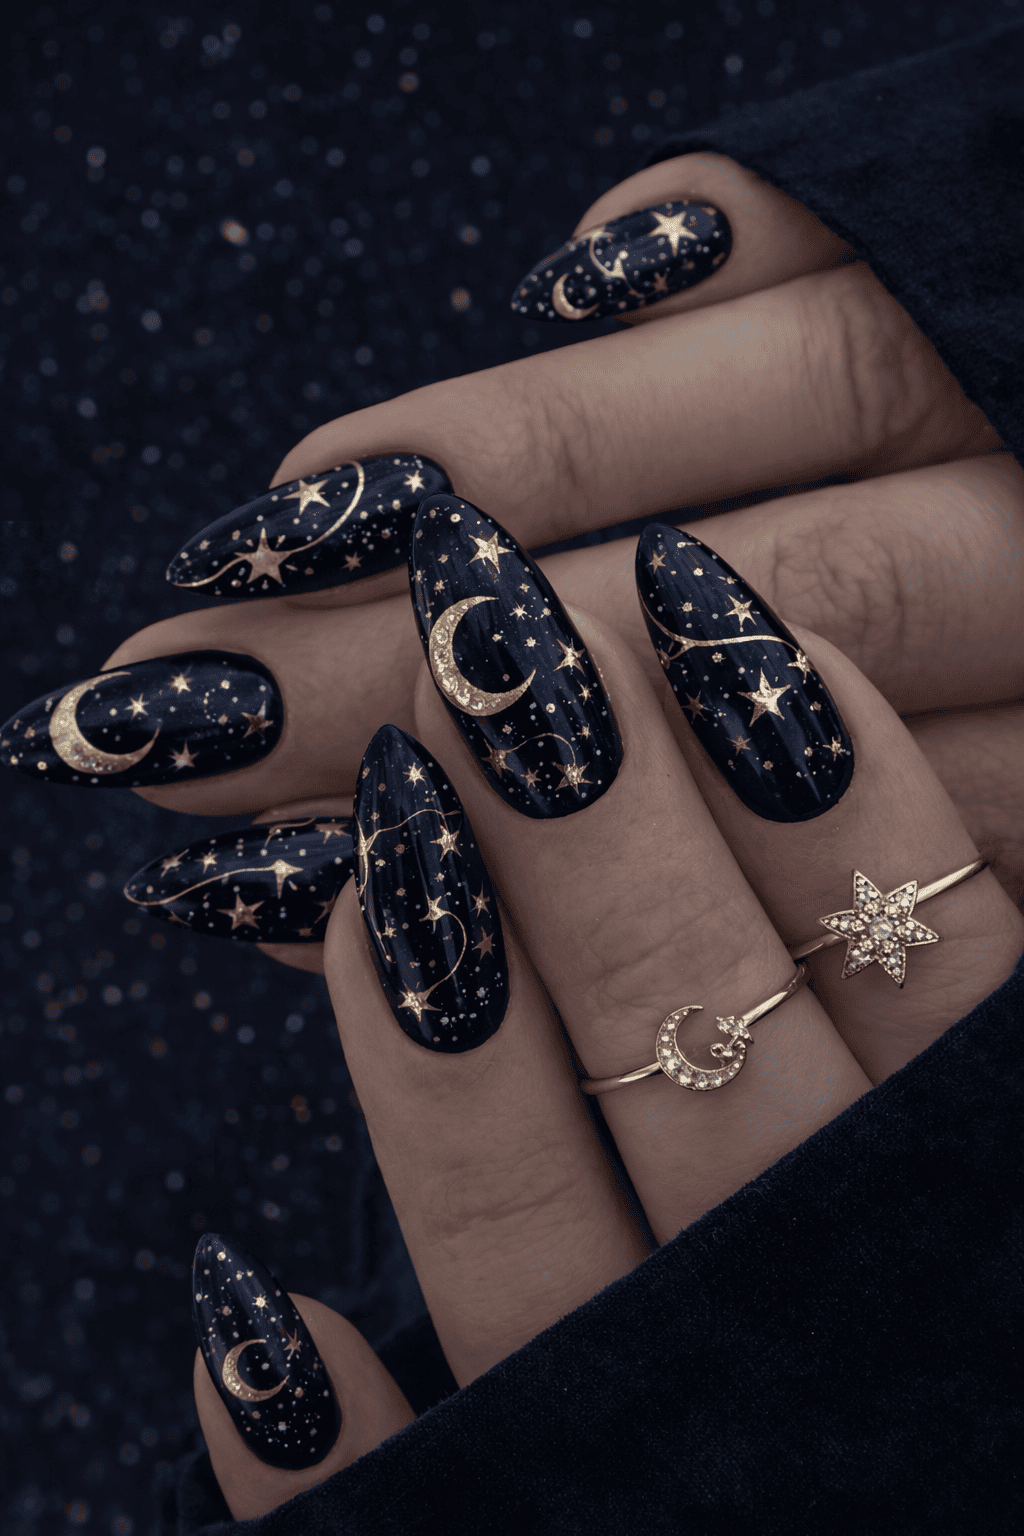
A night-sky background with floating ghosts and tiny stars is my most magical ghost design. I sponge a dark blue-to-black gradient, add white dots for stars, then paint white ghosts floating among them. It looks like a Halloween night sky on my fingertips. The gradient adds depth that makes the ghosts look like they’re really floating. On medium nails, there’s room for the full scene. Application tip: sponge the gradient with a makeup sponge in thin layers; add stars with a dotting tool in two sizes; paint ghosts last so they sit on top. When I wear it: Halloween night, stargazing, spooky-season evenings. Who it suits: anyone who loves a full nail art scene; this is the most artistic ghost design on the list.
9. Blushing Ghost Faces
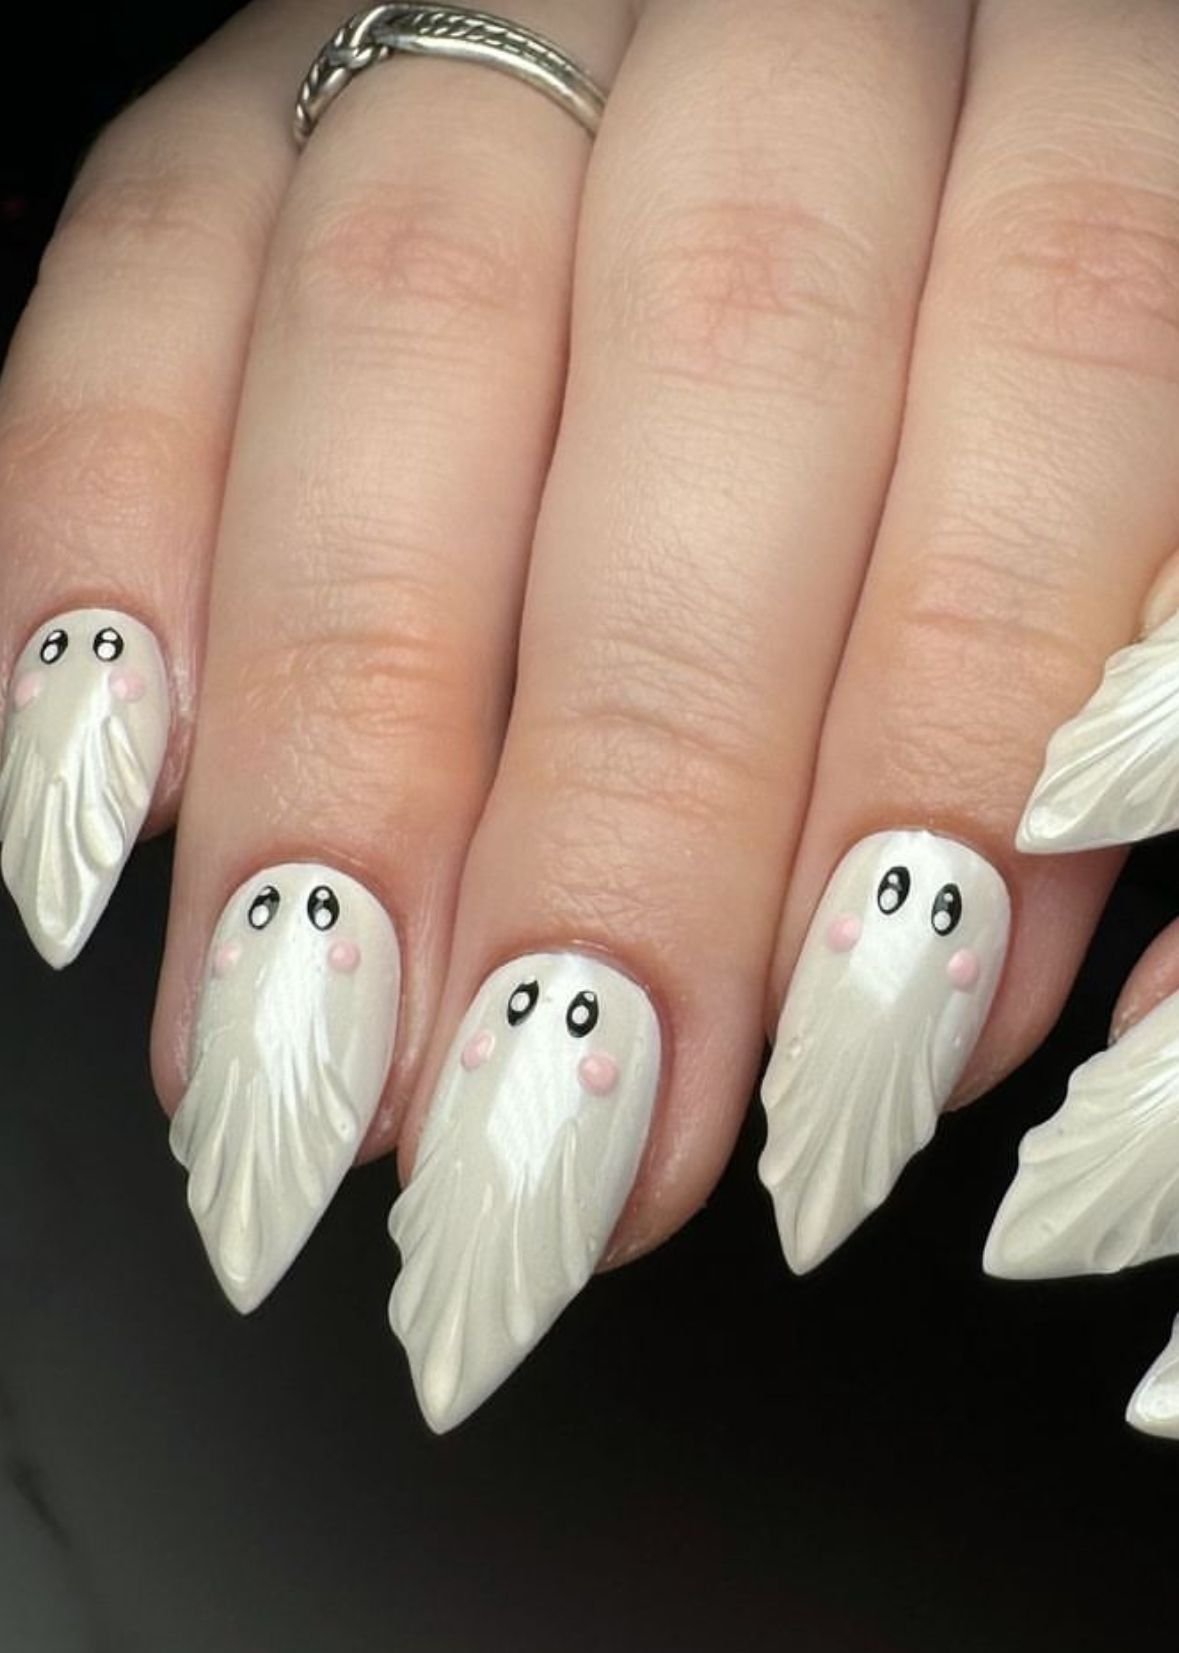
Ghosts with blushing pink cheeks are my cutest ghost variation — the tiny pink blush marks make them look shy and adorable instead of spooky. I paint the classic white ghost, add black eyes, then dab the tiniest pink dots as cheeks. The blush transforms the whole vibe from Halloween-scary to kawaii-cute. I get compliments every time I wear these. On short nails, the blushing ghosts are irresistible. Application tip: use a dry dotting tool with the tiniest amount of pink — too much looks like a rash; place cheeks below and outside the eyes. When I wear it: cute Halloween looks, dates, anytime I want maximum adorableness. Who it suits: kawaii lovers and anyone who wants their Halloween nails to be cute, not creepy; the blush is the secret weapon.
10. Tiny Scattered Ghosts

Lots of tiny ghosts scattered across a dark background is my confetti-style Halloween manicure — playful and fun. Instead of one ghost per nail, I paint five or six mini ghosts of different sizes floating around. The scattered pattern feels festive and modern, like ghost confetti. On short nails, the tiny scale works perfectly. It’s also forgiving: imperfect mini ghosts just look like a pattern. Application tip: vary the ghost sizes for a natural scattered look; use a detail brush for the tiny ones; don’t overthink placement — randomness is the point. When I wear it: Halloween parties, fun October days, festive moods. Who it suits: maximalists who want lots of Halloween on their nails; the scattered pattern is joyful and eye-catching.
11. Kawaii Ghost Nails

Full kawaii ghost nails — big sparkly eyes, tiny smiles, pastel colors — are my love letter to cute Halloween. I paint white ghosts with oversized eyes (white dot, black pupil, tiny white highlight) and little open smiles. The kawaii face formula makes everything adorable. I use pastel backgrounds or keep it classic black. On short nails, one kawaii ghost per nail is perfect. These make me happy every time I look at my hands. Application tip: the kawaii eye needs three steps — white base dot, black pupil, tiny white highlight dot; use the smallest dotting tool for the highlight. When I wear it: anime conventions, cute Halloween costumes, happy days. Who it suits: kawaii culture fans; this is the cutest ghost design possible and worth the extra detail work.
12. Ghosts With Spiderwebs

Ghosts combined with spiderweb corners are my spooky-but-cute combo — the webs add Halloween atmosphere around the friendly ghosts. I paint a black base, add white spiderweb lines in the corners, then place white ghosts in the center. The contrast of geometric webs and soft ghosts is so good. On medium nails, there’s room for both elements. It reads clearly as Halloween without being scary. Application tip: draw webs with a striping brush — lines from the corner, then connecting arcs; keep webs in the corners so ghosts have center stage. When I wear it: Halloween week, haunted houses, spooky parties. Who it suits: anyone who wants their ghost nails to feel more “Halloween” — the webs add instant spooky context.
13. White Ghosts on Purple
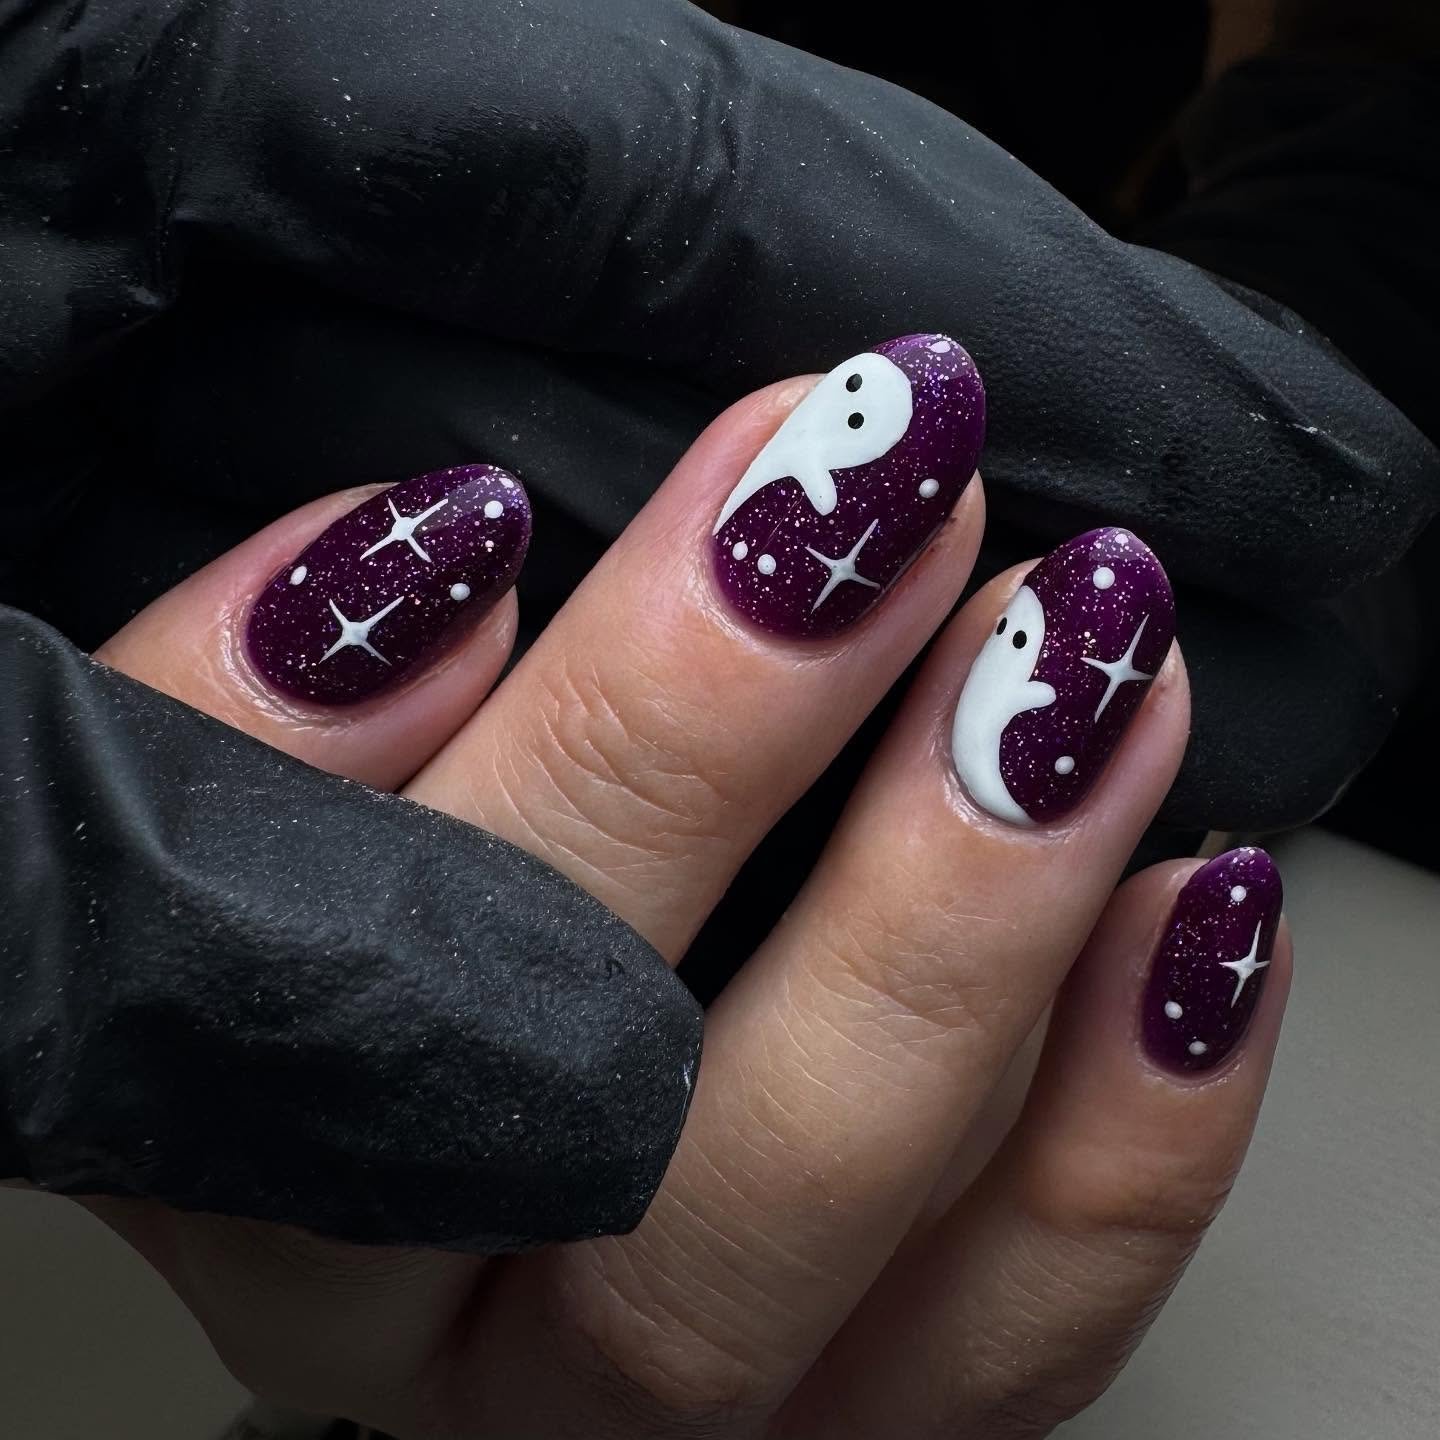
White ghosts on a purple background are my witchy Halloween favorite — purple is the color of magic and mystery. I use a deep grape or a soft lavender depending on my mood; both make white ghosts pop beautifully. The purple adds a bewitching quality that black doesn’t have. On short nails, purple-and-white is striking and fun. It’s my pick when I want Halloween nails with a magical twist. Application tip: deep purples need two coats for richness; paint ghosts slightly larger on purple so they stand out against the bold background. When I wear it: witch costumes, Halloween parties, magical moods. Who it suits: purple lovers and witchy aesthetics; this is ghost nails with a spell cast on them.
14. Ghostly Ombré With Faces
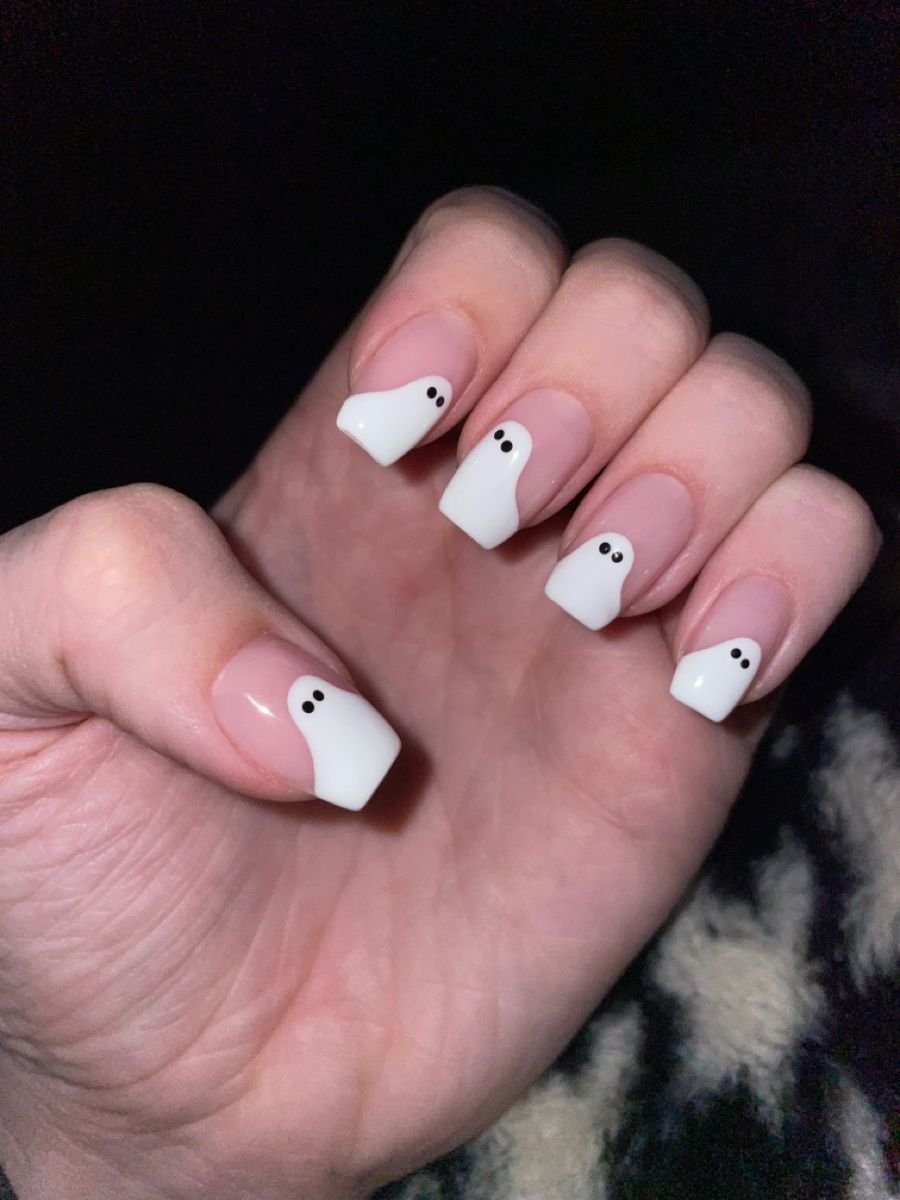
A white-to-grey ombré with ghost faces is my ethereal ghost design — the gradient makes the ghosts look like they’re fading into mist. I sponge white fading into grey, then paint simple ghost faces directly on the ombré. The misty effect is hauntingly beautiful. On medium nails, the gradient has room to blend. It’s the most atmospheric ghost nail I do. Application tip: sponge the ombré in thin layers for a smooth blend; paint the faces with a dotting tool once the ombré is fully dry; seal with top coat to smooth the sponge texture. When I wear it: foggy October nights, moody Halloween looks, artistic moods. Who it suits: anyone who loves atmospheric nail art; the ombré adds a professional, airbrushed quality.
15. Ghosts on Grey
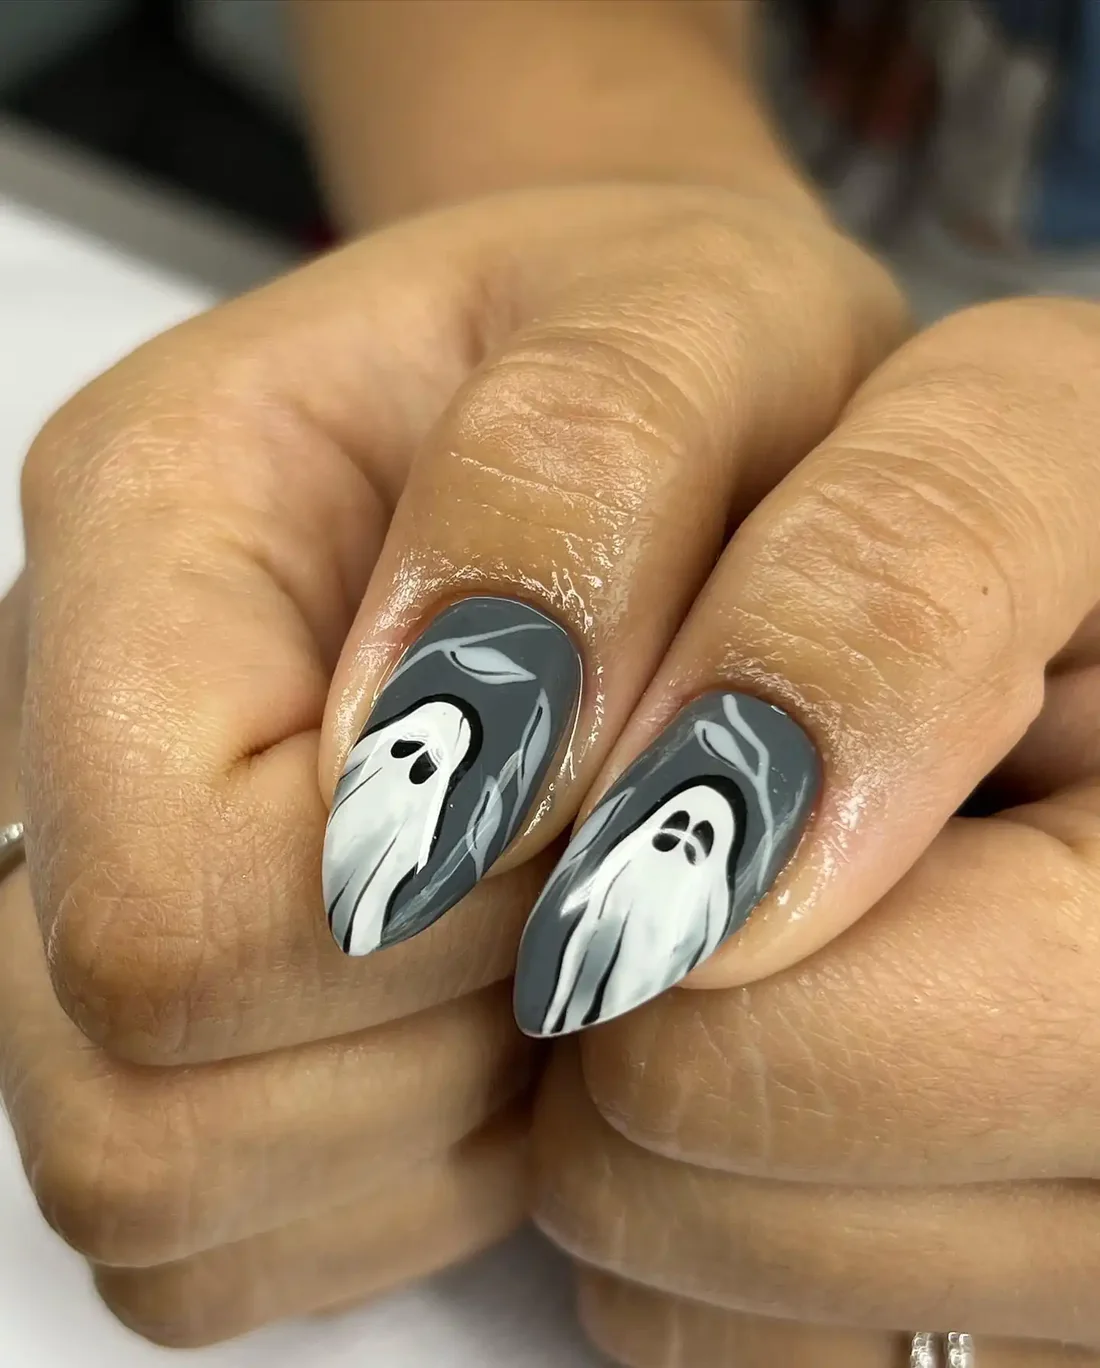
White ghosts on a grey background are my modern, muted ghost nail — softer than black, cooler than nude. I love a medium grey because it lets the white ghosts shine while keeping the whole manicure calm and wearable. It’s Halloween-adjacent rather than Halloween-obvious, which I appreciate for the office. On short nails, grey-and-white looks clean and contemporary. Application tip: choose a true neutral grey — blue-greys can look cold; two coats for opacity; the ghosts show beautifully against mid-tone grey. When I wear it: workdays in October, minimalist Halloween, cool-toned outfits. Who it suits: anyone who wants ghost nails that whisper; grey is the sophisticated neutral that makes ghosts office-appropriate.
16. Ghost and Bat Combo
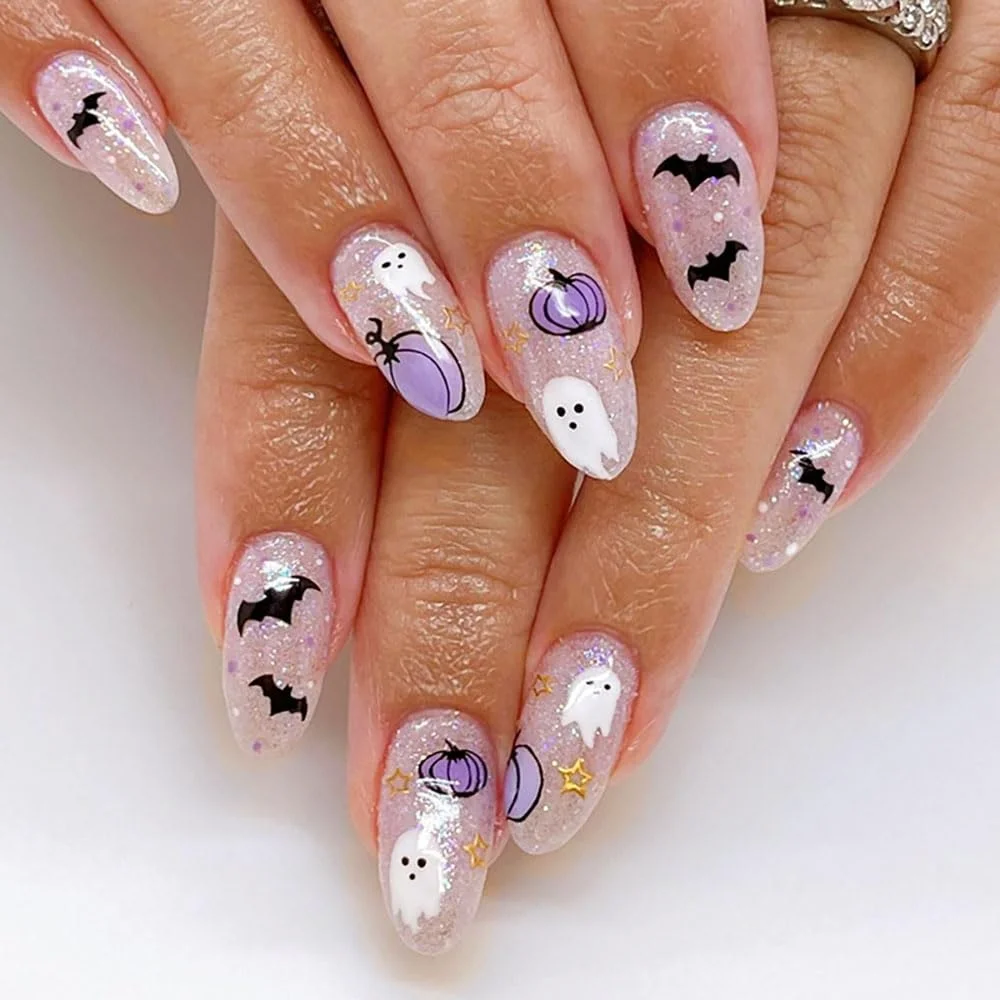
Ghosts paired with tiny bats are my Halloween duo — the two classic spooky icons balance each other perfectly. I alternate ghost nails with bat nails: white ghosts on some, black bats on orange or purple on others. The variety keeps it interesting and unmistakably Halloween. On short nails, I keep both designs small and simple. It’s festive, fun, and easy since both are beginner-friendly shapes. Application tip: paint bats as simple black silhouettes — oval body with triangle wings; alternate strictly ghost-bat-ghost for balance. When I wear it: Halloween week, costume parties, trick-or-treating. Who it suits: Halloween enthusiasts who want the full spooky spread; ghosts plus bats is maximum October energy.
17. Cute Ghost With Witch Hat

A ghost wearing a tiny witch hat is my most charming ghost design — the little black hat on the white ghost is irresistible. I paint the ghost, then add a small black triangle hat with a tiny brim on its head. Some versions get a mini buckle on the hat. It’s detailed but so worth it. On accent nails, the hatted ghost is the star; I keep other nails simple. Application tip: paint the ghost first and let it dry, then add the hat with a detail brush; the hat is a triangle plus a thin horizontal brim line. When I wear it: Halloween parties, witch costumes, when I want the cutest nail in the room. Who it suits: detail lovers; the witch hat elevates a simple ghost into a tiny character with personality.
18. Ghost Faces in Matte
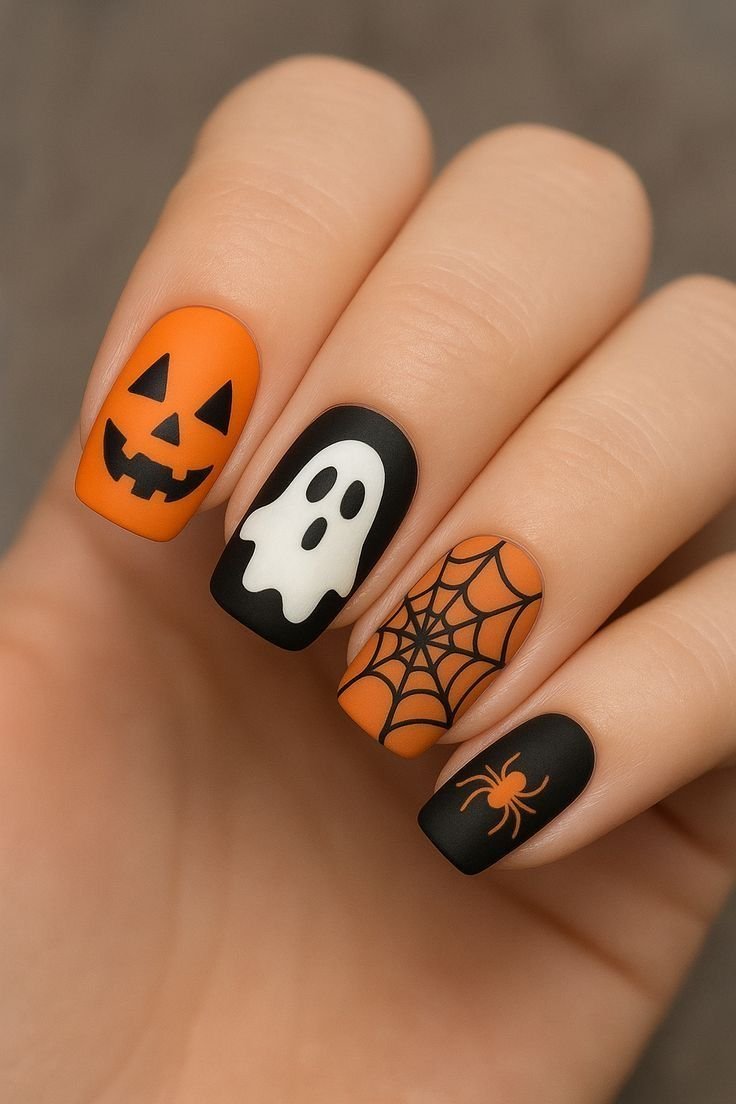
Matte ghost nails are my modern texture twist — the matte top coat makes white ghosts look soft like actual apparitions. I do the classic white-ghost-on-black design, then seal everything with matte top coat. The matte finish removes the shine and gives the ghosts a cloudy, ethereal quality. It’s subtle but the texture difference is striking in person. On short nails, matte ghosts look sophisticated-spooky. Application tip: apply matte top coat over fully dry art — at least 15 minutes; one even layer, no touch-ups; matte shows dust, so work in a clean area. When I wear it: moody Halloween looks, modern outfits, texture lovers. Who it suits: anyone bored of glossy nail art; matte transforms familiar designs into something fresh.
19. Ghosts Peeking From Tips

Ghosts peeking up from the nail tips are my playful hide-and-seek design — just the tops of ghost heads with eyes visible along the free edge. I paint a dark base, then paint white half-ghosts along the tips so they look like they’re peeking into frame. It’s creative and unexpected. On short nails, the peeking effect is adorable — like ghosts playing peek-a-boo. Application tip: paint only the top half of each ghost along the tip edge; add eyes just below the edge; keep the base dark for contrast. When I wear it: fun Halloween days, playful moods, when I want something different. Who it suits: creative types who want a unique ghost design; the peek-a-boo concept is charming and original.
20. Candy Corn Ghost Nails

Ghosts on a candy corn background are my sweetest Halloween combination — the orange-yellow-white stripes with white ghosts are pure October candy. I paint candy corn stripes (white tip, orange middle, yellow base) then add tiny ghost faces on top. It’s busy but in the best way — maximum Halloween nostalgia. On short nails, I simplify to two stripes plus ghosts. Application tip: use striping tape for clean candy corn lines; paint stripes first, let dry fully, then add small ghosts; seal well. When I wear it: Halloween parties, candy-themed costumes, nostalgic moods. Who it suits: Halloween maximalists; candy corn plus ghosts is the sweetest spooky combination on this list.
Cute ghost nails are my proof that Halloween nail art doesn’t have to be scary to be spectacular. From classic white-on-black to kawaii blushing ghosts to glow-in-the-dark eyes, these 20 designs cover every level of spooky-cute. The best part is how beginner-friendly ghosts are — a blob with eyes is already adorable. Pick your favorite, grab your dotting tool, and haunt your fingertips this Halloween 2026.