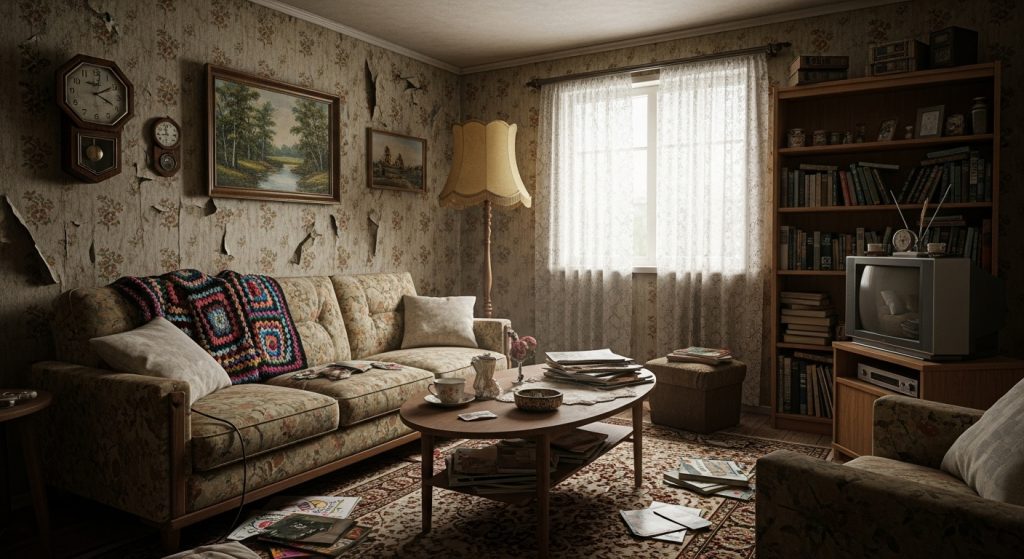
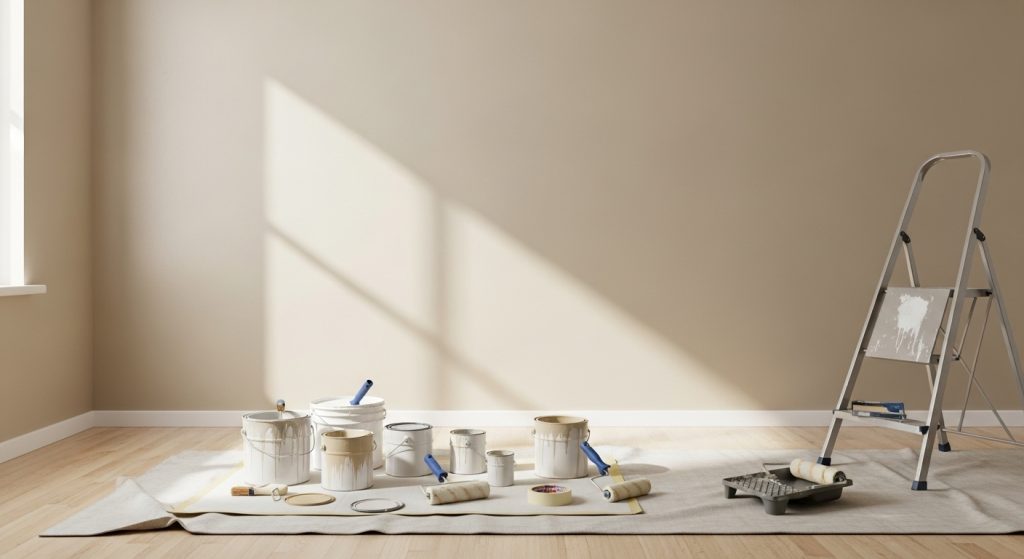
Most makeover stories begin with a moment of realization. Mine started on a quiet weekend morning when sunlight filled my living room and showed every corner that felt dull and outdated. I knew it was time to transform the space without breaking the bank. This journey became my own Living Room Makeover Before & After adventure, one that proved style doesn’t need a luxury budget.
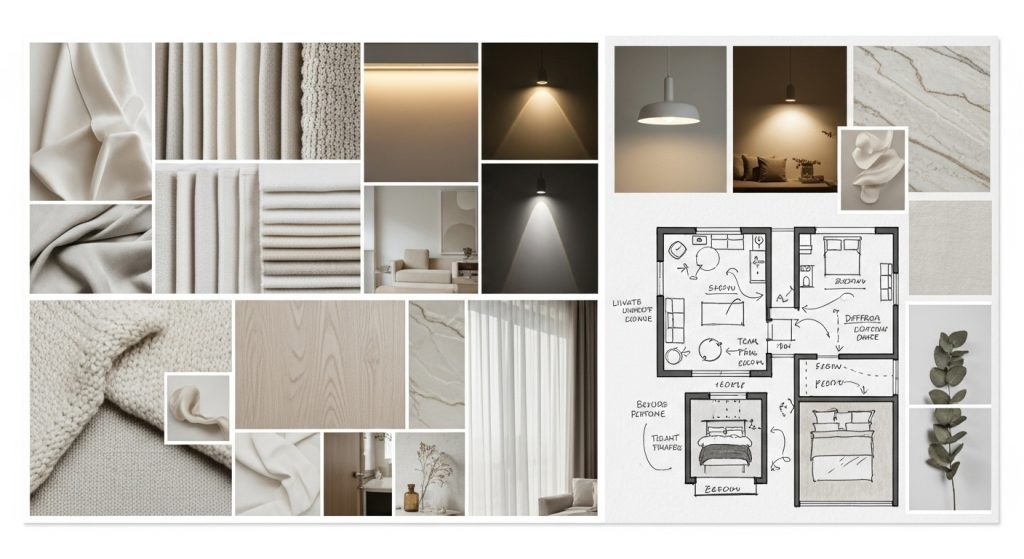
The Vision: How I Planned a Fresh Look
Every transformation starts with a clear vision. I walked around the space and listed what I wanted: better lighting, warmer colors, a modern layout, and pieces that reflected my personality. To stay on budget, I focused on high-impact, low-cost changes like rearranging furniture, adding texture, and upgrading lighting. This phase shaped the foundation of my Living Room Makeover Before & After journey.
Decluttering: The First Step to a Cleaner, Brighter Space
Before buying anything, I removed what no longer served the room: old magazines, bulky decor, mismatched throw pillows, and worn-out accessories. Decluttering opened up the room instantly and showed what could be repurposed. A clean space always makes the Living Room Makeover Before & After reveal more dramatic.

Choosing the Right Color Palette
Colors set the mood. I chose warm neutrals—soft beige walls, creamy whites, and natural wood tones. These shades reflect sunlight beautifully and create a peaceful atmosphere. According to design guides from Architectural Digest and Sherwin-Williams, light neutrals expand a space without major renovations. This color shift became a powerful moment in my Living Room Makeover Before & After transformation.
Furniture: When to Save and When to Spend
I reused most of my furniture but updated key pieces like the coffee table and TV console. Choosing multifunctional furniture made the room look modern and purposeful. Keeping the sofa but adding a textured throw helped stretch the budget. Furniture upgrades played a major role in the Living Room Makeover Before & After results.
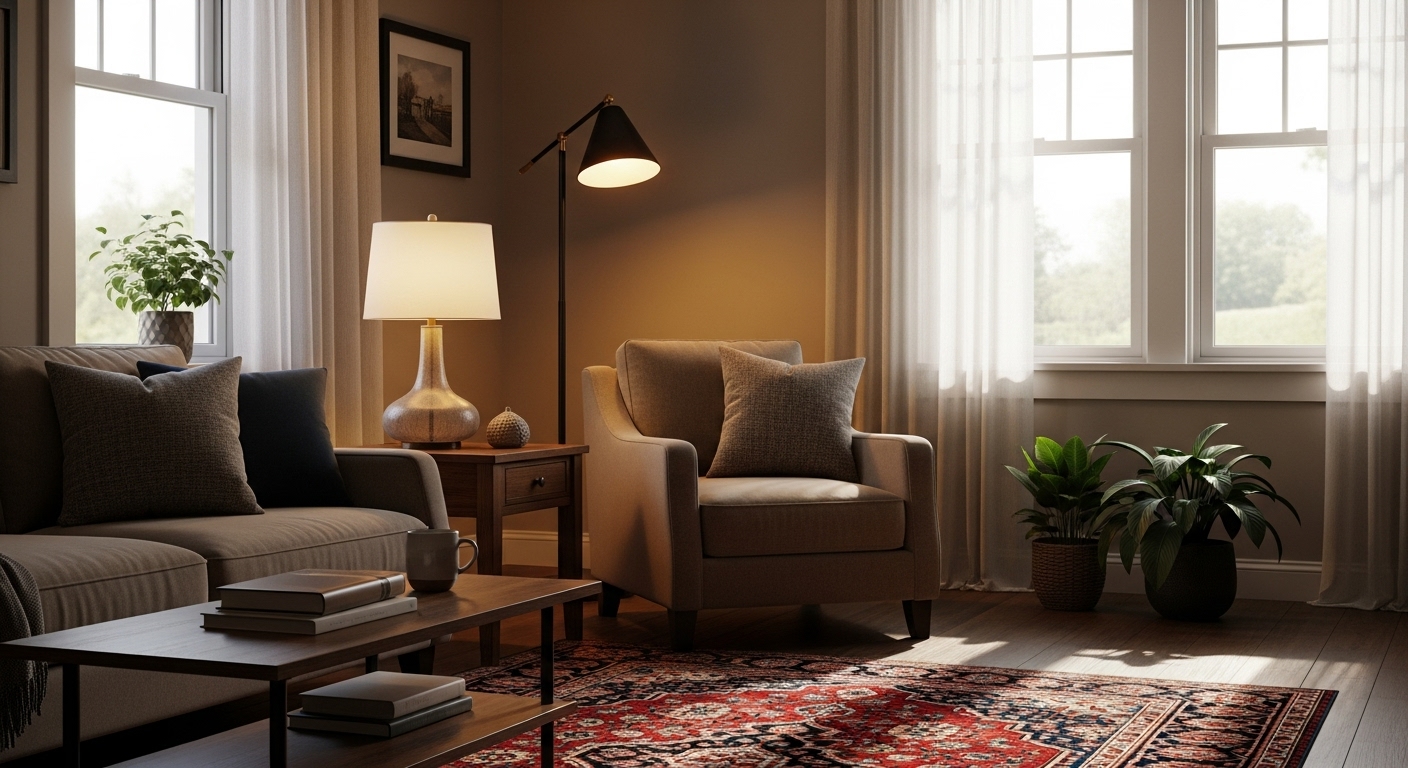
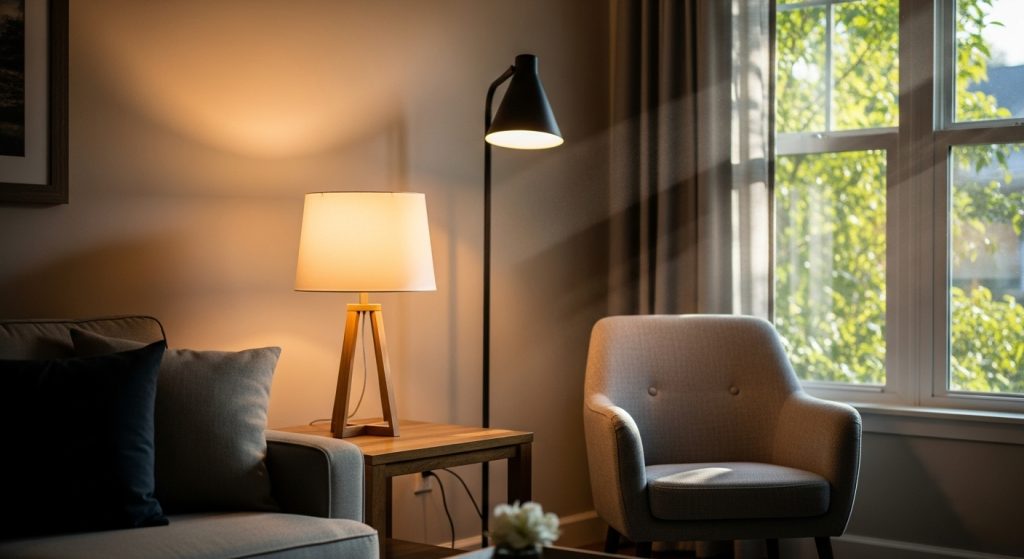
Lighting: The Secret Behind a Luxury Look on a Budget
Lighting changes everything. I swapped old bulbs for warm LEDs, added a floor lamp, and used soft-glow table lamps. According to House Beautiful, layered lighting can make a room appear more expensive instantly. This simple upgrade amplified the impact of my Living Room Makeover Before & After shift.
Textiles: The Magic Touch That Adds Warmth
Soft textures create comfort. I brought in cozy rugs, knitted throws, and patterned cushions. These pieces added color and personality without overspending. The room finally felt complete. Textiles are often the unsung heroes in any living room makeover before-and-after transformation.

Decor & Personal Touches: Making the Space Truly Yours
To finish the space, I used a mix of DIY art, affordable prints, indoor plants, and simple accessories. Personal touches make a room feel warm and lived-in. Plants added freshness and movement, while art brought color and meaning. These final elements made the Living Room Makeover Before & After reveal feel like a brand-new home.

Budget Breakdown: What I Spent and Saved
Even with big changes, the total cost stayed low because I reused many items and chose affordable upgrades.
- Paint: low-cost
- Lighting: budget-friendly
- Rugs & textiles: medium range
- Furniture: selective upgrades
This smart spending approach helped me achieve a Living Room Makeover Before & After result that looked premium without luxury pricing.

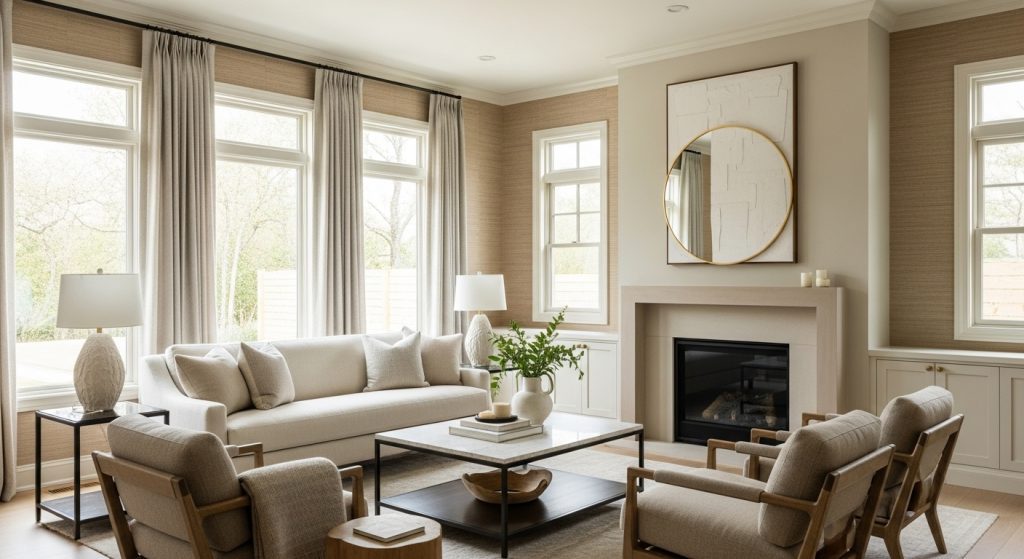
Final Reveal: A Space That Feels Brand New
The room now feels warm, open, and inviting. Sunlight fills the space beautifully. The layout flows better. The colors are calming. And the decor reflects my personality. This transformation proves you don’t need a huge budget to create a living room that feels refreshed and stylish. My Living Room Makeover Before & After journey became a reminder that small, smart changes can deliver big results.