I’ll be honest: I love Halloween nail art, but I don’t have the patience (or the steady hand) to paint tiny pumpkins on all ten nails. That’s exactly why the single accent nail is my favorite Halloween manicure trick — one statement nail does all the spooky heavy lifting while the other nine stay simple, chic, and totally wearable. Whether I’m heading to the office on October 30th or a costume party on the 31st, accent-nail Halloween designs let me join the fun without committing to a full set of bats and ghosts. These simple Halloween nail ideas work on any nail length and shape, need zero salon skills, and take under 30 minutes with basic polish. From a single black cat silhouette to one dripping-blood tip, each look below pairs an easy base color with one Halloween accent nail that’s festive, not fussy.
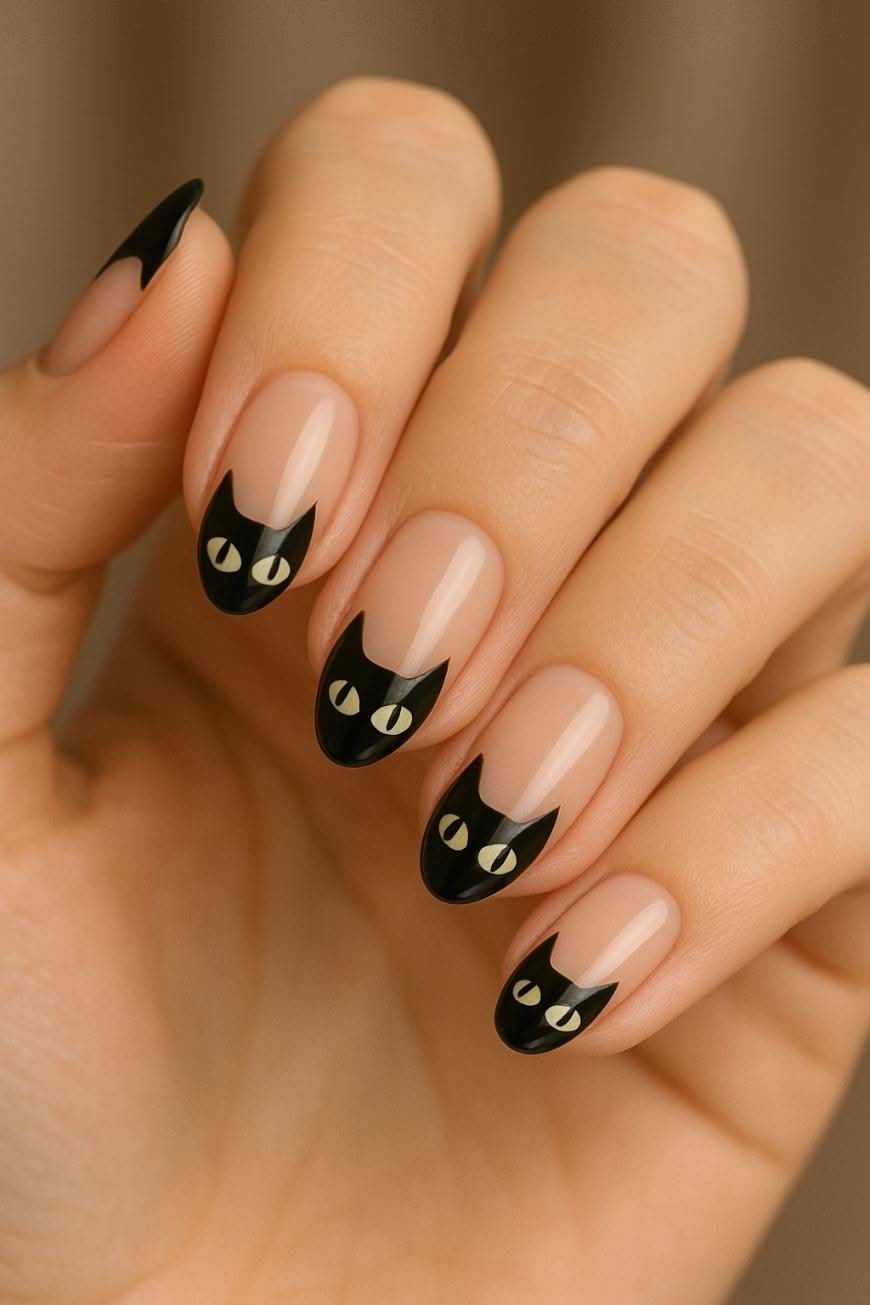
1. Glossy Black Base With a Single Black Cat Silhouette

My go-to Halloween manicure is the simplest one I own: nine glossy black nails and one accent nail carrying a tiny black cat silhouette. I paint the base with two coats of jet-black crème polish, then on my ring finger I stamp or freehand a sitting cat silhouette using the same black over a slightly sheer nude base so the shape really pops. The design is unmistakably Halloween without a single orange pumpkin in sight, which I love for a moodier, witchier vibe. This suits anyone who wears a lot of black anyway — the manicure just looks like an edgier version of your everyday nails. Wear it to work, a dinner date, or a costume party; it reads festive up close and sophisticated from a distance. My application tip: use a small dotting tool or the tip of a bobby pin for the cat’s ears and tail if freehanding feels scary.
2. Nude Base With One Tiny Ghost Accent

When I want Halloween nails that won’t raise eyebrows at the office, I reach for this one: a sheer nude base on every nail and a single hand-painted ghost on my middle finger. The ghost is genuinely easy — a white rounded blob, two black dot eyes, and a tiny oval mouth — and it looks adorable against the barely-there nude. I love how this design keeps my nails looking polished and professional while still winking at the holiday. It suits short, natural nails best since the nude base makes fingers look longer and the ghost adds just the right amount of personality. I’ve worn this to client meetings the week of Halloween and gotten compliments instead of questions. Application tip: paint the ghost with the polish brush’s tip rather than a detail brush first; you can clean up the edges with a flat brush dipped in acetone for a crisp little spirit.
3. Burnt Orange Solids With a Single Pumpkin Accent
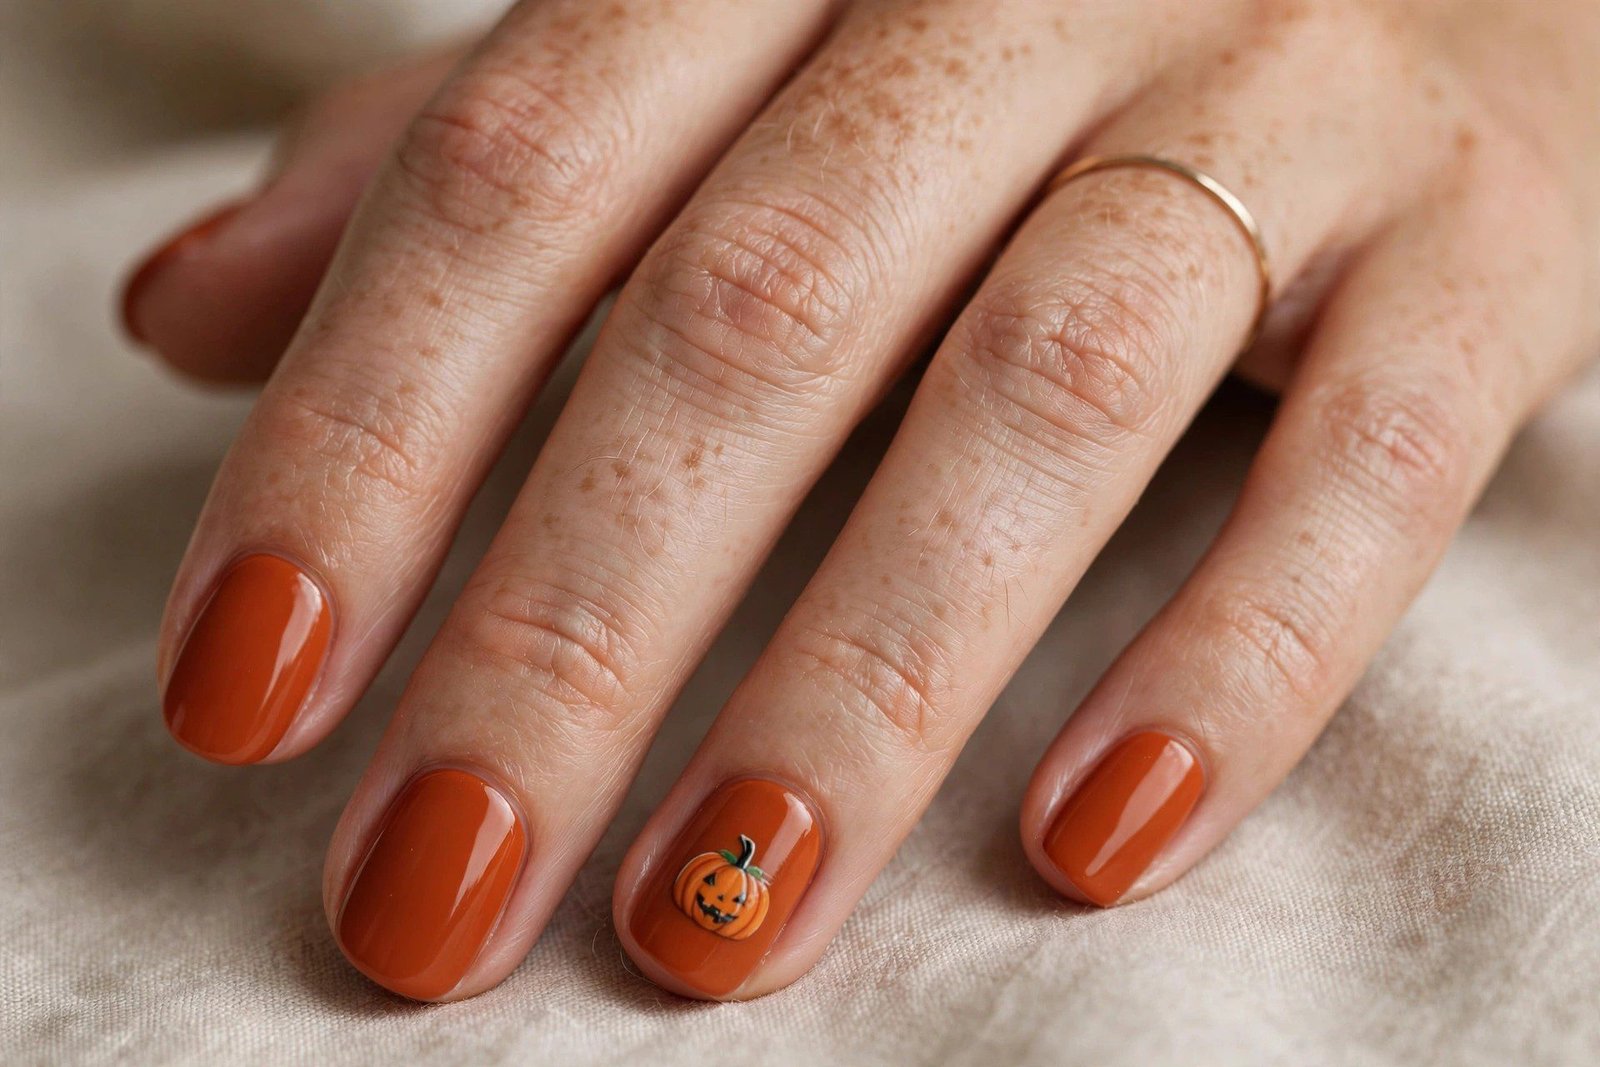
Nothing says October like burnt orange, and this manicure lets the color do the talking. I paint nine nails in a rich pumpkin-spice crème and turn my ring finger into the actual pumpkin: same orange base, a thin brown vertical line for the stem, and two curved green strokes for the vine. It’s festive, autumnal, and — bonus — it works for the entire fall season, not just Halloween night. I wear this from mid-October straight through Thanksgiving because it reads more “fall harvest” than “costume.” It flatters warm skin tones beautifully and looks especially good on medium-length almond or oval nails. My application tip: keep the pumpkin simple — skip the jack-o’-lantern face and let the stem and vine carry the design. A glossy top coat makes the orange look juicy and expensive.
4. Matte Black Nails With a Spiderweb Accent

This is my favorite edgy Halloween look: all matte black nails with one glossy spiderweb accent that catches the light. The contrast between the flat matte base and the shiny web is what makes it special — from across the room you see chic black nails, and up close there’s a delicate white spiderweb on the ring finger. I paint the web with a striping brush: three lines radiating from one corner, then small connecting arcs between them. It takes five minutes and looks like salon work. This design suits anyone with a darker aesthetic and looks incredible on long coffin or stiletto nails, though I’ve done it on short squares too. Wear it to Halloween parties or concerts — it photographs beautifully. Application tip: apply the matte top coat first, let it dry completely, then paint the web with regular glossy white polish and seal only the web with a glossy top coat for that mixed-finish effect.
5. Cream Nails With a Candy Corn Accent

Candy corn is the most nostalgic Halloween candy, and as a single accent nail it’s pure retro charm. I keep nine nails in a creamy off-white and paint the accent nail in horizontal candy corn stripes: white at the cuticle, orange in the middle, yellow at the tip. The trick is painting the stripes in reverse order of how you’d expect — start with the full nail in orange, then add the white and yellow bands. This design is playful rather than spooky, which makes it perfect if you’re not into gore or horror but still want festive nails. It suits all ages (my teenage niece and I wore matching versions last year) and works on any nail length. I wear it to fall festivals, pumpkin patches, and school Halloween events. Application tip: use striping tape or a steady hand with the polish brush edge; slightly wavy lines still read as candy corn, so don’t stress about perfection.
6. Deep Plum Nails With a Blood-Drip Accent

For my vampire-era Halloween, I do deep plum nails with one blood-drip accent that looks genuinely haunting. The base is a vampy oxblood-plum crème on nine nails; the accent nail gets the same base, then I paint glossy red drips falling from the cuticle using a dotting tool in two sizes for natural variation. The glossy red over the dark plum base looks wet and dimensional — properly creepy in the best way. This is my pick for Halloween parties and haunted houses, though I’ll admit it’s the boldest design on this list. It suits medium to long nails where the drips have room to fall, and it pairs perfectly with a dark lip. My application tip: make the drips different lengths and add a tiny highlight dot of lighter red on each drip; that glossy highlight is what sells the “fresh blood” illusion. Seal with a high-shine top coat, never matte.
7. Midnight Blue Nails With a Witch Hat Accent

Witchy nails are my whole personality in October, and this design nails the vibe with minimal effort. Nine nails in deep midnight blue shimmer, one accent nail with a tiny black witch hat — a triangle with a slightly bent tip and a thin gold band at the base. The midnight blue base with its subtle shimmer looks like a night sky, which makes the witch hat feel right at home. I love this for anyone who wants Halloween nails that lean magical rather than macabre; it suits oval and almond shapes and looks great on all skin tones. I’ve worn it to a witch-themed dinner party and a regular work week alike. Application tip: paint the hat triangle first, then add the bent tip with a small flick of the brush; the gold band can be done with a metallic gold striping polish or even a thin line of gold eyeshadow pressed onto tacky polish.
8. Nude Pink Nails With a Jack-o’-Lantern Face Accent
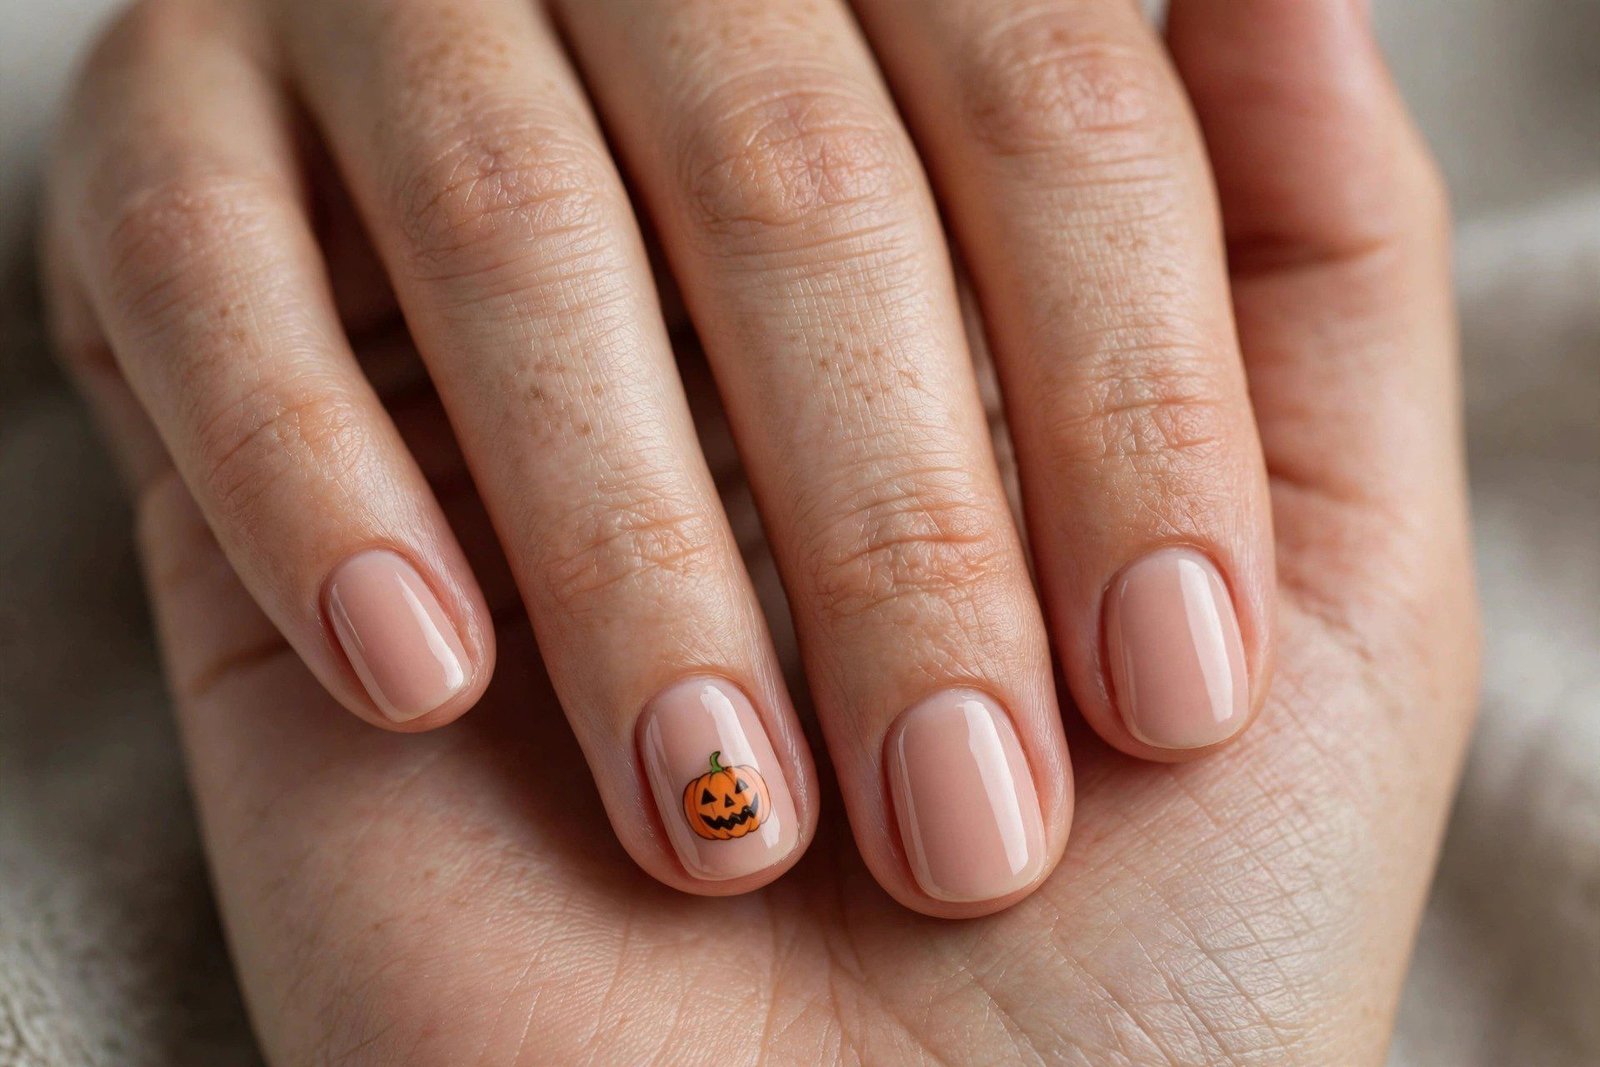
This is the Halloween manicure I recommend to every beginner: soft nude-pink nails with one jack-o’-lantern face that takes literally two minutes. The base is a milky nude that flatters every skin tone, and the accent nail gets a classic pumpkin face — two triangle eyes and a jagged grin in black. Because the base is so neutral, the single spooky face feels fun instead of overwhelming. I wore this to my office Halloween potluck last year and three coworkers asked for a tutorial. It suits short, natural nails perfectly since there’s no length requirement for a face design. Wear it anywhere — it’s the rare Halloween nail that works at a PTA meeting and a costume party. Application tip: use a toothpick for the triangle eyes and grin; the sharp point gives you cleaner edges than a brush, and any wobbles just make the pumpkin look more handmade-charming.
9. Lavender Gray Nails With a Purple Bat Accent

Bats are underrated Halloween nail art, and this lavender-gray version is my proof. I paint nine nails in a dusty lavender-gray crème — moody but still soft — and put a deep purple bat silhouette on the ring finger. The bat is just an elongated oval body with two scalloped wings, which sounds hard but is honestly one of the easiest silhouettes to freehand. The purple-on-gray combination feels modern and a little gothic without going full black-nail territory. This suits anyone who loves the Halloween aesthetic but lives in pastels and muted tones the rest of the year. I wear it through all of October, not just the 31st. Application tip: paint the bat body first, then add each wing as three connected scallops using a dotting tool; connect them with a thin line and you’ve got wings. A matte top coat over everything gives it a velvety, expensive finish.
10. White Nails With a Skeleton Hand Accent

Crisp white nails with a single skeleton-hand accent is the high-contrast Halloween look I break out when I want drama. Nine nails in bright white crème, and the accent nail carries a black skeleton hand — phalanges and all — painted over the white so it looks like an X-ray. I’ll be honest: this is the trickiest design on this list, but a skeleton nail sticker or water decal makes it a two-minute job, and nobody will know. The black-on-white contrast is striking and very “day of the dead meets Halloween.” It suits longer nails where the hand has room to stretch out, and it’s perfect for costume parties and Halloween night itself. My application tip: don’t freehand this unless you’re confident — quality nail stickers exist for exactly this design. Apply the sticker over dry white polish, seal with two coats of top coat, and it will last the whole week.
11. Dark Green Nails With a Glitter Moon-and-Stars Accent

Not all Halloween nails need to be scary — this celestial version is my pick for an elegant October manicure. I do nine nails in deep forest green crème and turn the ring finger into a night sky: same green base, a gold crescent moon, and tiny gold star dots scattered around it. The gold-on-green combination looks rich and expensive, and the moon-and-stars motif nods to Halloween’s witchy, mystical side without a single spider in sight. This suits anyone who wants seasonal nails that still look grown-up; I wear it to fall weddings and dinners through October and November. It flatters medium to long almond nails especially. Application tip: use a gold metallic polish or gold nail foil for the moon — paint a crescent with the brush tip, then add stars with a small dotting tool. Finish with glossy top coat to make the gold gleam like real starlight.
12. Taupe Nails With a Frankenstein Stitches Accent

Frankenstein stitches are such a clever single-nail design because they’re literally just lines — and they read instantly as Halloween. I keep nine nails in a warm taupe crème and paint the accent nail in Frankenstein green with black stitch marks: a horizontal dashed line with short perpendicular ticks, like surgical sutures. The green-and-black combo against the neutral taupe base is playful and graphic. This is my recommendation for anyone who wants Halloween nails with a sense of humor rather than horror. It suits short nails really well since stitches don’t need length, and it’s a hit at casual Halloween gatherings and school events. I wore it with a mad-scientist costume two years ago and it tied the whole look together. Application tip: paint the green base, then use a black striping brush or a fine-tip nail art pen for the stitches — pens make this design nearly foolproof. Keep the stitches slightly uneven for authentic Frankenstein charm.
13. Black Nails With a Spooky Eyeball Accent
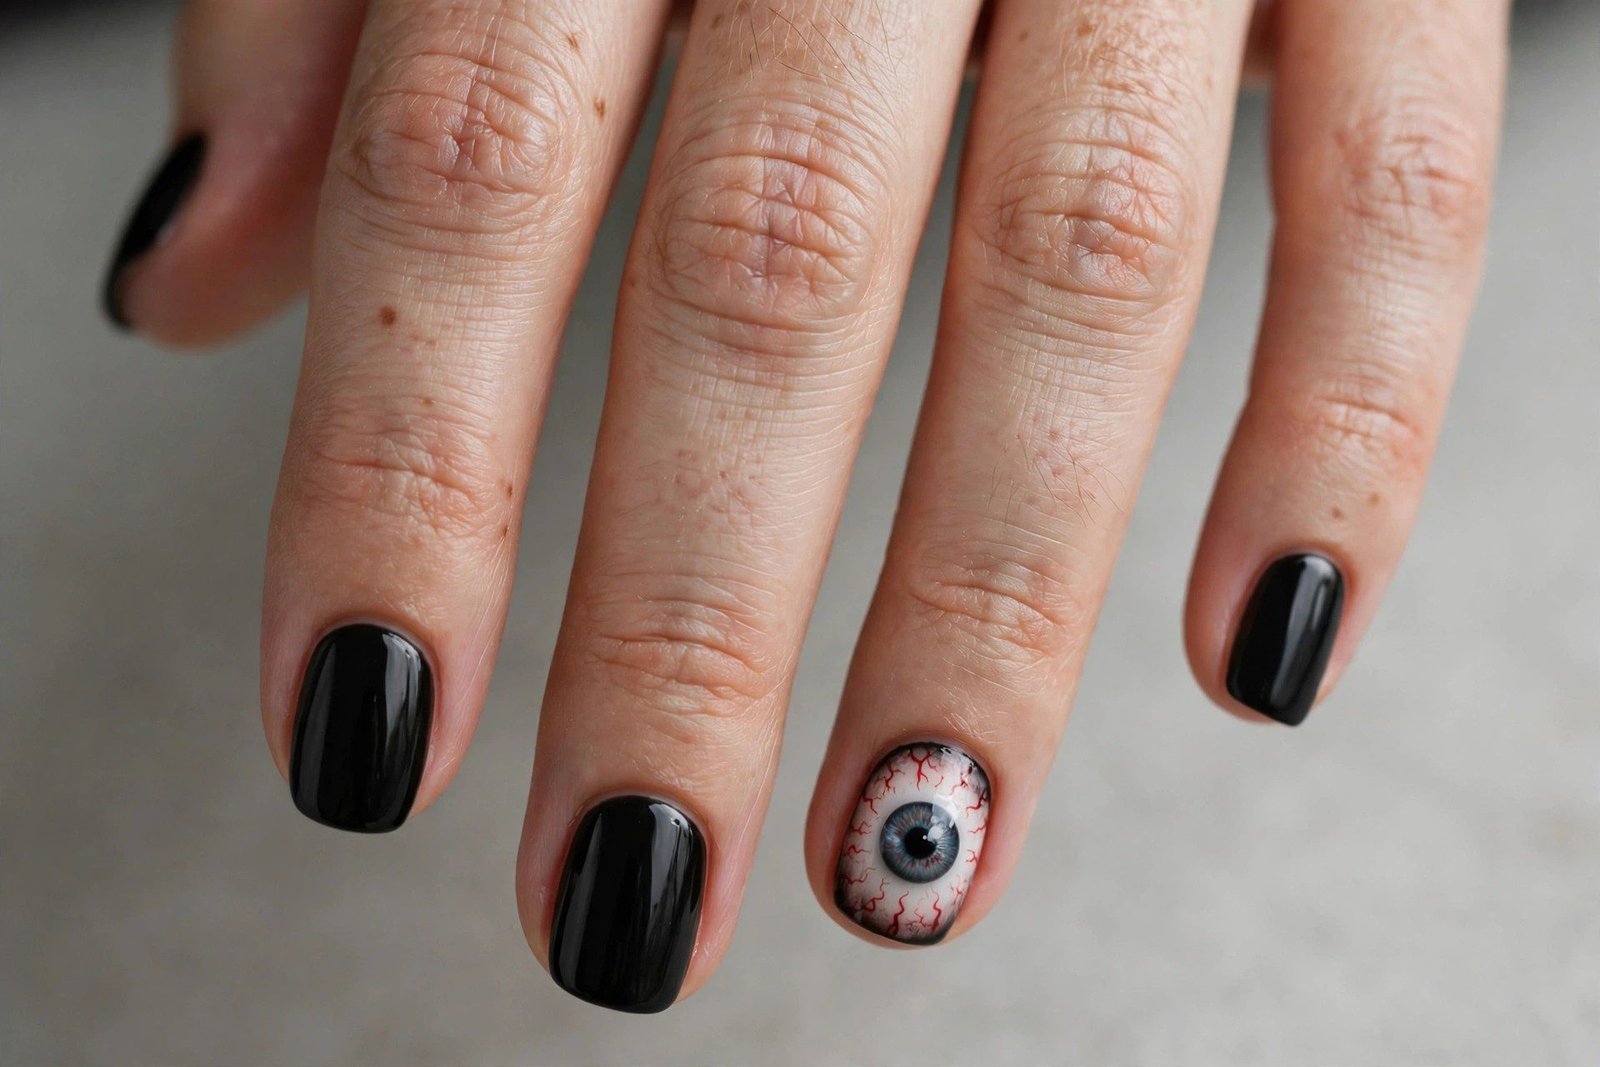
One creepy eyeball staring up from your ring finger is peak Halloween, and it’s easier than it looks. I paint nine nails glossy black and make the accent nail a full eyeball: white base, a colored iris (I like bloodshot red or eerie green), a black pupil, and thin red vein lines radiating outward. The result is genuinely unsettling in the most fun way — people do double-takes. This is my Halloween-night design, the one I save for parties and trick-or-treating with the kids. It suits medium to long nails where the eyeball can be nice and round, and it pairs with literally any costume. My application tip: build the eyeball in layers, letting each dry — white base, iris circle with a dotting tool, pupil dot, then veins with a striping brush. A domed glossy top coat over the accent nail gives it that wet, glassy, real-eyeball look.
14. Gray Nails With a Mummy Wrap Accent

Mummy nails are the minimalist’s Halloween manicure, and I mean that as the highest compliment. Nine nails in soft dove gray, one accent nail wrapped in white “bandage” stripes with two tiny black eyes peeking through the gaps. The design is adorable rather than scary — it gets the most “aww” reactions of anything on this list. I love it for anyone who finds traditional Halloween nail art too dark; the gray-and-white palette is chic enough for the office but clearly festive. It suits short, neat nails and looks great on all skin tones. I wear this the week leading up to Halloween when I want to be in the spirit without going full horror. Application tip: paint the accent nail white first, then add the gray wrap lines diagonally with a striping brush, leaving small gaps; dot two black eyes in one of the gaps. Matte top coat makes the bandages look like real fabric.
15. Orange Nails With a Haunted House Silhouette Accent

A haunted house silhouette against an orange sunset is the most cinematic nail on this list. I paint nine nails in vivid pumpkin orange and turn the accent nail into a scene: orange-to-yellow gradient base, black haunted house silhouette with a crooked chimney, and a tiny black bat or two in the “sky.” The gradient sunset effect is what makes it special — it looks like a tiny Halloween postcard on your finger. This is my pick for Halloween week itself when I want maximum festive energy. It suits medium-length nails where the house has room for detail, and it’s a guaranteed conversation starter at parties. I’ll be honest: the house silhouette is best done with a nail sticker or stamp for clean rooflines, and there’s no shame in that. Application tip: sponge the gradient (orange at cuticle fading to yellow at tip), let it dry, then apply a haunted house water decal and seal with glossy top coat for a seamless sunset scene.
16. Nude Nails With a Gold Spider Accent

When I want Halloween nails that still look expensive, I do nude nails with a single gold spider — creepy-crawly meets fine jewelry. Nine nails in a sheer milky nude, one accent nail with a delicate gold spider: small round body, eight thin legs, done in metallic gold polish or gold foil. The spider reads as an elegant embellishment rather than a horror motif, which is exactly the point. This suits anyone who loves Halloween but has a refined aesthetic — I’ve worn it to a fall wedding on October 28th and it was perfect. It flatters short, well-groomed nails and all skin tones. My application tip: a gold nail art pen gives you the control needed for eight thin legs; draw the body as a small dot, then pull each leg outward with the pen tip. One tiny gold rhinestone as the spider’s body takes it from pretty to stunning.
17. Purple Ombre Nails With a Bat Silhouette Accent

Purple ombré with a single bat silhouette is my most complimented Halloween manicure ever. I sponge a gradient from deep plum at the cuticle to soft lavender at the tip on all ten nails, then paint one black bat silhouette on the ring finger’s lightest area so it stands out. The ombré alone is gorgeous fall nail art; the bat makes it Halloween. I love how the gradient gives even short nails a lengthening, elegant effect, and the purple palette suits cool skin tones beautifully. This is my all-October design — festive enough for the 31st, pretty enough for the other 30 days. Application tip: sponge the ombré in thin layers, building the gradient gradually, and clean up the cuticles with acetone between coats. Paint the bat with a small flat brush or use a bat sticker over the dried gradient; seal everything with glossy top coat to blend the layers.
18. Sheer Pink Nails With a Bloody French Tip Accent
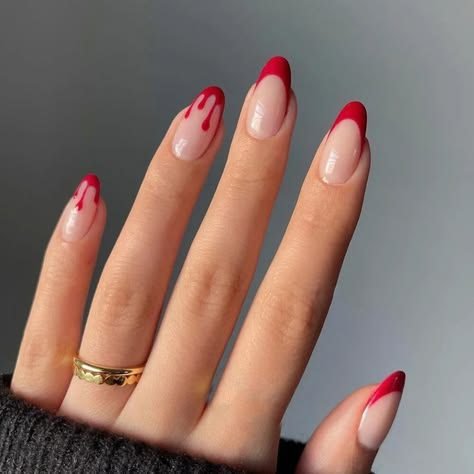
The bloody French tip is the Halloween manicure for French-manicure loyalists — and I say that as one. Nine nails get a classic sheer pink with white tips, and the ring finger gets the twist: white tip with red drips falling from it like fresh blood. It’s the perfect balance of classic and creepy, and it takes the design most of us already wear and gives it a Halloween costume. I wear this when I want festive nails that still look “done” in a traditional sense — it suits conservative workplaces better than any other spooky design here. It flatters every nail shape and length, especially the almond and oval shapes French tips love. My application tip: paint the white tip first and let it dry completely, then add red drips with a dotting tool, varying the lengths. Use a glossy red — the shine is what makes it read as wet blood rather than red polish.
19. Chocolate Brown Nails With a Cute Ghost Face Accent

My final pick is the coziest Halloween nail on this list: rich chocolate brown nails with one blushing ghost face. Nine nails in glossy milk-chocolate crème, one accent nail in the same brown with a white ghost that has tiny pink blush cheeks. The ghost-with-blush detail is what makes it irresistible — spooky but sweet, like a Halloween plushie. Chocolate brown is my favorite fall polish color anyway, so this manicure feels like autumn first and Halloween second, which means I wear it from October through November. It suits all skin tones (brown polish is universally flattering) and looks especially rich on medium to long nails. Application tip: paint the ghost body, add black dot eyes and a small oval mouth, then tap the tiniest bit of pink polish on each cheek with a dotting tool and blend the edges while wet for a soft blush effect. Glossy top coat for a candy-like finish.
That’s my full collection of simple Halloween nail ideas with just one accent nail — proof that you don’t need ten tiny pumpkins to have festive October nails. My advice? Pick the design that matches your Halloween plans: nude ghost for the office, blood drips for the party, chocolate ghost for the whole season. Save this list for next October too, because the single accent nail trick works every single year.