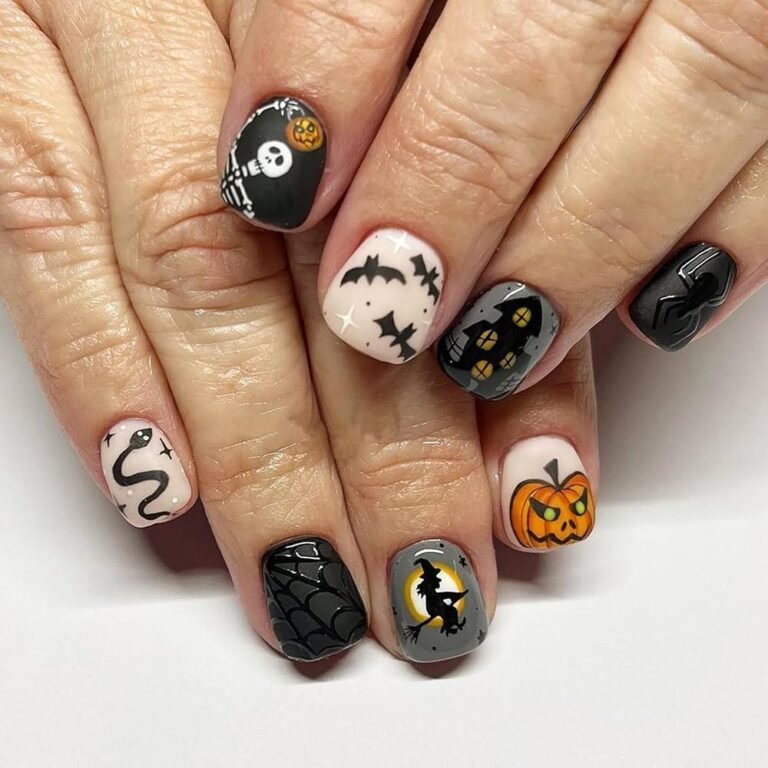
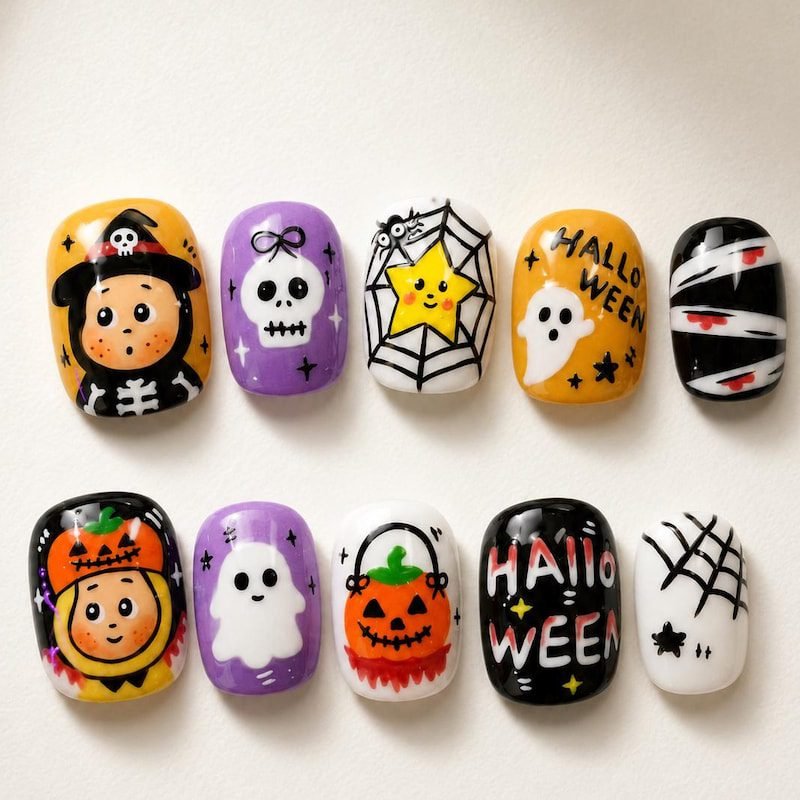
As a mom who’s done Halloween nails with kids more times than I can count, I’ve learned that the best designs for little hands are simple, safe, and fun — not fussy. Kids don’t need acrylics or complicated art; they need non-toxic polish, cute stickers, and designs they can actually help create. I’ve rounded up 19 Halloween nail ideas for kids and tweens that check every box: they’re safe (think peel-off polish and stickers instead of harsh chemicals), fun (ghosts, pumpkins, monsters, candy), and easy enough for wiggly little fingers. Many of these double as a great Halloween party activity. Grab some kid-safe polish, put on a spooky movie, and make an afternoon of it.
1. Friendly Ghost Stickers
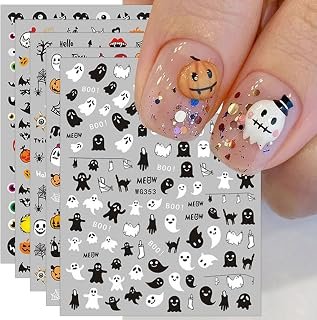
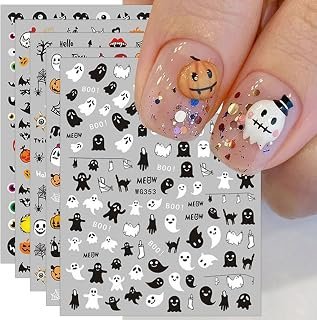
Ghost stickers are my number-one pick for kids’ Halloween nails because they’re cute, not scary, and ridiculously easy. I paint little nails with white or pale grey kid-safe polish, let it dry, then let my kids place the ghost stickers themselves — peeling and sticking is a genuine fine-motor activity they love. We seal with a clear top coat so the ghosts stay put through handwashing and playground time. The best part is that kids feel real ownership of the design since they placed the stickers. I buy sheets with dozens of ghosts so there’s enough for friends too. This is the design I do every year with my youngest, and she still gets excited about it.
2. Smiling Pumpkin Stickers

Smiling pumpkin stickers over orange polish are pure October joy for kids. I use a bright, cheerful orange — the happier the shade, the better for little ones — and let the kids stick pumpkin faces on top. Some sheets have jack-o’-lantern faces, others have whole cute pumpkins; I buy a mix so each nail can be different. For very young kids, I skip polish entirely and put the stickers on bare nails with a clear top coat, which means zero drying time and zero smudges. Cleanup is just peeling the stickers off. This is the lowest-effort, highest-reward Halloween nail idea I know, and it’s perfect for a classroom party or trunk-or-treat.
3. Little Bat Stickers

Tiny bats flying across dark purple or black nails look adorable on kids, not spooky. I paint the base color, then place two or three bat stickers per hand in different sizes — kids love deciding where each bat “flies.” Tweezers help with placement on tiny nails, but older kids can manage with their fingers. I always do two coats of clear top coat over stickers for kids, because little hands are rough on manicures and the extra seal makes them last through the whole Halloween week. This design is a hit with both boys and girls, which matters when you’re doing nails for a group. Bats for everyone.
4. Easy Candy Corn Stripes

Candy corn nails are a great first “real” nail art project for kids because the design is just three stripes. I paint the whole nail yellow, then add an orange stripe across the middle and a white tip — thick stripes are fine, perfection isn’t the goal. Kids can do this themselves with a little guidance, and the chunky kid version looks charmingly handmade. We use washable kid polish so mistakes wipe right off and nobody stresses. My daughter’s candy corn nails are always slightly wobbly and always completely adorable. This is also a sneaky-good lesson in patience and following steps, disguised as a fun craft.
5. Simple Spiderwebs
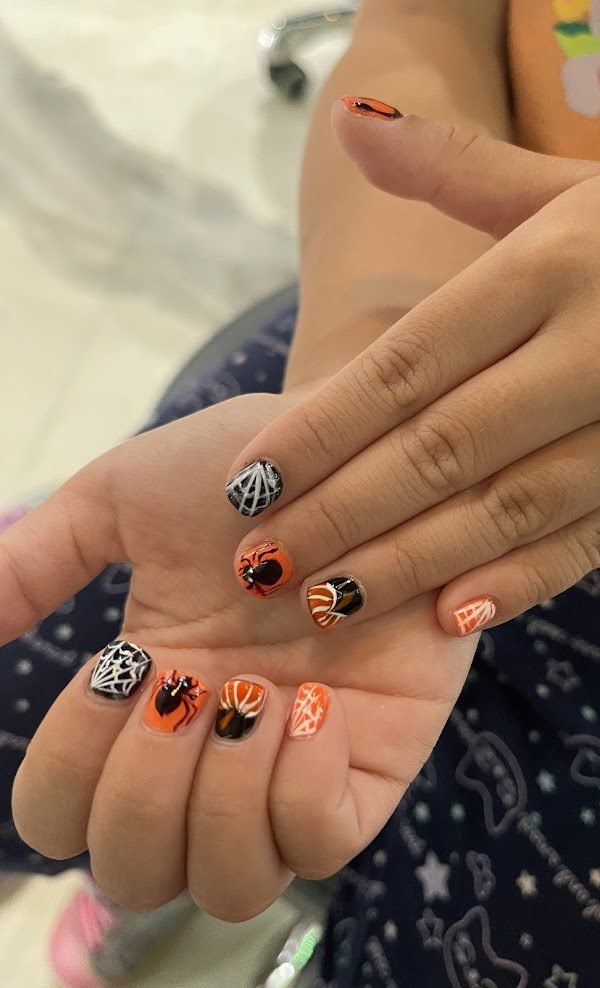
Spiderwebs sound hard but the kid version is easy: I paint nails black or purple, then draw a few white lines radiating from one corner and connect them with little curved lines. It doesn’t need to look like a real web — kids’ webs look charming precisely because they’re imperfect. For younger kids, I draw the webs myself while they pick the colors; tweens can absolutely do their own. Adding a tiny spider sticker in the corner finishes the look. I love this design because it teaches that nail art doesn’t have to be perfect to be cool. My son, who claims nail polish is “not his thing,” asked for spiderwebs two years running.
6. Goofy Monster Faces

Monster face nails are where kids’ creativity really shines. I paint each nail a bright color — green, purple, orange — then add googly eyes (stickers or painted dots) and silly mouths. Every nail becomes a different monster, and kids delight in naming them. There’s no wrong way to do this, which makes it perfect for the youngest nail artists. I set out the polishes and let them go wild while I supervise. The results are always hilarious and always uniquely theirs. These nails photograph wonderfully for Halloween party invitations or thank-you cards. Fair warning: once kids discover monster nails, they’ll want them for every holiday.
7. Mini Witch Hats

A black triangle with a small brim on an orange or purple base reads instantly as a witch hat, and it’s simple enough for kids to paint. I draw the triangle with a thin brush or even a toothpick, then add a tiny yellow buckle square for the classic witch-hat look. One witch hat per hand as an accent is plenty — the rest of the nails can be plain orange or purple. Tweens especially love this one because it feels more “designed” than stickers but is still very doable. I’ve done witch hats as a Halloween party activity for a group of eight-year-olds, and every single one turned out cute. Low skill floor, high adorable ceiling.
8. Mummy Wrap Nails
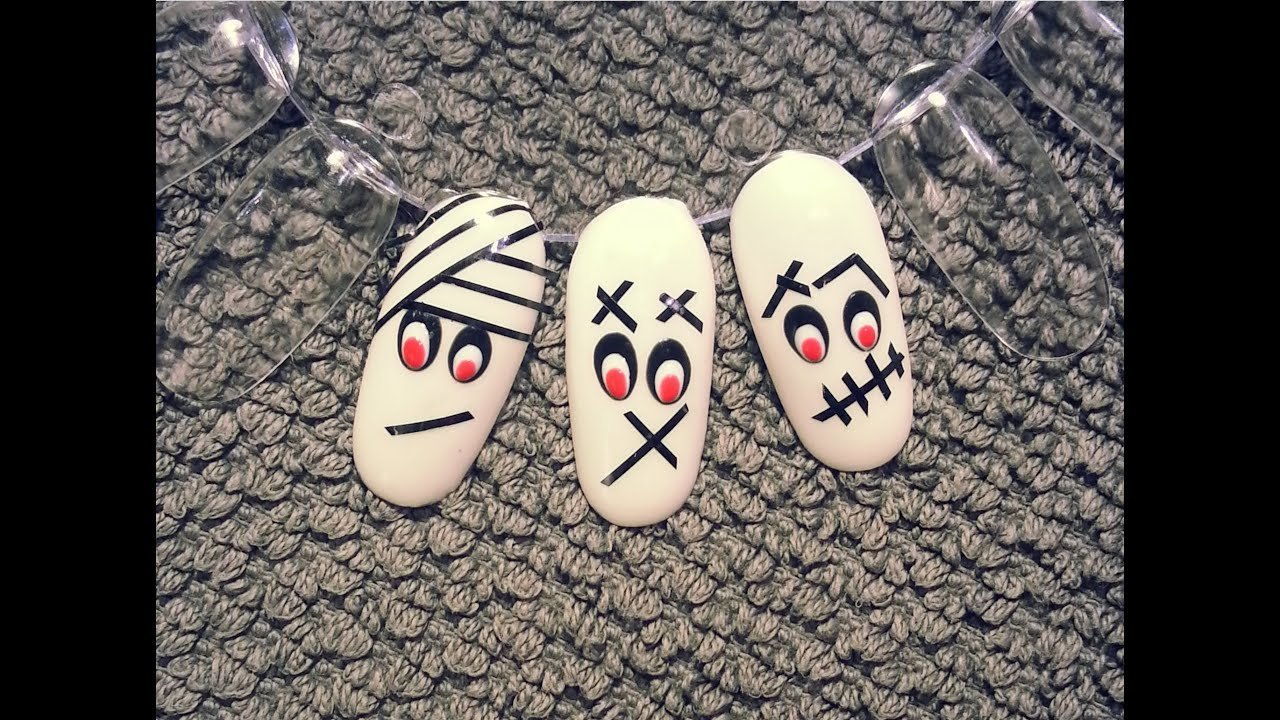
Mummy nails are genius for kids because messy is the whole point. I paint nails white or cream, then wrap thin strips of the same color (or use a striper brush) diagonally across each nail to look like mummy bandages, leaving a small gap for two tiny black dot eyes. The wraps don’t need to be neat — uneven bandages look more mummy-like. Kids find this hilarious and can genuinely do it themselves. I love that the design forgives every wobble. Add the googly eyes last and watch their faces light up. This is my go-to recommendation for dads doing Halloween nails for the first time — it’s nearly impossible to mess up, and kids think mummies are the funniest thing ever.
9. Frankenstein Faces
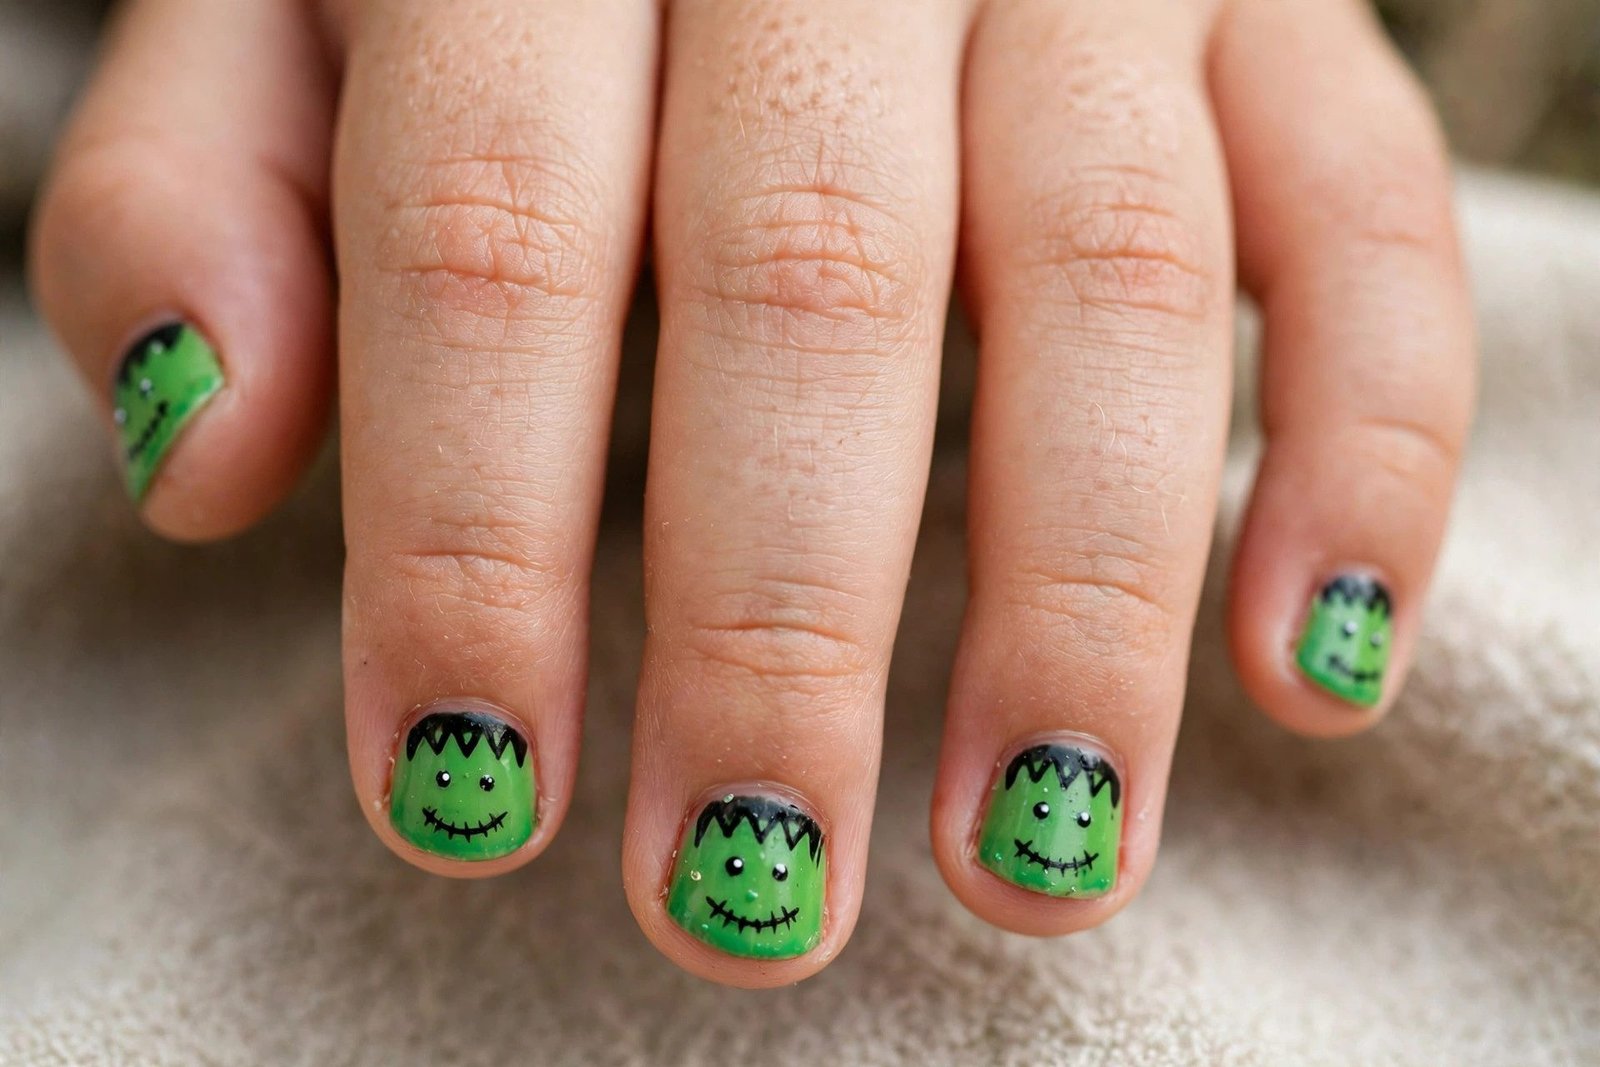
Green nails with a black Frankenstein hairline and two dot eyes are instantly recognizable and super easy. I paint the nail green, add a jagged black strip across the top for hair, two white dots with black pupils for eyes, and a little stitched mouth with a thin brush. The stitches are just short perpendicular lines — kids can do them. I usually do Frankenstein on one accent nail per hand and paint the rest solid green or purple. This design is a favorite with elementary-age kids who want something a little spooky but still friendly. It pairs perfectly with a Frankenstein costume, obviously, but it’s cute enough to wear all October. The hairline is the trickiest part, and even that’s just zigzags.
10. Black Cat Faces

Black cat faces on orange nails are Halloween classic for a reason — they’re cute, simple, and kids love cats. I paint the base orange, then add a black circle or oval for the cat head, two triangle ears, and tiny white dots for eyes. A toothpick works great for the small details on little nails. Kids who love drawing will take to this immediately; it’s basically a cartoon character on a nail. I do cat faces on a couple of accent nails and keep the rest plain orange with maybe a black polka dot or two. This design works for a wide age range — my kindergartner and my tween both requested it the same year, which tells you everything about its universal appeal.
11. Sweet Candy Nails

Candy-themed nails — striped peppermints, wrapped candies, lollipop swirls — let kids celebrate the best part of Halloween: the treats. I keep the designs big and simple: a red-and-white swirl for peppermint, or a rectangle with twisted ends for a wrapped candy. Bright colors and bold shapes work best on small nails where fine detail gets lost. Kids can pick their favorite candy to feature, which makes the manicure personal. We always do this one the weekend before trick-or-treating to get in the spirit. It’s also a great design for kids with candy-themed costumes. Sweet, simple, and completely age-appropriate — the trifecta for kids’ Halloween nails.
12. Glow-in-the-Dark Polish

Glow-in-the-dark polish is pure magic for kids — paint it on, charge it under a lamp, then turn off the lights and watch their faces. I use it as a top coat over any Halloween design, or on its own over white polish for maximum glow. Kid-safe glow polishes are widely available now; I check that they’re non-toxic and peel-off since kids’ nails are thin and delicate. The glow effect makes trick-or-treating extra exciting, and kids love showing it off. One practical note: glow polish usually needs a few coats to really shine, so build it up. This is less a design and more a superpower you add to any other idea on this list.
13. Kids’ Halloween Press-Ons
Press-ons made specifically for kids are a game-changer — they’re sized for small nail beds and use gentle adhesive tabs instead of harsh glue. I love the Halloween sets with pre-printed ghosts, pumpkins, and bats because there’s zero drying time and zero smudging, which any parent of a wiggly child will appreciate. Application takes five minutes: pick the right size for each nail, press on the tab, done. They pop off easily at the end of the night with warm soapy water, so there’s no damage and no fuss. These are my secret weapon for Halloween morning when there’s no time for polish to dry. The kids feel fancy, and I stay sane.
14. Jack-o’-Lantern Faces

Painting jack-o’-lantern faces directly on nails is easier than it sounds: orange base, then black triangle eyes and a zigzag smile with a toothpick or dotting tool. I keep the faces big and simple — two triangles and a grin — because small details disappear on little nails. Kids love giving each pumpkin a different expression: happy, silly, surprised. We make it a game, inventing personalities for each nail. This is a wonderful parent-child activity because you can each do one hand, or take turns on fingers. The faces don’t need to match, and mismatched pumpkins are more fun anyway. Classic Halloween, zero stress, maximum giggles.
15. Friendly Skeleton Stickers
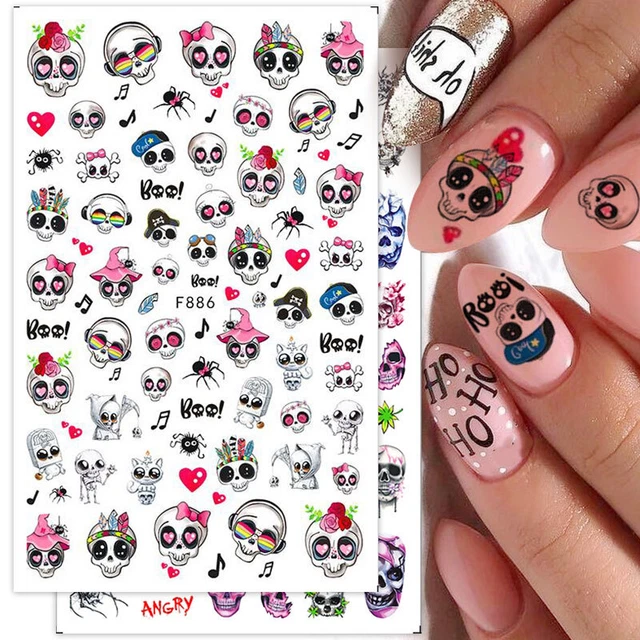
Skeleton stickers designed for kids are cute, not creepy — think smiling skulls and dancing bones. I apply them over white or light grey polish so the black skeleton details stand out. Water decals work especially well for the intricate bone designs since they lie perfectly flat on small nails. Kids are fascinated by skeletons in a totally innocent way, and these nails always start conversations at school. I seal with extra top coat because kids’ hands take a beating. For tweens who want something edgier, the same stickers over black polish look cooler and more grown-up. One sheet serves the whole family, which makes this an economical choice too.
16. Cute Little Vampires
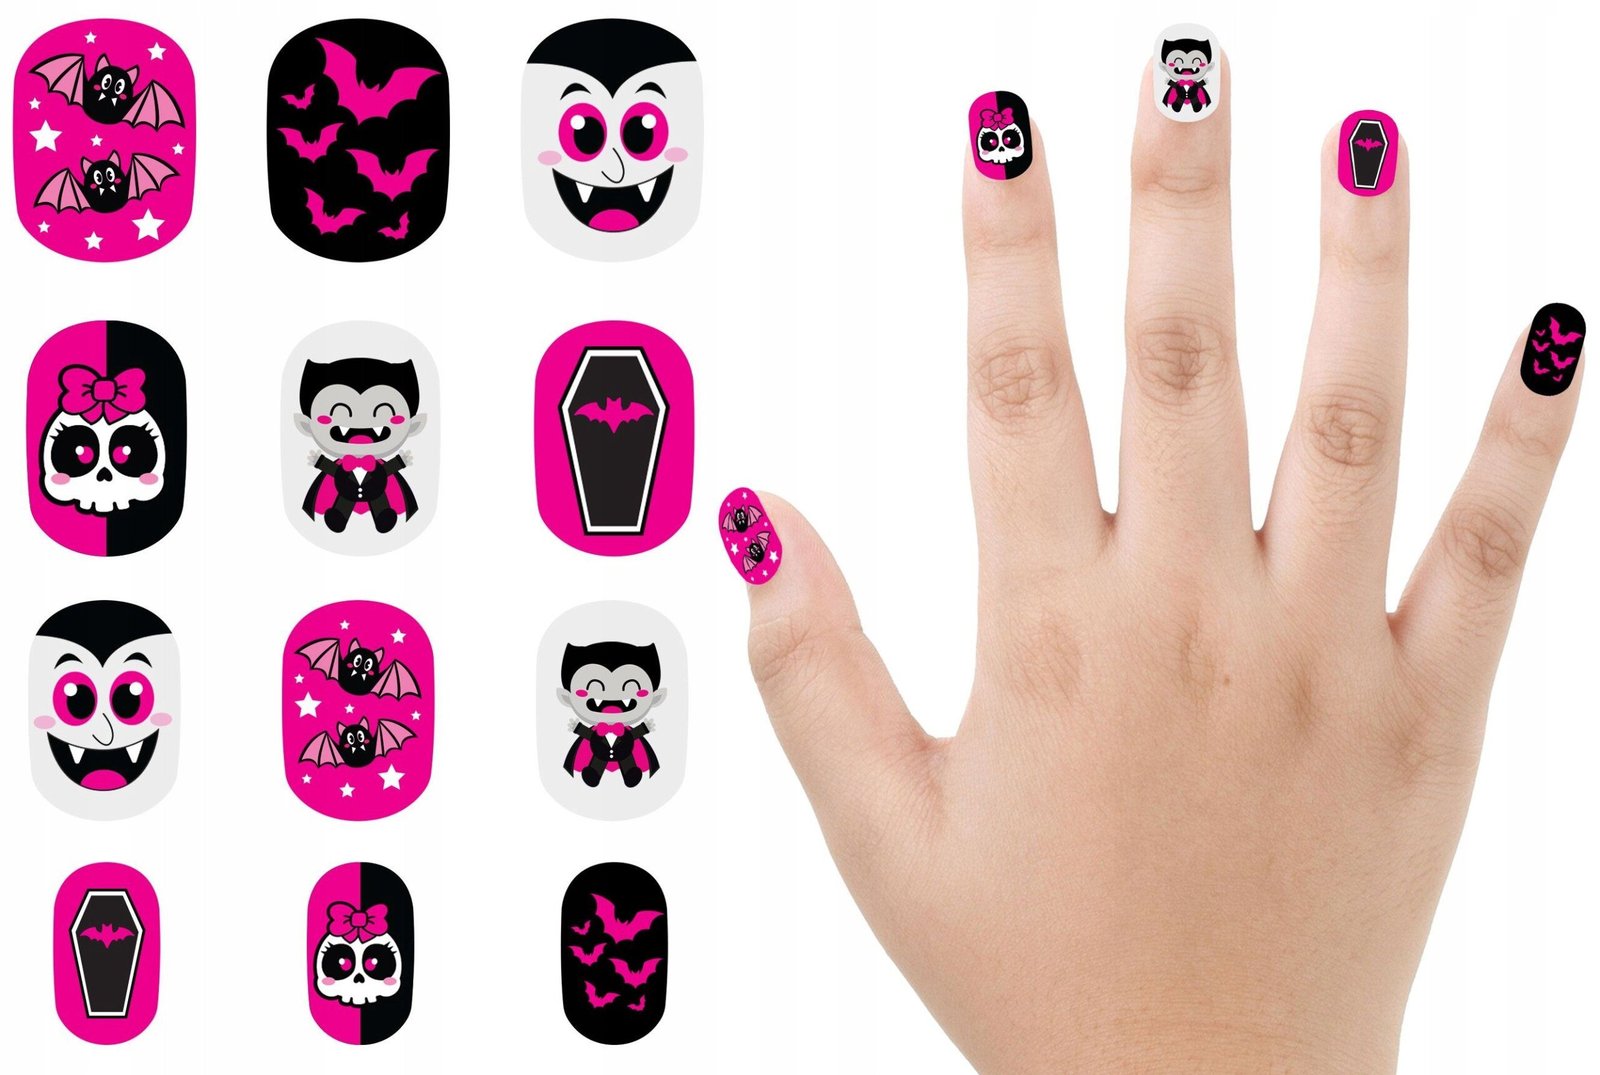
Vampire nails for kids should be cute, not scary — I paint nails deep red or purple, then add a tiny white vampire face with two little fangs on an accent nail. The fangs are just two small white triangles, and the face is a simple circle with dot eyes. Keeping it cartoonish is key; we’re going for hotel Transylvania, not horror movie. Tweens can handle painting the faces themselves, while younger kids do better with vampire stickers. I pair the vampire accent with solid red or black nails for balance. This design is perfect for kids with vampire costumes, and it’s sweet enough that grandparents will approve too. Spooky-cute is the goal.
17. Orange and Black Polka Dots
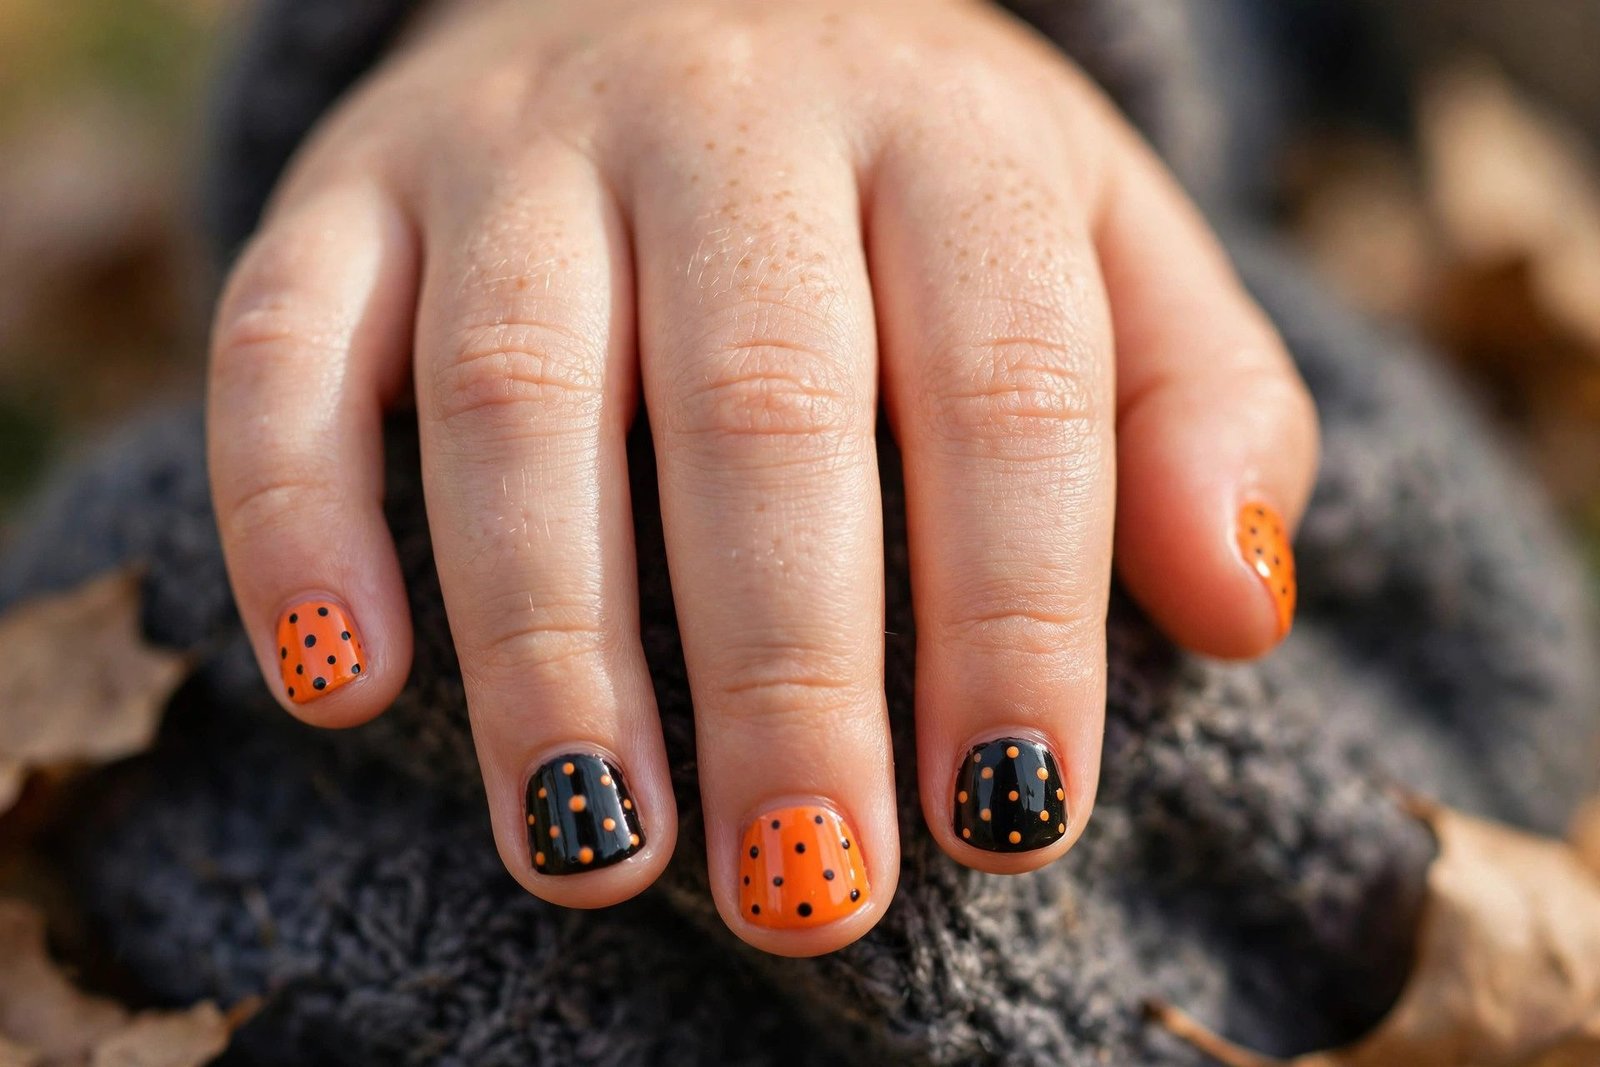
Polka dots are the perfect first nail art for kids because a dotting tool (or the end of a bobby pin) makes perfect circles every time. I alternate orange nails with black dots and black nails with orange dots — the high contrast looks festive and bold. Kids can do this entire design themselves, which gives them such pride. We count the dots together for younger ones, turning it into a little math game. This design is also wonderfully forgiving: uneven dots still look cute, and there’s no intricate art to mess up. It’s my recommendation for the youngest nail artists, around ages four and five. Simple, cheerful, and completely doable with a short attention span.
18. The Halloween Sticker Party Pack

For Halloween parties, I buy a big multi-sheet Halloween sticker pack and turn nails into a group activity. I set out base colors, let each kid paint (or choose pre-painted press-ons), then everyone decorates with stickers from the shared pack — ghosts, bats, pumpkins, witches, candy. There’s no right answer, which means no one’s design is “wrong,” and kids love trading stickers. It keeps a group of kids happily occupied for a solid half hour, which any party host will tell you is priceless. I keep top coat on hand to seal everyone’s creations. This isn’t one design; it’s a whole activity, and it’s the most fun way to do Halloween nails with kids. The photos are always fantastic too.
19. Tween Upgrade: Chrome Tips and Mini Art

Tweens often want Halloween nails that feel a little more grown-up, and I get it. My tween-approved upgrades: black French tips, a single chrome accent nail, tiny moon-and-star stickers over a dark base, or a subtle spiderweb on one nail. These read as cool rather than cutesy, which matters enormously at that age. I let my tween pick her own designs from Pinterest and we recreate the simpler ones together — it’s great bonding time. The key with tweens is giving them creative control while steering toward age-appropriate options (no acrylics, no harsh chemicals). These elevated designs make them feel stylish without pushing them toward adult salon treatments they’re not ready for. Everyone wins.
The best Halloween nails for kids are the ones they help create — so keep it safe with non-toxic polish and stickers, keep it simple enough for little hands, and keep it fun. Pick a few ideas from this list, set up a little nail station, and enjoy the giggles. Those wobbly pumpkin faces will be your favorite Halloween memory.