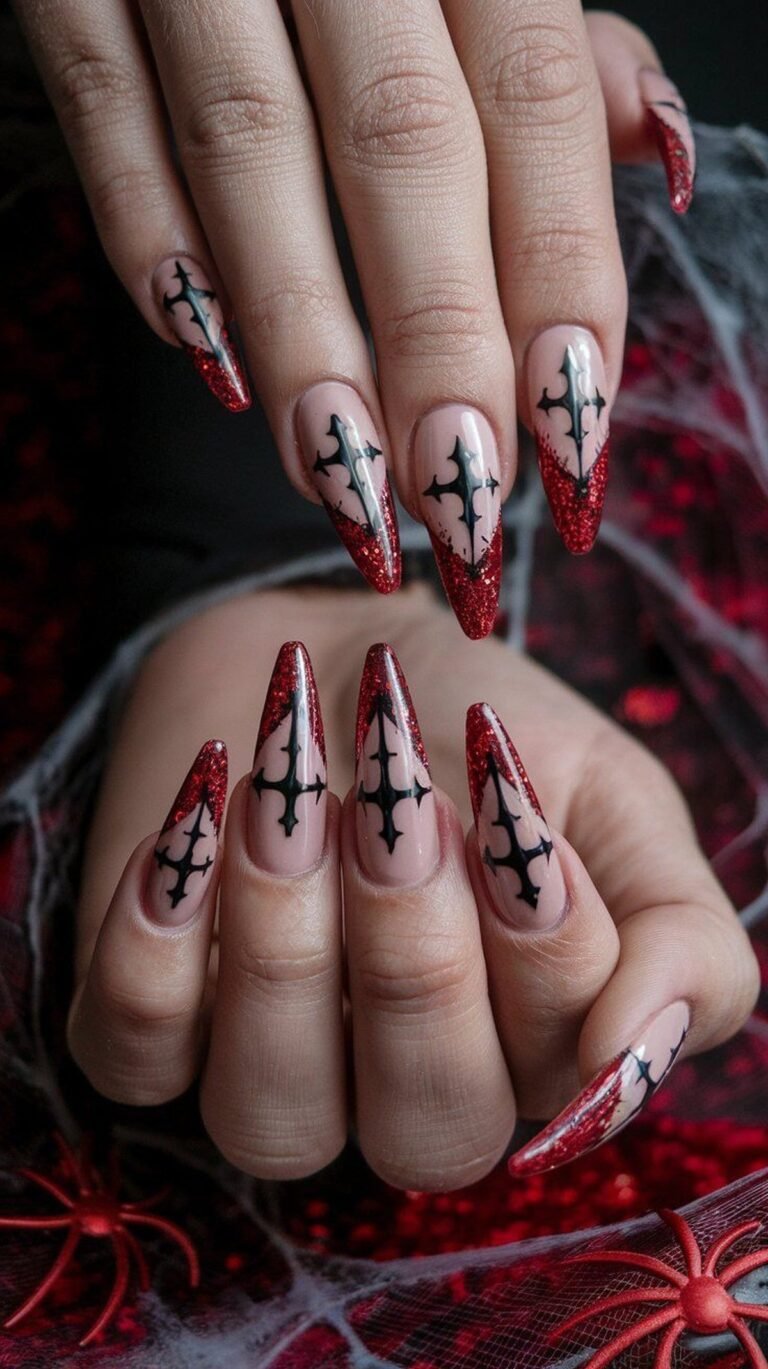
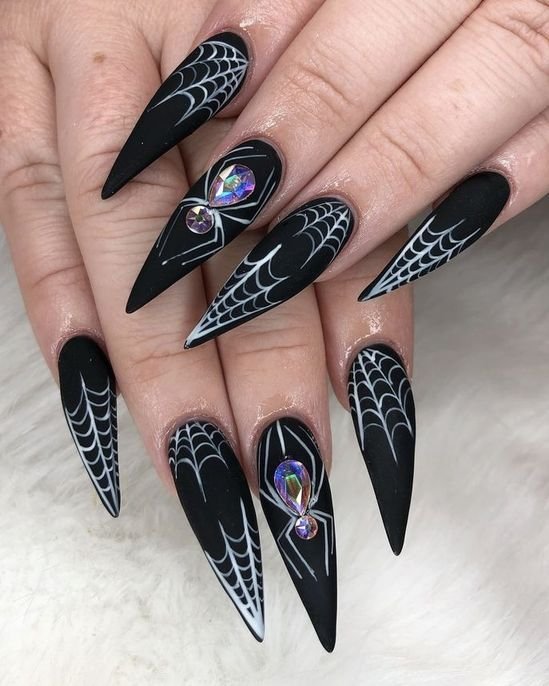
I’ll let you in on my favorite beauty secret: some of the best Halloween nails I’ve ever worn came out of a press-on box, not a salon chair. The quality of Halloween press-on nails and nail stickers has gotten so good that even nail techs do double takes. The trick isn’t spending more — it’s knowing which sets actually look salon-done and how to apply them properly. I’ve rounded up the 16 Halloween press-ons and nail stickers I’m loving this season, from dripping vampire blood and spiderweb designs to cute ghosts and candy corn. Every pick here looks professionally applied once you follow my prep tips: proper sizing, cuticle pushing, and the right adhesive. Your wallet and your October selfies will thank you.
1. Vampire Blood Drip Press-Ons
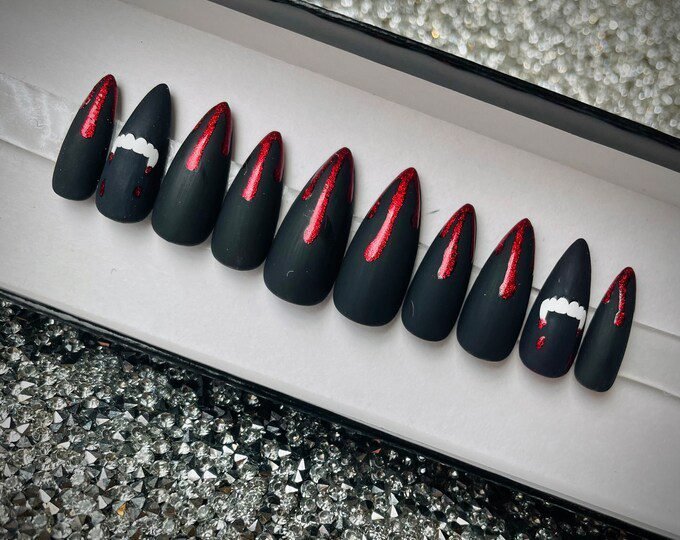
Blood drip press-ons are the single most convincing Halloween set you can buy, because the printed drip detail is sharper than most freehand work. I look for sets with varied drip lengths across the nails — uniform drips look fake, natural variation looks hand-painted. My application routine: push back cuticles, lightly buff the nail surface, size every nail before you open the glue, and apply from cuticle to tip pressing firmly for 30 seconds. A clear top coat over the whole set melts the press-on edge into your natural nail and adds that wet-blood gloss. These last me a full week with nail glue, and honestly, strangers assume I paid $80 at a salon.
2. Glossy Black Stiletto Press-Ons

Every Halloween nail wardrobe needs a plain glossy black stiletto set, because it goes with every costume and never looks cheap when the finish is right. I choose sets with a high-shine gel finish and a sharp, symmetrical stiletto shape — boxy or dull tips are what give press-ons away. Fit is everything here: a black nail that’s too wide for your nail bed screams fake, so when you’re between sizes, always go smaller. I file the sidewalls slightly after application for a custom fit. Wear them plain for a chic goth look, or add one accent sticker (a moon, a bat) to make them Halloween-specific without buying a whole themed set.
3. Cute Ghost Nail Sticker Sheets
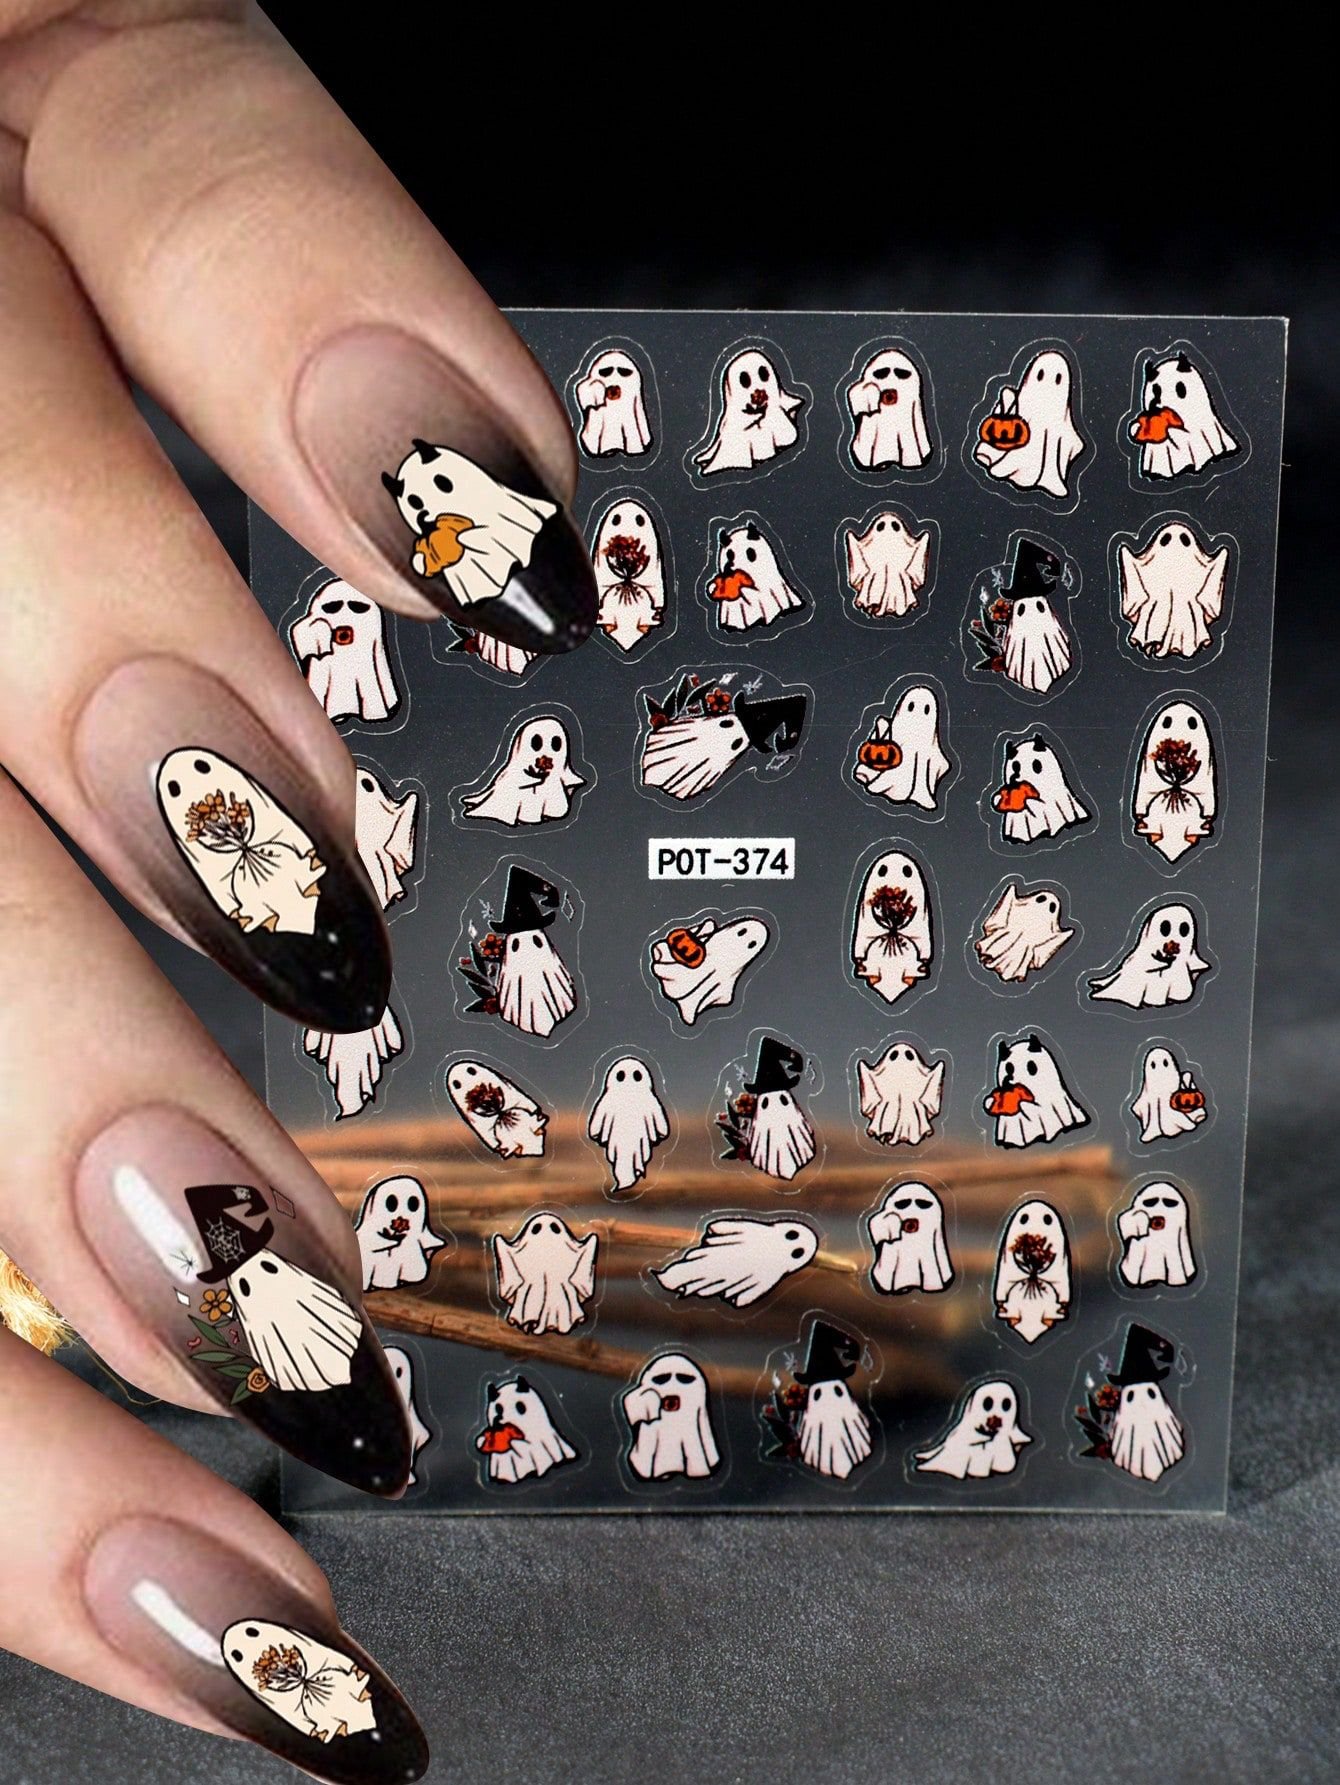
Ghost nail stickers are my top recommendation for beginners, because cute ghosts are almost impossible to mess up. I apply them over a nude, white, or pale grey base — paint your nails, let them dry completely, then place the stickers with tweezers and seal with two coats of top coat. The top coat is what makes stickers look painted-on instead of stuck-on, so don’t skip it. One sheet usually has dozens of ghosts in different sizes, so you can do a full Halloween manicure and still have leftovers for your toes or a friend. I keep a sheet in my drawer year-round for last-minute October parties, and they take literally five minutes to apply.
4. Spiderweb Detail Press-Ons

Printed spiderweb press-ons solve the hardest part of the spiderweb French tip: drawing webs thin enough to look delicate. The factory printing on good sets gets those hairline web strands perfect every time. I prefer sets where the webs sit on a sheer or nude base rather than full black, because they look more expensive and more wearable. To make them truly salon-done, I file the tips into a soft almond after application — most press-ons come slightly long and reshaping them to your hand makes a huge difference. Add a tiny rhinestone spider on one accent nail if the set doesn’t include one. These get compliments from people who normally never notice nails.
5. Pumpkin Patch Press-Ons

Pumpkin press-ons range from cute cartoon pumpkins to moody harvest designs, and I love them all. For a salon-done look, I gravitate toward sets that mix designs across the nails — a pumpkin face on two accents, solid burnt orange on the rest — rather than the same pumpkin stamped on every nail. The mixed layout looks like a tech planned it. If your set is all pumpkins, alternate them with a plain orange or black nail from a second cheap set to break it up. Seal the edges with top coat, especially around the tips, because printed designs chip first at the free edge. These are perfect for pumpkin patch photos and school pickup lines alike.
6. Purple Cat-Eye Press-Ons

Cat-eye press-ons give you that shifting magnetic shimmer with zero magnet-waving required, and the purple Halloween shades are gorgeous. The light band is printed into the design, so it looks perfect from every angle — honestly more consistent than real magnetic polish. I find these look most expensive in deep jewel tones: plum, oxblood, midnight black with a silver shift. Because the design is all-over shimmer with no art to align, application is forgiving — great for press-on beginners. My only tip: avoid touching the adhesive side and wipe each nail with alcohol before applying, because oils dull the cat-eye effect. These read as a $60 gel manicure, easily.
7. Matte Black Coffin Press-Ons

Matte black press-ons are the ultimate Halloween base, and the matte finish actually hides application flaws better than gloss — tiny gaps at the cuticle are less visible without shine to highlight them. I love a long coffin shape here for maximum drama. One thing to know: matte press-ons show fingerprints and oils, so I keep a little alcohol wipe in my bag for touch-ups. If you want to Halloween-ify them, press a single gold foil flake or a tiny moon sticker onto one accent nail and seal it with a matte top coat. Plain matte black also transitions straight into November, so you’re getting two months of wear out of one $10 set.
8. Bat Silhouette Sticker Sets

Little bat stickers over black or dark purple polish are the easiest Halloween manicure that still looks intentional. I place two or three bats in different sizes flying across a few nails, keeping the rest plain — restraint is what makes stickers look chic instead of crafty. Tweezers are essential for placement; fingers leave oils that lift sticker edges. After placing, I press each sticker down firmly with a silicone tool or the back of a spoon, then do two thin top coats, wrapping the tip. The bats I buy come on sheets with moons and stars too, so one sheet covers multiple manicures. This is my go-to for the week of Halloween when I want festive nails with ten minutes of effort.
9. Witchy Purple Glitter Press-Ons
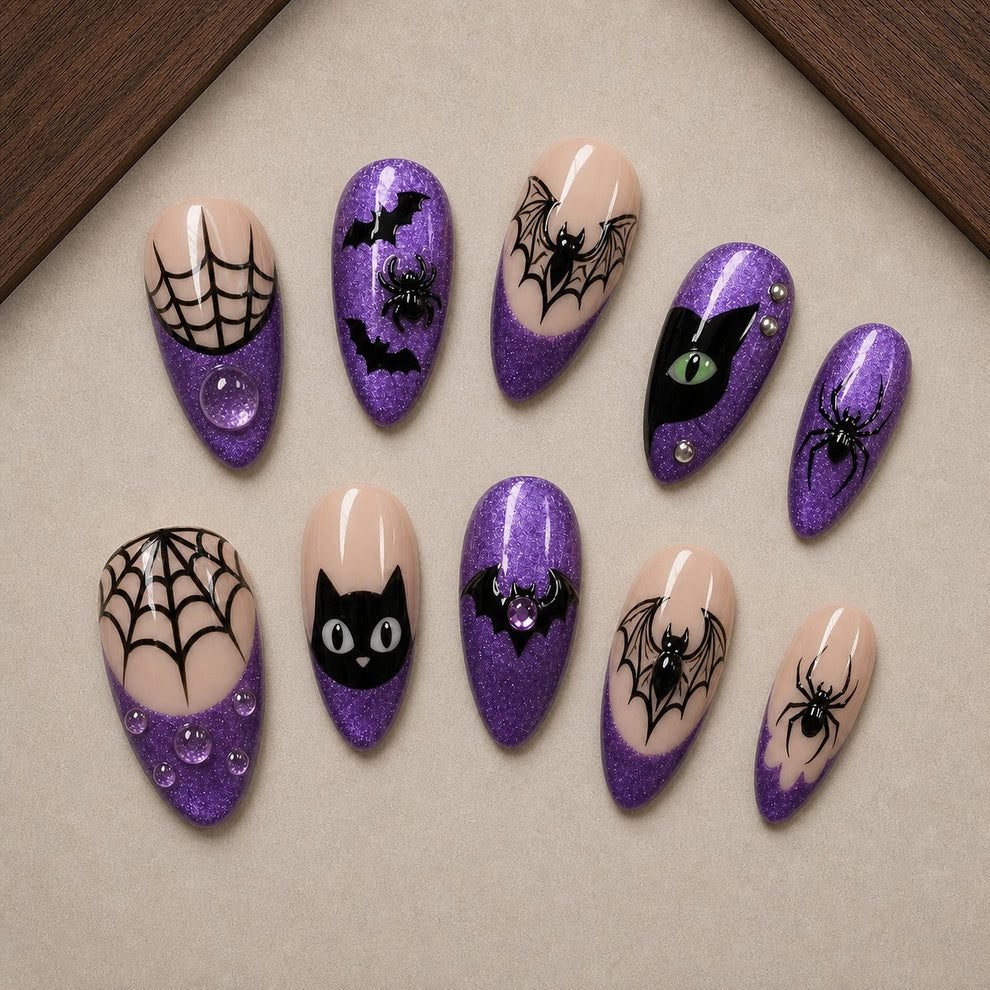
Purple glitter press-ons are pure Halloween fun, and the best part is that glitter texture hides every application sin — uneven glue, tiny gaps, all of it disappears under sparkle. I choose dense, multi-size glitter sets where you can’t see the base through the sparkle; sparse glitter looks cheap, full coverage looks luxe. Because the texture is rough, I always add a thick glossy top coat to smooth it and lock the glitter down. These are party nails in the truest sense — they catch light from across the room. Removal is the only downside, so I wear them on adhesive tabs instead of glue when I only need them for a weekend. Tabs plus glitter equals zero damage and easy removal.
10. Evil Eye Nail Stickers

Evil eye stickers give you perfect symmetry that freehand can never match — the concentric circles come out crisp every time. I apply them over a black or deep navy base for the Halloween version, centering one eye per accent nail. The trick to a painted-on look: after placing the sticker, gently file the very tip of the nail so any sticker overhang seals flush, then top coat generously. I usually do evil eyes on just two or three nails and keep the rest solid, which looks deliberate and expensive. These stickers are tiny and fiddly, so work on a well-lit table and place them with tweezers. The result looks like intricate hand-painted nail art that took hours.
11. Skeleton Decal Stickers

Skeleton stickers — tiny skulls, bones, full skeleton hands — deliver maximum spooky detail with minimum skill. Water decals work best for these intricate designs because they sit perfectly flat with no edge to lift, unlike thicker stickers. I soak each decal, slide it onto a white or nude base (dark bases swallow the white bone detail), position with a damp brush, then seal with two top coats. The white-on-nude skeleton look is creepy-elegant and gets the strongest reactions of any sticker manicure I’ve worn. One sheet does multiple full sets, so the cost per manicure is basically pennies. If you want Halloween nails that look airbrushed, water decals are the answer.
12. Candy Corn Press-Ons

Candy corn press-ons are the cutest shortcut on this list — the tri-color bands are printed perfectly even, which is genuinely hard to freehand. I look for sets where the bands are crisp and the colors are true candy corn: white tip, orange middle, yellow base. On a long almond or coffin shape, the bands have room to shine. These are so cheerful that they work for people who don’t do scary Halloween at all — teachers, office workers, anyone who wants festive without frightening. Application tip: because the design is directional, double-check each nail’s orientation before the glue sets. Upside-down candy corn is a surprisingly common press-on mishap, and I say that from experience.
13. Black Marble Press-Ons
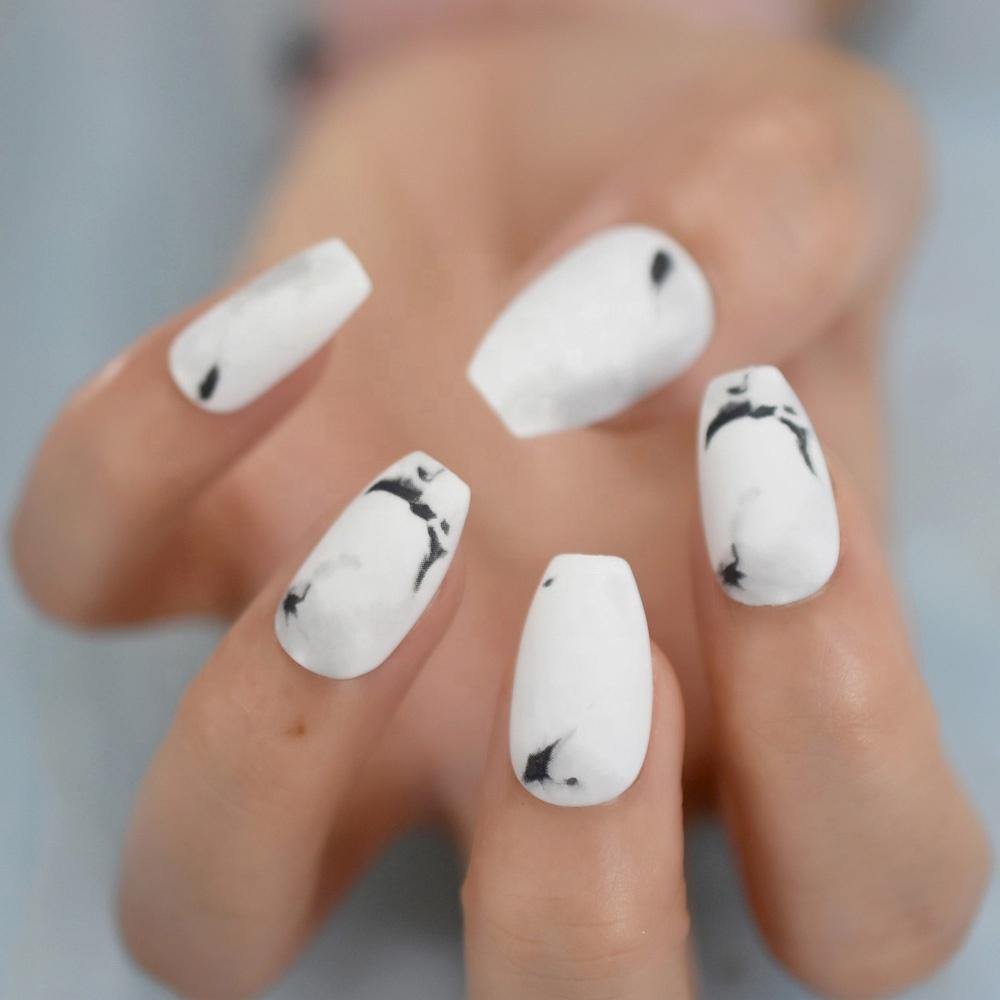
Black marble press-ons give you that sorceress vibe with none of the swirling and toothpicks. The printed marble veining on quality sets looks remarkably real — I hold them up to my actual marble nail art and can barely tell the difference. I prefer sets with white and grey veining over pure black, with maybe one gold-veined accent nail mixed in. Because marble is an all-over pattern with no art to align, these are foolproof to apply and look seamless across all ten nails. They read as an expensive salon set and work way past Halloween — I’ve worn black marble straight through the holidays. If you only buy one set from this list, make it this one.
14. Halloween French Tip Press-Ons

French tip press-ons with a Halloween twist — black tips, orange tips, or tips with tiny spiderwebs — are perfect if you love a classic shape with seasonal flair. The smile line is the hardest part of a French manicure to paint, and press-ons nail it every time. I size carefully here because a French tip that’s too wide throws off the whole proportion; the white (or black) tip should sit centered on your nail. These look incredibly professional — most people can’t tell they’re press-ons at all. I recommend them to anyone who wants Halloween nails for the office: black French tips are festive if you know, neutral if you don’t. It’s the stealth Halloween manicure.
15. Dark Chrome Press-Ons

Dark chrome press-ons — black chrome, gunmetal, oil-slick purple — look like liquid metal on your nails and scream Halloween glam. The mirror finish is impossible to achieve with regular polish at home, which is exactly why press-ons are the move. Keep the shape long and sharp: stiletto or coffin maximizes the reflective drama. Chrome shows every fingerprint, so handle the nails by the edges during application and wipe with alcohol after. I seal mine with a glossy top coat to protect the chrome finish from dulling. Fair warning: these attract attention. Strangers will grab your hand to look closer. If you want subtle Halloween nails, scroll past — these are for the main character.
16. Witchy Moon-and-Stars Press-Ons
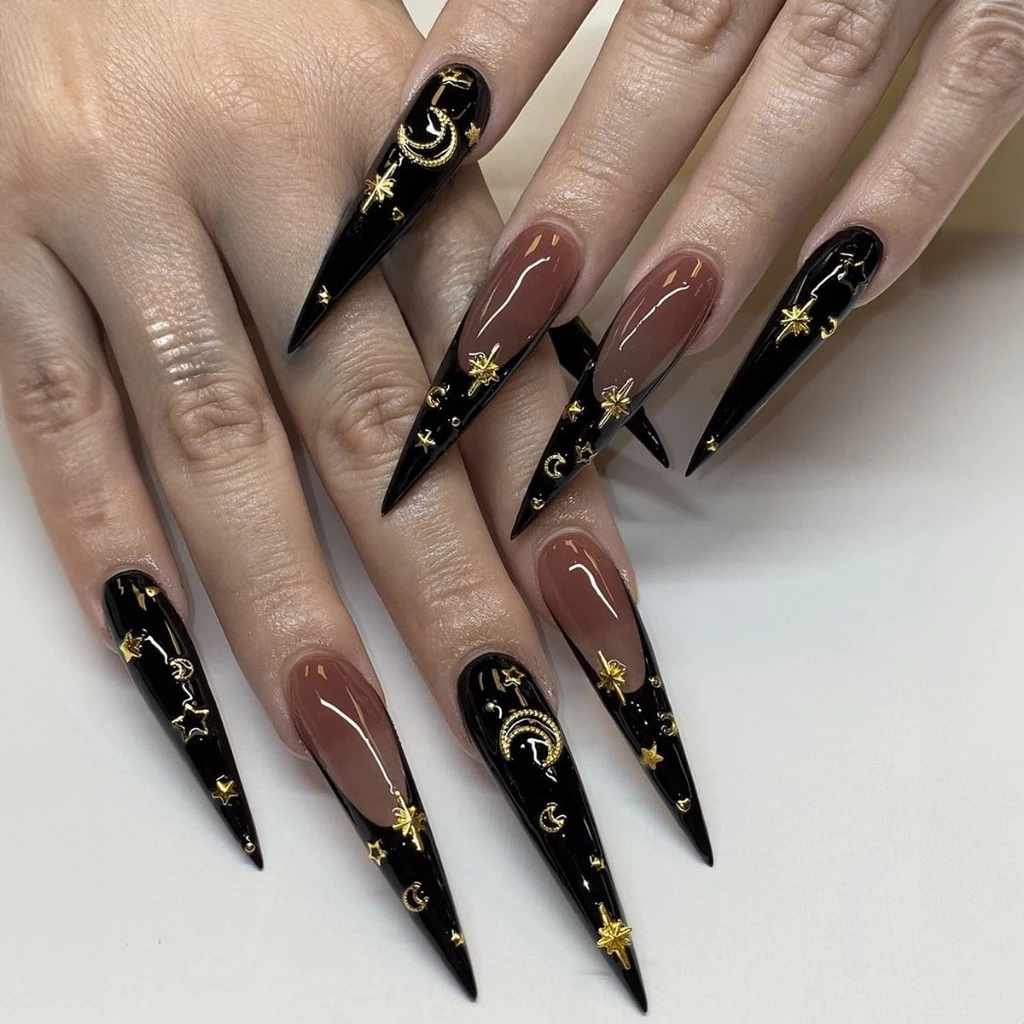
Moon and star press-ons in deep purples and blacks are my personal favorite Halloween set — celestial, witchy, and beautiful enough to wear all fall. I look for sets with varied celestial art across the nails rather than one repeated moon, because the variety looks hand-designed. Gold celestial details over a dark base are especially stunning in evening light. These photograph beautifully, which matters if you’re documenting your Halloween looks. Application is standard press-on routine, but I take extra time on sizing since the dark colors show gaps. I’ve repurchased this style three Octobers running, and every year someone asks which salon did them. The answer is always my couch, a $12 box, and twenty minutes.
The gap between press-ons and salon nails has never been smaller, and Halloween is the perfect time to take advantage. Pick a set that matches your costume energy, spend ten minutes on prep and sizing, and seal everything with a good top coat. Nobody will know your salon was your living room — unless you tell them, which I always do, because the compliments are too good not to share the secret.