A salon blowout the morning of homecoming can cost more than the dress, but the secret is that most red-carpet homecoming hairstyles are surprisingly easy to recreate at home. With the right technique, a curling iron, and a handful of bobby pins, anyone can achieve polished, photo-ready hoco hair 2026 without booking an appointment. The key is choosing a style that matches natural hair texture and length, prepping with the right products, and practicing once before the big night.
This guide rounds up 15+ DIY homecoming hair ideas that look expensive but cost almost nothing. Each style includes simple steps, the hair types it flatters most, and pro tips for making it last through dinner, photos, and hours on the dance floor.
Voluminous Hollywood Waves
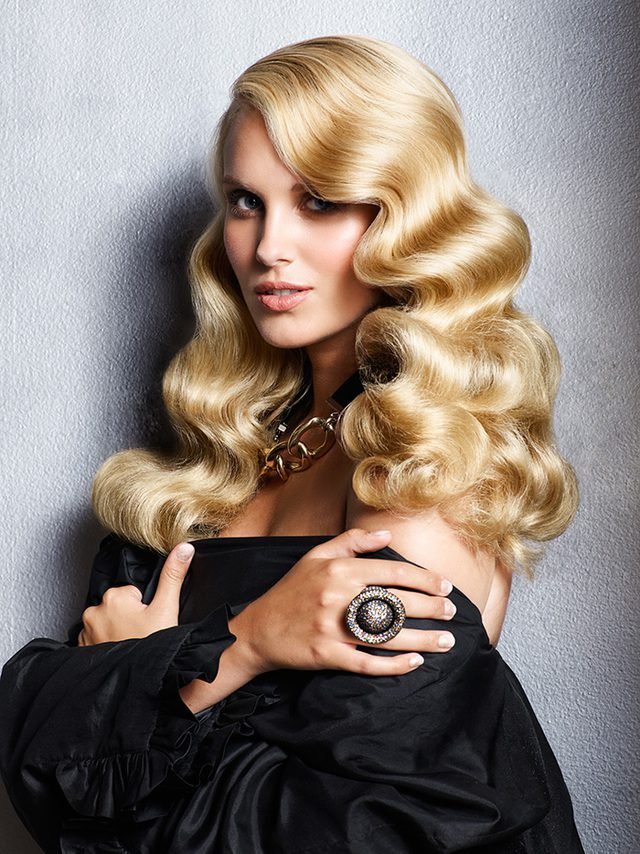
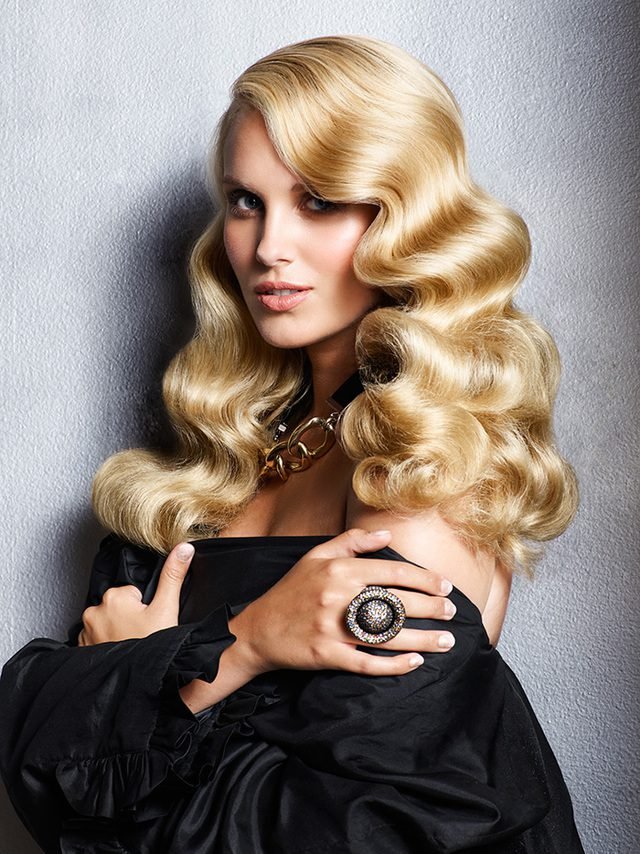
Old-Hollywood waves are the ultimate DIY homecoming hair because they photograph beautifully and suit nearly every dress style. Start with a heat protectant on dry hair, then curl 1-inch sections away from the face with a 1.25-inch iron, clipping each curl to cool. Once cool, remove the clips and brush through gently with a paddle brush to form smooth, uniform waves. A light mist of flexible-hold hairspray keeps movement without stiffness. This style works best on medium to long hair and flatters round and square face shapes by adding soft vertical lines. For fine hair, add volumizing mousse at the roots before curling so the waves hold through the night. Pro tip: curl the front sections last so they stay the most defined in photos.
Sleek High Ponytail With a Wrapped Base
A sky-high sleek ponytail reads expensive and takes fifteen minutes with the right technique. Smooth damp hair with a straightening balm, blow-dry upward, then gather at the crown and secure tightly with two elastics for lift. Wrap a thin section of hair around the base to hide the elastic and pin underneath. Flat-iron the tail in sections, then finish with shine serum on the lengths only. This DIY homecoming hairstyle elongates the neck and pairs perfectly with statement earrings and strapless or off-the-shoulder dresses. It suits straight to wavy textures best; curly hair should be blown out first for maximum sleekness. Pro tip: tilt the head back slightly while securing the ponytail to get it extra high and snatched.

Textured Low Chignon
A textured low chignon delivers ballerina-meets-red-carpet elegance with zero salon skill required. Tease the crown lightly for volume, gather hair into a low ponytail at the nape, then twist and coil it into a loose bun, pinning as you go. Pull out a few face-framing pieces and gently tug the bun’s edges for softness. A texturizing spray applied before styling gives grip that keeps the chignon intact for hours. This look flatters medium to long hair of all textures and works beautifully with high necklines and backless dresses. It is also one of the most forgiving DIY homecoming hair options — slight messiness only makes it prettier. Pro tip: insert bobby pins in an X pattern so they lock against each other and survive dancing.

Braided Crown Half-Updo
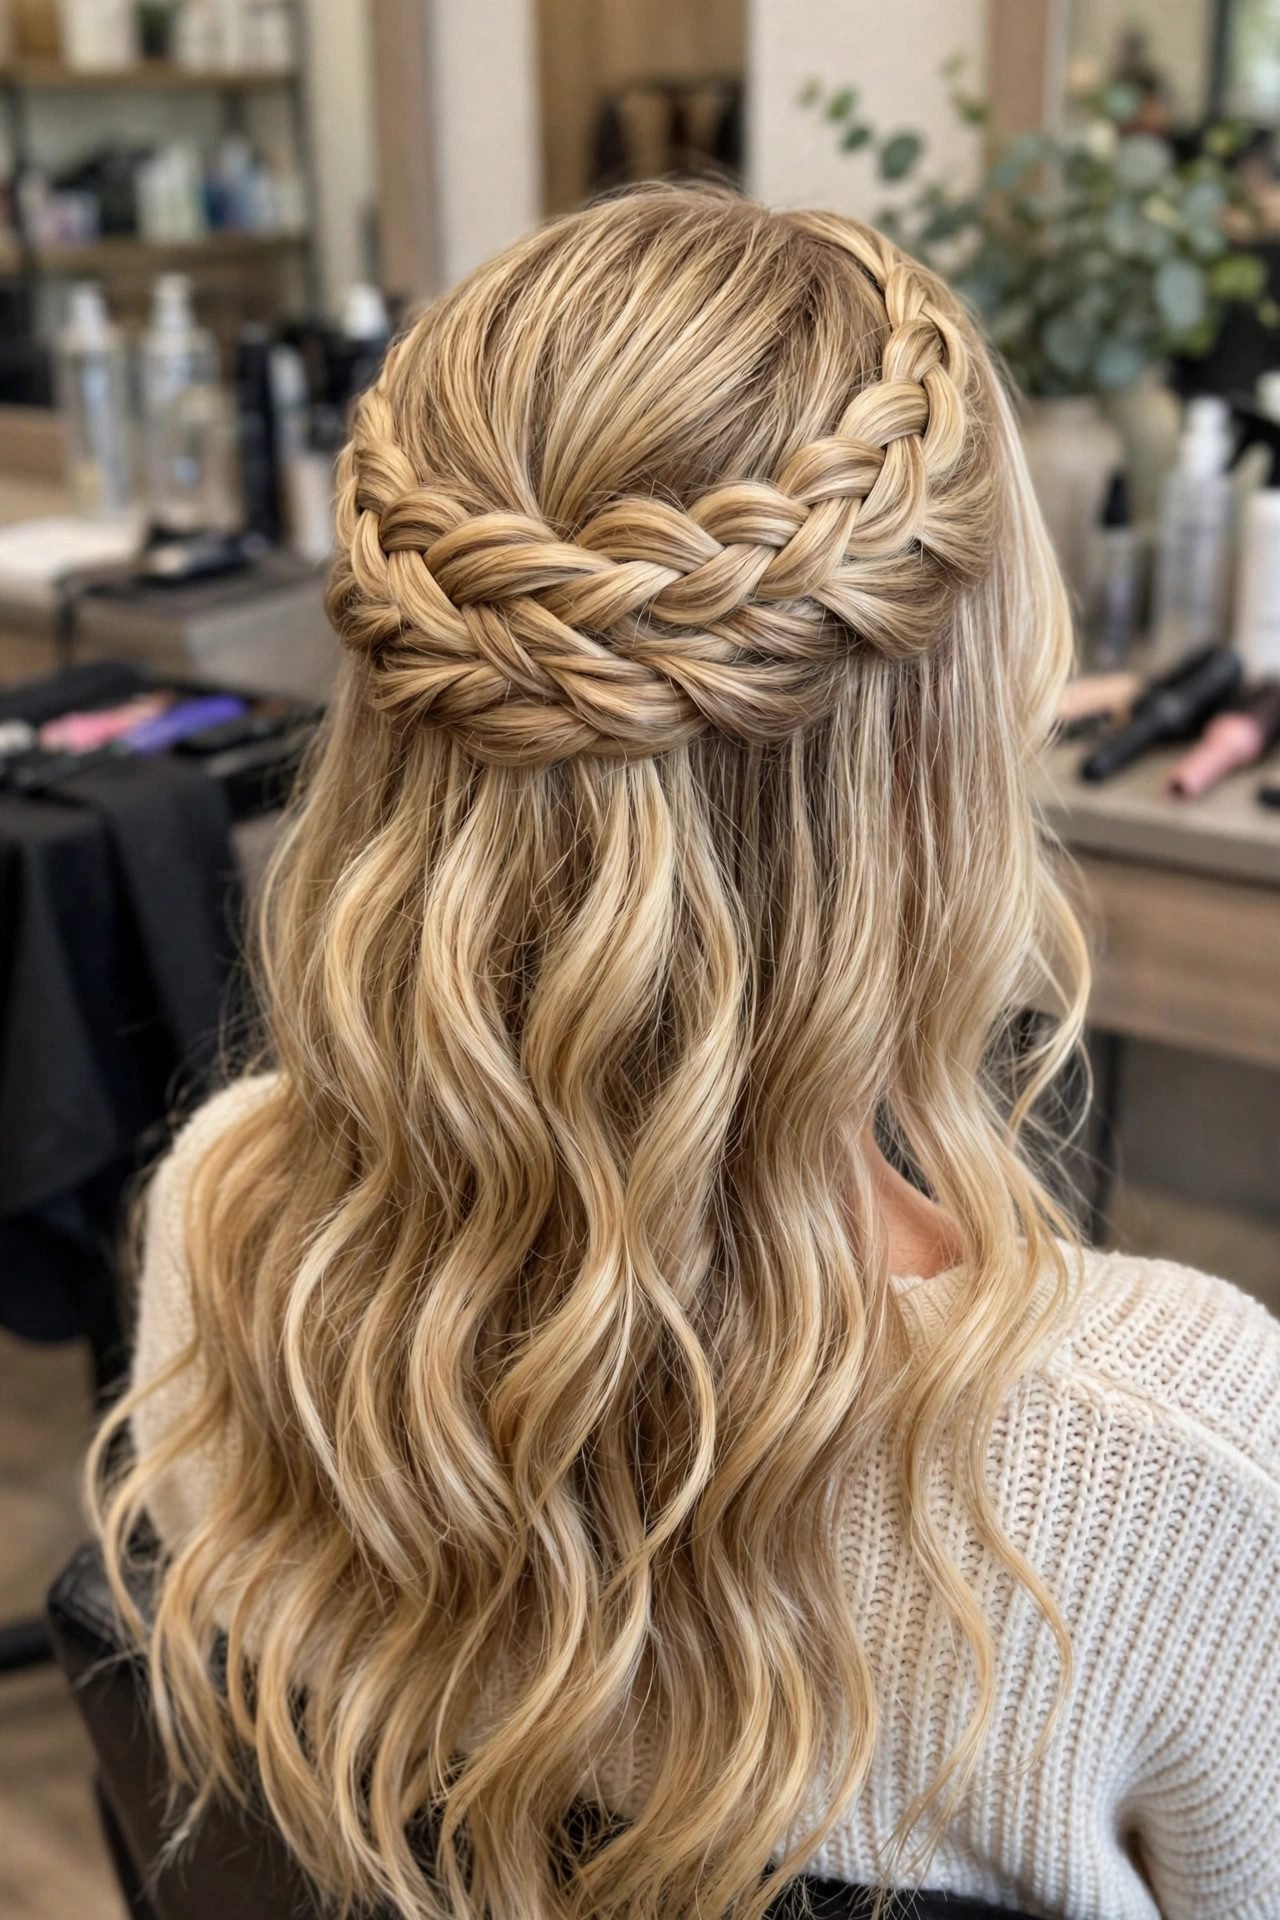
A braided crown half-updo combines romance with staying power, making it ideal for a long homecoming night. Create two Dutch braids starting above each ear, working toward the back of the head, then join them with a clear elastic and tuck the ends under. Leave the bottom half down in soft curls or natural texture. Pancake the braids by gently pulling the edges wider for a fuller, more expensive look. This style suits medium to long hair and keeps hair off the face while showing off length — perfect for outdoor photos before the dance. It works on straight, wavy, and curly textures alike. Pro tip: braid on second-day hair or add dry shampoo first; freshly washed hair is too slippery to hold the plaits.
Bubble Ponytail
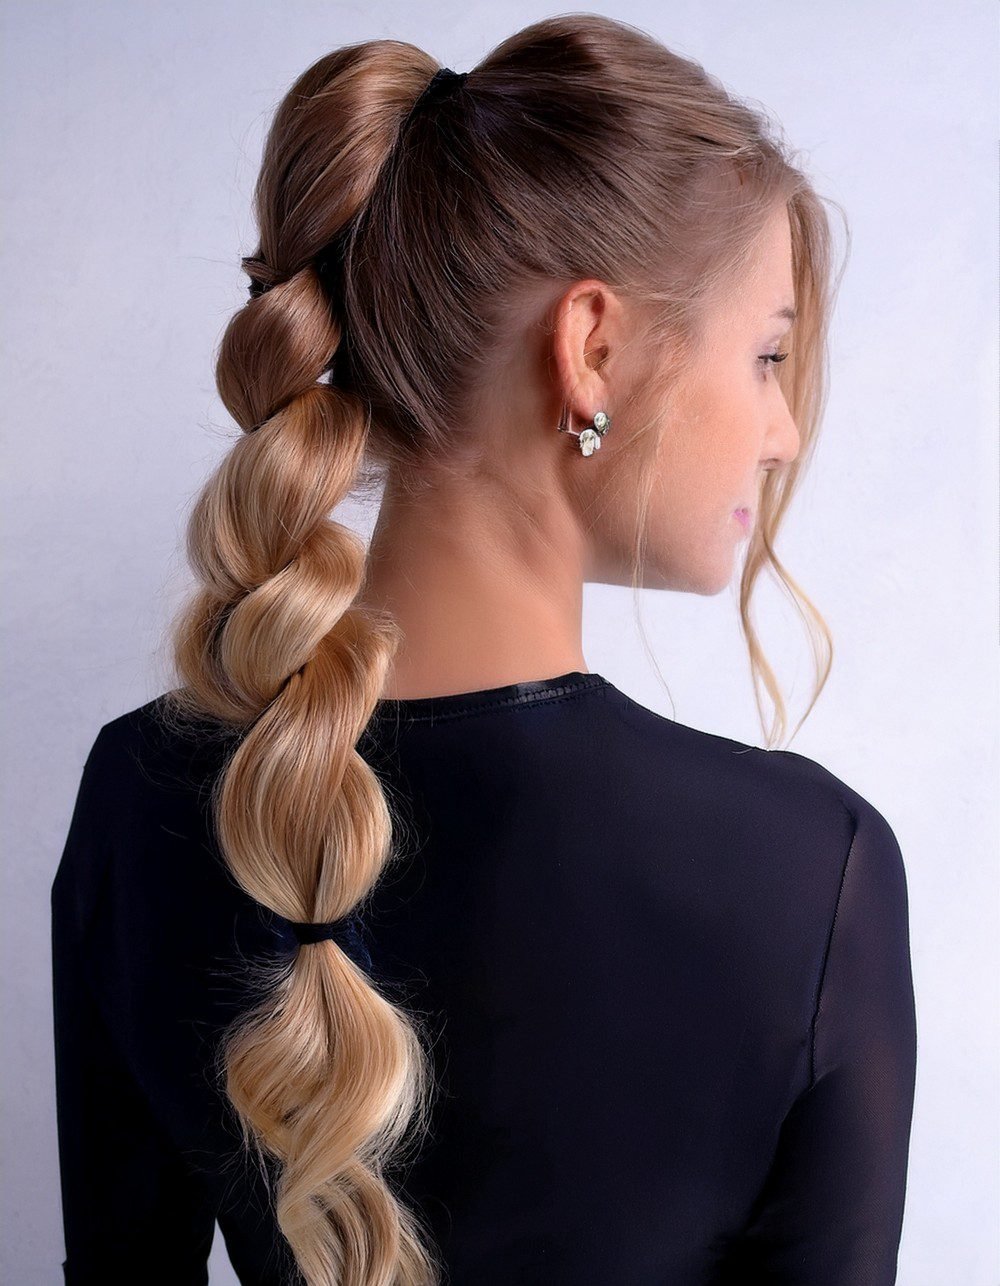
The bubble ponytail is a playful, high-impact DIY homecoming hairstyle that looks intricate but takes minutes. Secure a high or mid ponytail, then place small clear elastics every two inches down the tail, gently pulling each section outward to create rounded bubbles. Tease each bubble lightly for extra fullness. This style adds instant volume, making it a favorite for fine or thin hair, and it photographs with great dimension from every angle. It pairs well with fun, flirty dresses and keeps hair fully secured for dancing. Works on medium to long hair; extensions can be clipped in first for drama. Pro tip: wrap tiny sections of hair around each elastic and pin for a seamless, salon-finished look.
Side-Swept Glam Curls
Side-swept curls bring vintage glamour to homecoming with a technique anyone can master. Create a deep side part, curl all hair in the same direction with a 1-inch iron, then sweep everything over one shoulder and pin discreetly at the nape on the opposite side. A decorative pin or comb at the pinned side adds sparkle and hides the mechanics. This asymmetrical style elongates the neck, showcases earrings, and flatters one-shoulder and strapless gowns especially well. It suits medium to long hair and all curl patterns — natural curls simply need defining cream instead of heat. Pro tip: set the style with a strong-hold hairspray applied in layers while the hair is still warm from the iron.

Messy Top Knot With Face-Framing Pieces
An elevated messy top knot is the cool-girl answer to formal homecoming hair. Flip the head upside down, gather into a high ponytail, twist loosely, and wrap into a knot, pinning the ends wherever they land naturally. Pull out soft pieces around the face and curl them lightly for polish. The contrast between the undone bun and refined tendrils keeps the look intentional rather than rushed. This DIY homecoming hairstyle suits medium to long hair and all textures, and it keeps hair completely off the neck — ideal for warm venues and high-energy dancing. It complements minimalist slip dresses and bold makeup equally. Pro tip: finish with a pea-sized amount of pomade on the tendrils to keep them piecey instead of frizzy.

Fishtail Braid Ponytail
A fishtail braid worked into a ponytail looks far more complicated than it is, which is exactly the point of great DIY homecoming hair. Secure a mid-height ponytail, split the tail into two sections, and fishtail-braid by crossing small outer pieces to the opposite side until you reach the ends. Pancake the braid for width and finish with a clear elastic. This style adds gorgeous texture to straight hair and holds up beautifully through hours of dancing since the braid structure locks everything in place. It suits medium to long hair and pairs well with boho or romantic dress styles. Pro tip: mist the ponytail with sea-salt spray before braiding — the added grip makes fishtailing faster and the result fuller.

Modern Victory Rolls
Modern victory rolls give homecoming hair a show-stopping retro twist that stands out in a sea of curls. Section off the front hair on each side, backcomb the roots lightly, then roll each section upward and inward, pinning the rolls securely against the head. Leave the back in soft waves or a low bun for balance. This style demands strong-hold products — mousse at the roots and hairspray throughout — and suits medium to long hair with enough density to form full rolls. It pairs dramatically with vintage-inspired or bold solid-color dresses. Though it looks advanced, the technique is just rolling and pinning with practice. Pro tip: do a trial run two nights before; victory rolls reward muscle memory more than any other style on this list.

Twisted Half-Up With Pearl Pins
Twisting the front sections back and securing them with pearl pins creates an effortlessly elegant half-updo in under ten minutes. Take two front sections, twist each away from the face, cross them at the back of the head, and pin with decorative pearl pins. Curl the remaining hair loosely for softness. This DIY homecoming hairstyle flatters every face shape and hair texture, and the pearls add a jewelry-like detail that elevates the whole look without extra cost. It works on shoulder-length to long hair and suits romantic, classic dress styles. Fine hair benefits from a volumizing powder at the crown before twisting. Pro tip: place pins at a slight upward angle — gravity pulls twists downward over the evening, and the angle counteracts it.

Sleek Middle-Part Low Bun
The sleek middle-part low bun is minimalist luxury that costs nothing but looks like a editorial styling session. Create a precise middle part, smooth hair back with a boar-bristle brush and smoothing cream, gather at the nape, twist into a tight bun, and pin. Tame flyaways with a toothbrush sprayed with hairspray for a glass-like finish. This style suits straight to wavy hair best and flatters oval and heart-shaped faces by emphasizing symmetry. It is the perfect match for dramatic makeup or statement necklaces since it keeps all attention on the face and décolletage. Pro tip: apply a shine spray as the final step — on dark hair especially, the reflective finish is what makes this simple bun look expensive.
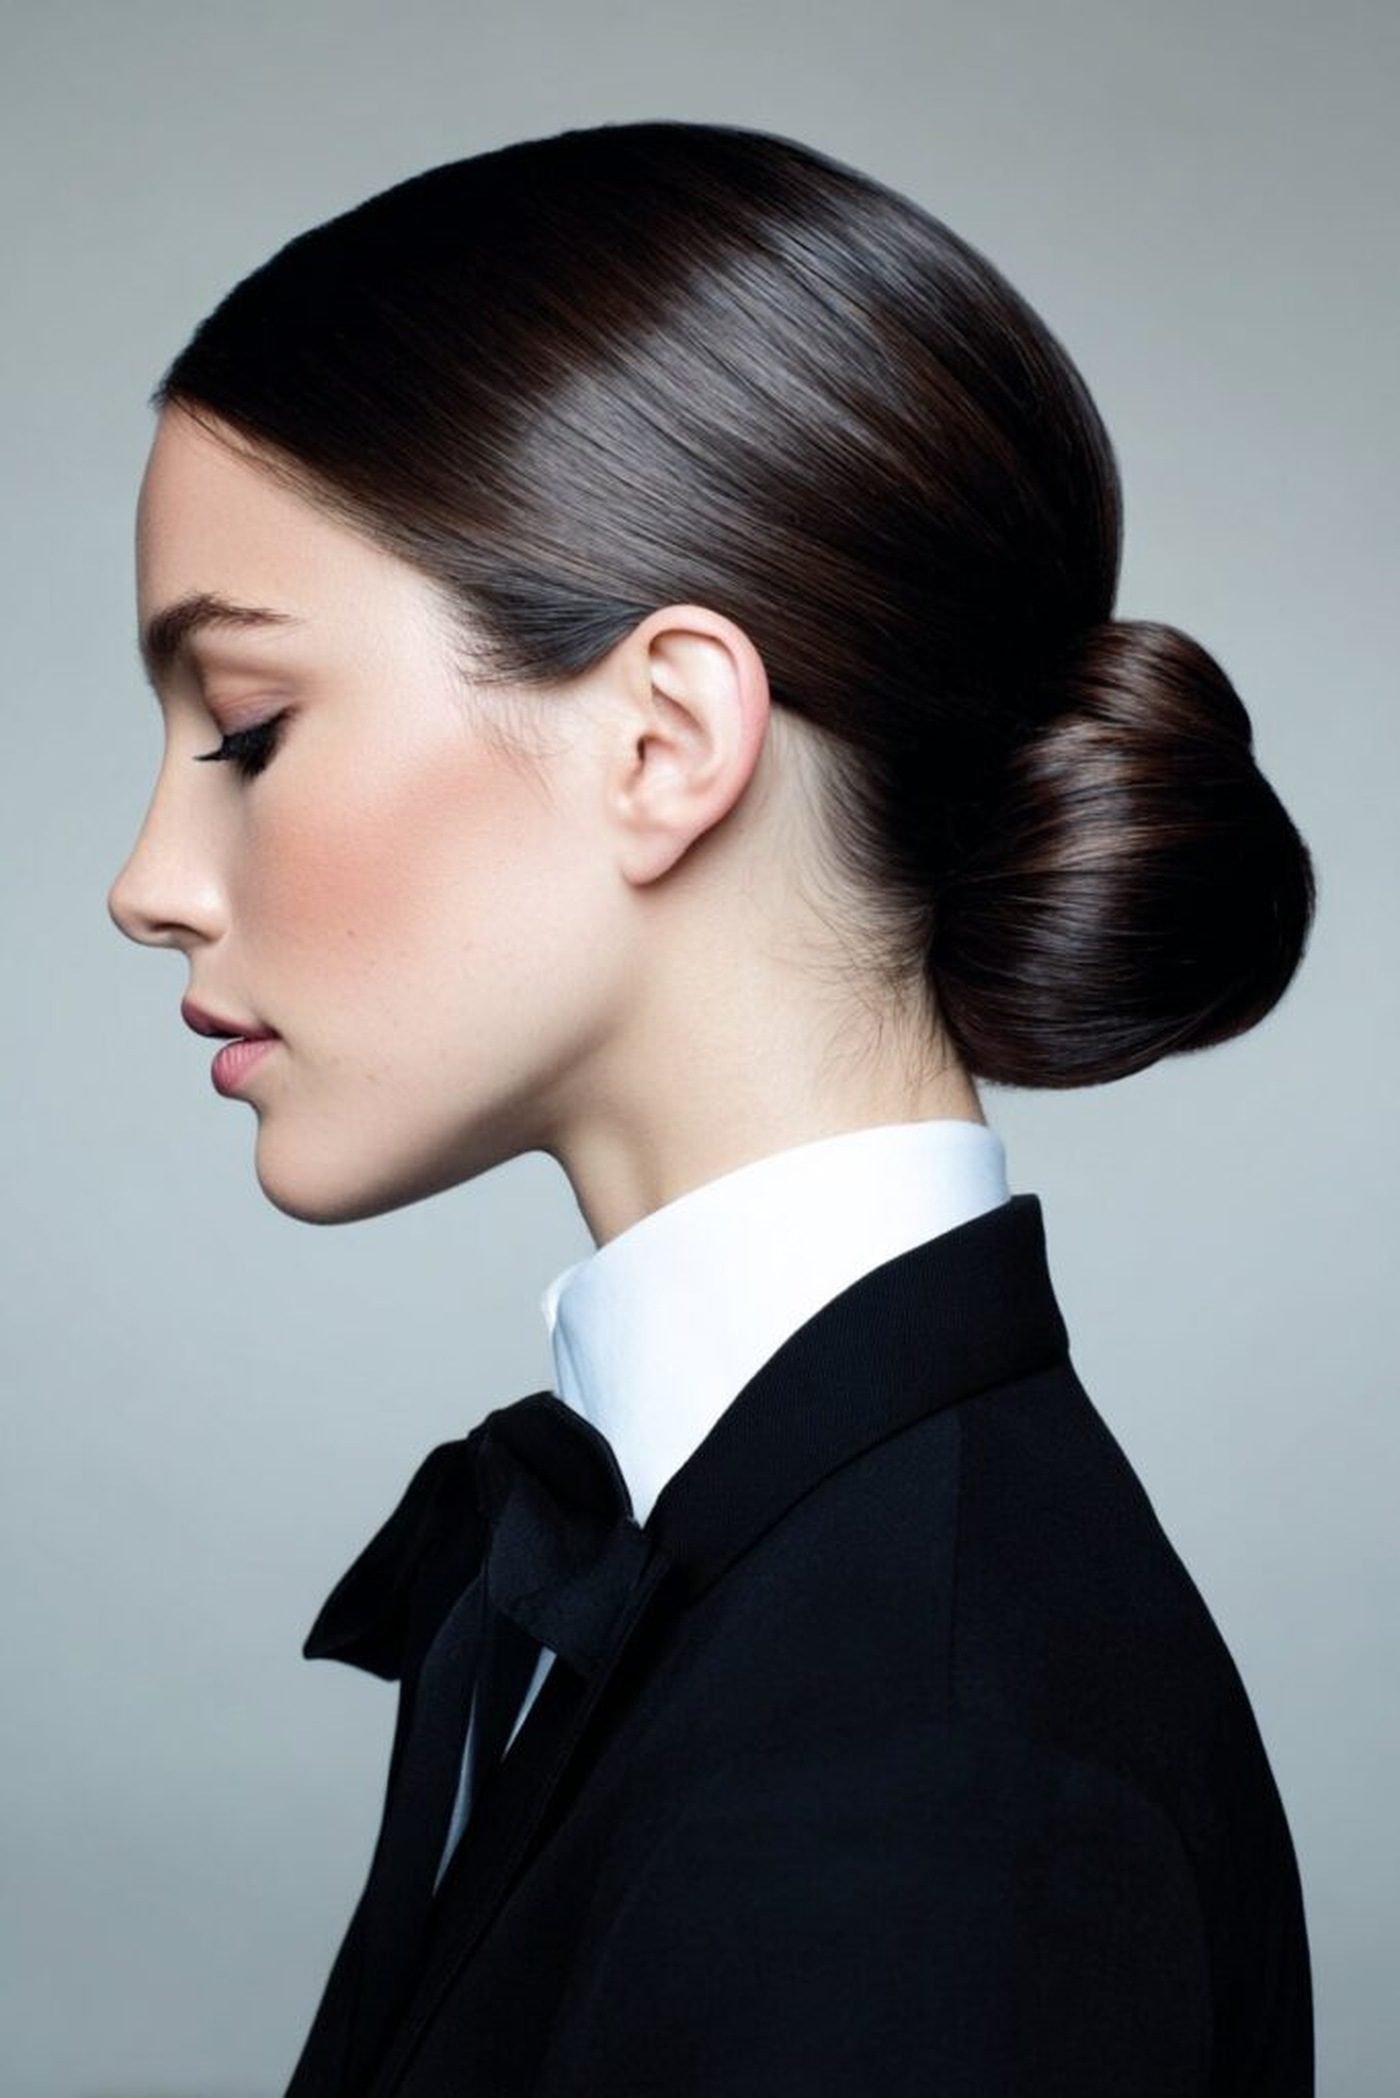
Waterfall Braid Into Soft Curls
A waterfall braid cascading into soft curls is pure homecoming romance and easier than it looks. Start a French braid along one side of the head, but drop the bottom strand each stitch and pick up new hair instead — that creates the waterfall effect. Braid across to the other side and pin, then curl the remaining hair in loose waves. This style showcases dimension beautifully on highlighted or balayage hair and suits medium to long lengths. It keeps the front neat for photos while leaving most hair down and touchable. Wavy and curly textures can skip the curling step and simply define natural texture. Pro tip: stretch each waterfall loop gently after braiding to make the detail visible in photos — tight braids disappear on camera.
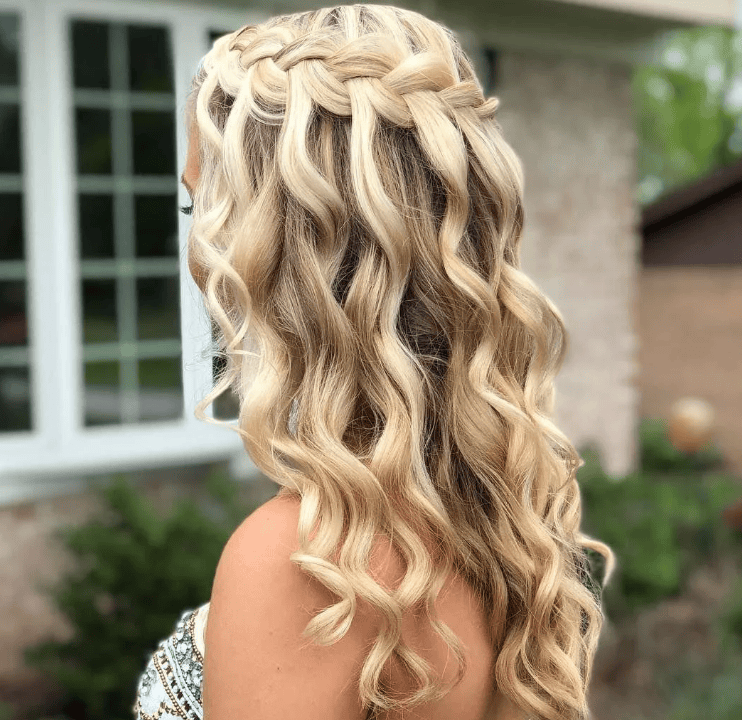
Defined Curly High Puff
A defined high puff celebrates natural curls with a regal, sculpted silhouette perfect for homecoming. On stretched or defined curls, gather hair upward with a wide elastic band or puff cuff, positioning it at the crown and fluffing the curls for shape. Smooth the edges with edge control and a soft brush for a polished hairline. This protective-friendly style works on type 3 and 4 curls of medium length and up, keeps the neck cool, and pairs beautifully with bold earrings and vibrant dress colors. Refresh curls with a light mist of water and leave-in before gathering for maximum definition. Pro tip: use two bands in an X for extra-secure hold — a puff that stays lifted all night photographs dramatically better.
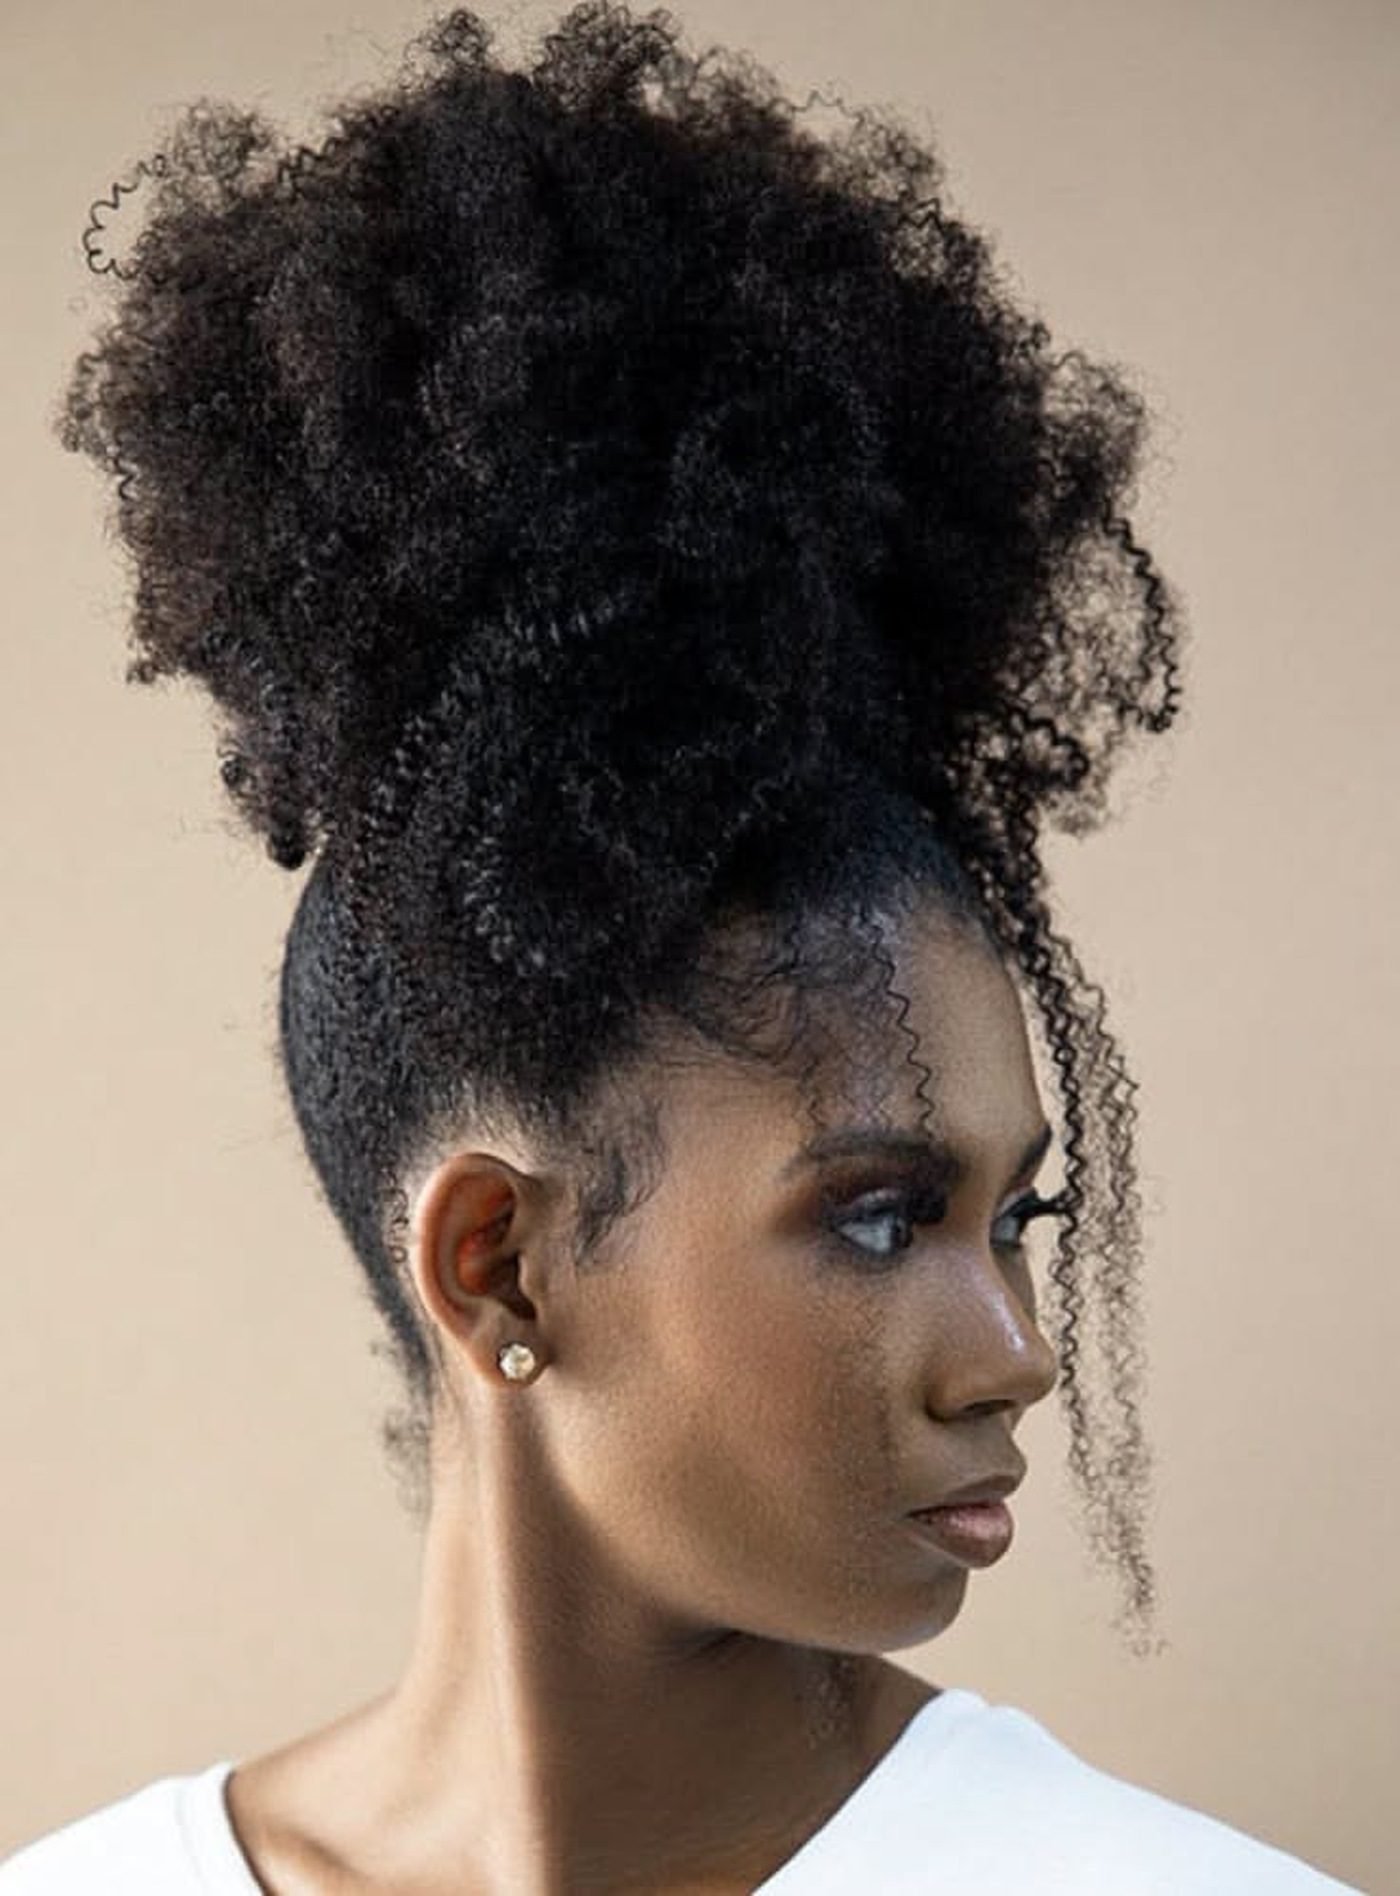
Polished Double Dutch Braids Into Buns
Double Dutch braids ending in mini buns take the playful space-bun trend and make it homecoming-appropriate. Create a clean middle part, Dutch-braid each side tightly from front to crown, then twist the remaining hair into two neat buns and pin. Sleek edges with gel for a polished finish that reads intentional, not casual. This style is ideal for thick hair that needs serious hold, suits round faces by adding height, and stays flawless through the most aggressive dancing. It works on all textures — braiding gel gives straight hair the grip it needs. Pair with a fun, youthful dress rather than a formal gown. Pro tip: braid slightly damp hair with mousse for the cleanest parts and longest-lasting tension.

Glass-Hair Straight With a Deep Side Part
Ultra-sleek glass hair with a deep side part is the lowest-effort, highest-impact DIY homecoming hair on this list. After heat protectant, flat-iron small sections slowly from roots to ends, then apply a dime-sized amount of shine serum. The deep side part adds drama and volume at the crown that a middle part cannot. This style suits medium to long straight or straightened hair and flatters every dress style, especially minimalist gowns where the hair becomes the accessory. The key is truly pin-straight, frizz-free lengths — take the time to iron in thin sections. Pro tip: run a flat iron over the part line itself to lock the deep part in place so it does not drift back to center by midnight.

Rope-Braid Low Ponytail
A rope-braid low ponytail looks sculptural and chic with a technique that takes five minutes to learn. Gather hair into a low ponytail, split the tail in two, twist each section in the same direction, then wrap them around each other in the opposite direction and secure. The opposing twists lock the braid so it barely needs pins. This elegant DIY homecoming hairstyle suits medium to long hair, keeps everything neat for the whole evening, and pairs beautifully with high necklines and detailed backs. It is especially flattering on thick hair, where the rope looks substantial and luxe. Pro tip: apply a light styling cream to the tail before twisting — it prevents the sections from untwisting and gives the rope a polished, defined finish.
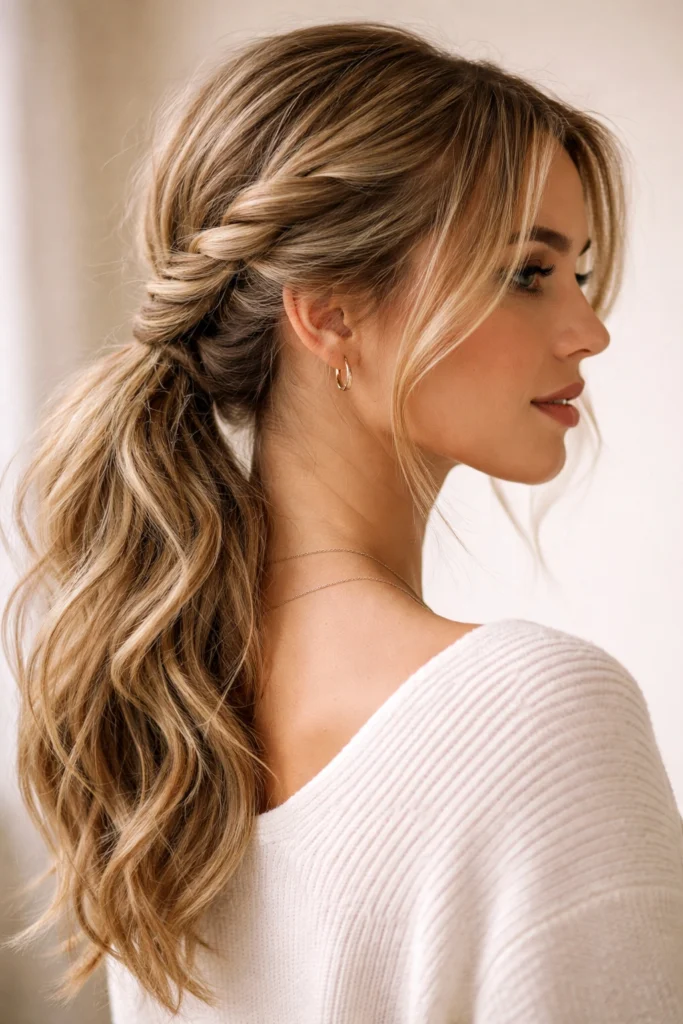
Great homecoming hair does not require a salon chair — it requires a plan, the right products, and one practice run. Pick the style that suits the dress neckline and natural texture, prep hair the night before, and keep a mini touch-up kit in a clutch. With these DIY looks, the only thing expensive about the evening will be the memories.